The aroma of sizzling spices wafting through my kitchen feels like a warm hug on a chilly evening. When I decided to whip up a batch of Voodoo Egg Rolls, I knew I was in for a treat that perfectly merges Southern charm with comforting crunch. These crispy delights filled with savory ground beef and gooey cheddar are not just appetizers; they’re a culinary adventure waiting to unfold at your next gathering or cozy dinner at home. Plus, the best part is they’re freezer-friendly, making it easy to have a crowd-pleaser on hand for spontaneous celebrations or weeknight cravings. Curious about how to bring that Southern spice to your table? Let’s dive into this delicious recipe!

Why Are Voodoo Egg Rolls So Delightful?
Crispy Crunch: Enjoy the satisfying sound of biting into these perfectly fried rolls, creating an irresistible texture that keeps you coming back for more.
Flavor Fusion: The combination of savory ground beef and rich cheddar, seasoned with Cajun spices, delivers a taste explosion that’s truly unforgettable.
Freezer-Friendly Fun: Prepare a large batch and store them in your freezer—perfect for last-minute gatherings or a quick weeknight dinner.
Customizable Creations: Feel free to mix and match fillings, using sautéed veggies or even tofu for a delightful vegetarian option. Try them alongside a refreshing salad like Crunchy Cucumber Egg for an ideal pairing!
Crowd-Pleaser: Whether it’s game night or a family dinner, these Voodoo Egg Rolls are a guaranteed hit, enticing everyone with their deep-fried goodness!
Voodoo Egg Rolls Ingredients
For the Filling
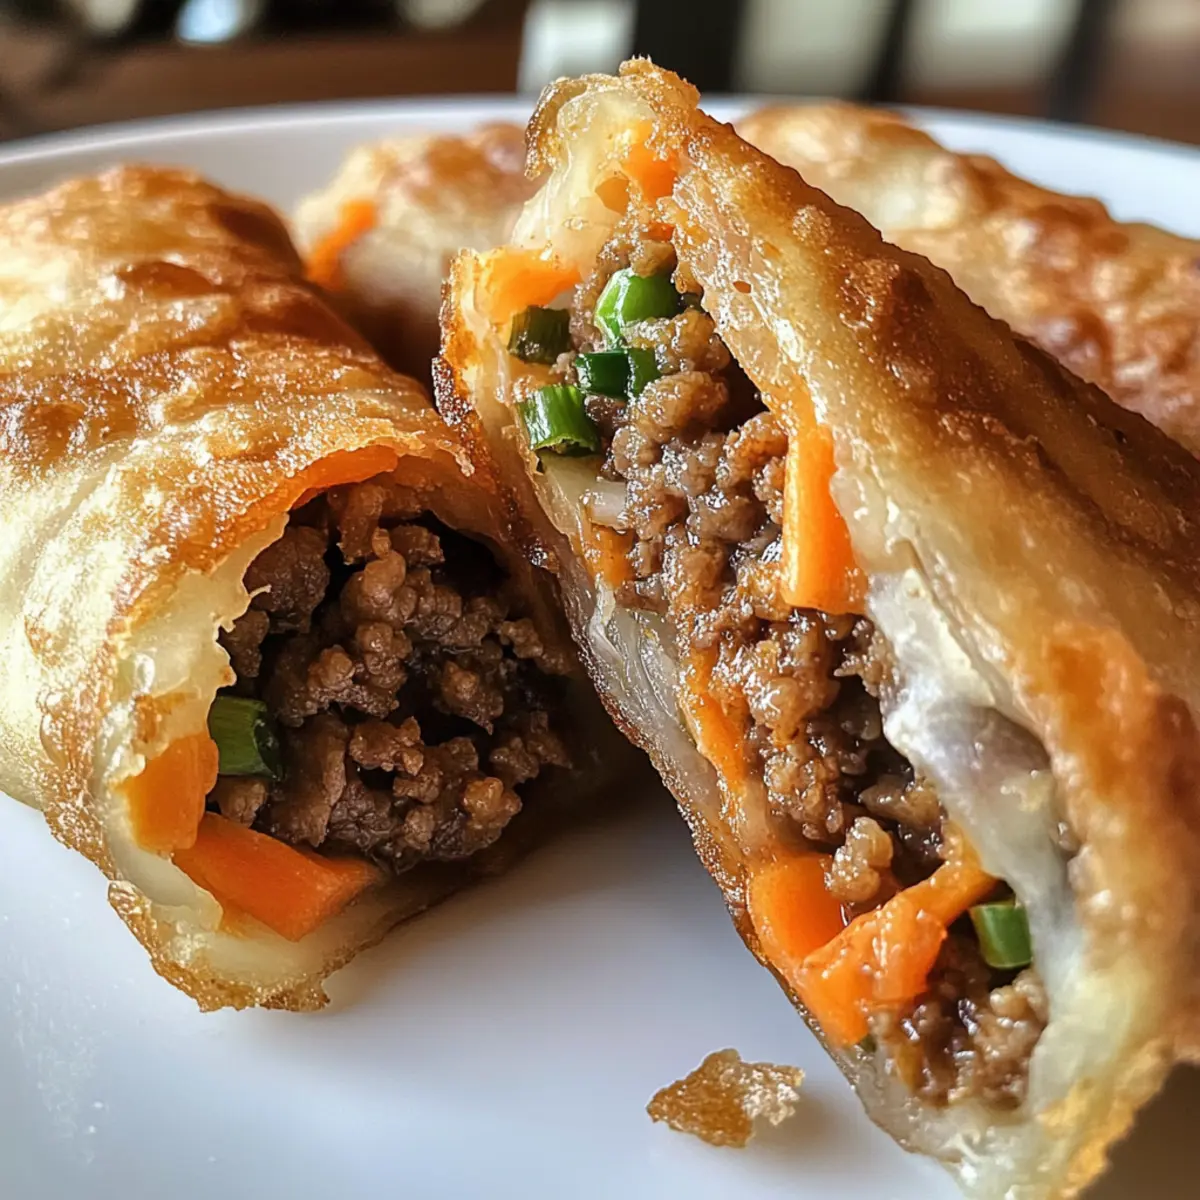
• Ground Beef – Provides protein and a savory base for the filling. Substitution: Can be replaced with sautéed mushrooms, bell peppers, or tofu for a vegetarian option.
• Shredded Cheddar Cheese – Adds creaminess and a rich flavor. Substitution: Monterey Jack or pepper jack can be used for added variety.
• Green Onions (chopped) – Adds freshness and a mild onion flavor.
• Shredded Carrots – Introduces sweetness and crunch, enhancing texture.
• Cajun Seasoning – Adds a bold, spicy flavor profile characteristic of Southern cuisine.
• Garlic Powder – Enhances the overall flavor with its aromatic quality.
For Wrapping and Frying
• Egg Roll Wrappers – Forms the outer shell of the egg rolls, providing the crispy texture when fried.
• Vegetable Oil – Used for frying, essential for achieving a golden brown color and crispy texture.
Embrace the joy of making these Voodoo Egg Rolls, where each bite brings a harmony of flavors and textures!
Step‑by‑Step Instructions for Voodoo Egg Rolls
Step 1: Cook the Ground Beef
In a skillet over medium heat, brown 1 pound of ground beef for about 5-7 minutes, stirring occasionally until no longer pink. Drain excess fat and sprinkle in 1 tablespoon of Cajun seasoning and 1 teaspoon of garlic powder, stirring well to combine. Allow the mixture to cool slightly before moving to the next step, ensuring the flavors meld beautifully for your Voodoo Egg Rolls.
Step 2: Prepare the Filling
In a large mixing bowl, combine the cooked ground beef with 1 cup of shredded cheddar cheese, ¼ cup of chopped green onions, and ½ cup of shredded carrots. Mix thoroughly until all ingredients are uniformly distributed. This savory filling will create a delicious surprise inside your Voodoo Egg Rolls, so set it aside while you prepare to wrap them.
Step 3: Wrap the Egg Rolls
Lay an egg roll wrapper on a clean surface in a diamond shape, and scoop 2-3 tablespoons of the filling into the center. Fold the bottom corner over the filling, tuck in the sides tightly, and roll it up towards the top corner. Use a dab of water to seal the edge, ensuring the egg rolls stay intact during frying. Assemble all your Voodoo Egg Rolls in this way, setting them aside on a plate.
Step 4: Fry the Egg Rolls
In a deep skillet, heat vegetable oil to 350°F (175°C) over medium-high heat, allowing enough oil to submerge the egg rolls. Carefully add the wrapped Voodoo Egg Rolls, in batches, to the hot oil and fry for about 3-4 minutes, turning occasionally until golden brown and crispy on all sides. Use a slotted spoon to remove them and drain on paper towels to absorb excess oil.
Step 5: Serve
Once your Voodoo Egg Rolls have reached that perfect golden hue, arrange them on a serving platter. Pair these crispy delights with your favorite dipping sauces, such as ranch dressing, spicy mayo, or sweet chili sauce. Serve them hot and watch as everyone enjoys the warm, melty goodness bursting from each crunchy bite!
What to Serve with Voodoo Egg Rolls
Transform your casual dinner into a delightful feast with these mouthwatering accompaniments!
-
Creamy Ranch Dressing: Perfect for dipping, this cool and tangy sauce balances the spicy Cajun flavors of the egg rolls. It adds a delightful creaminess that makes each bite even better.
-
Sweet Chili Sauce: A quick way to elevate your meal, this sauce brings a sweet and slightly spicy kick that pairs wonderfully with the crispy texture, creating a flavor-packed experience.
-
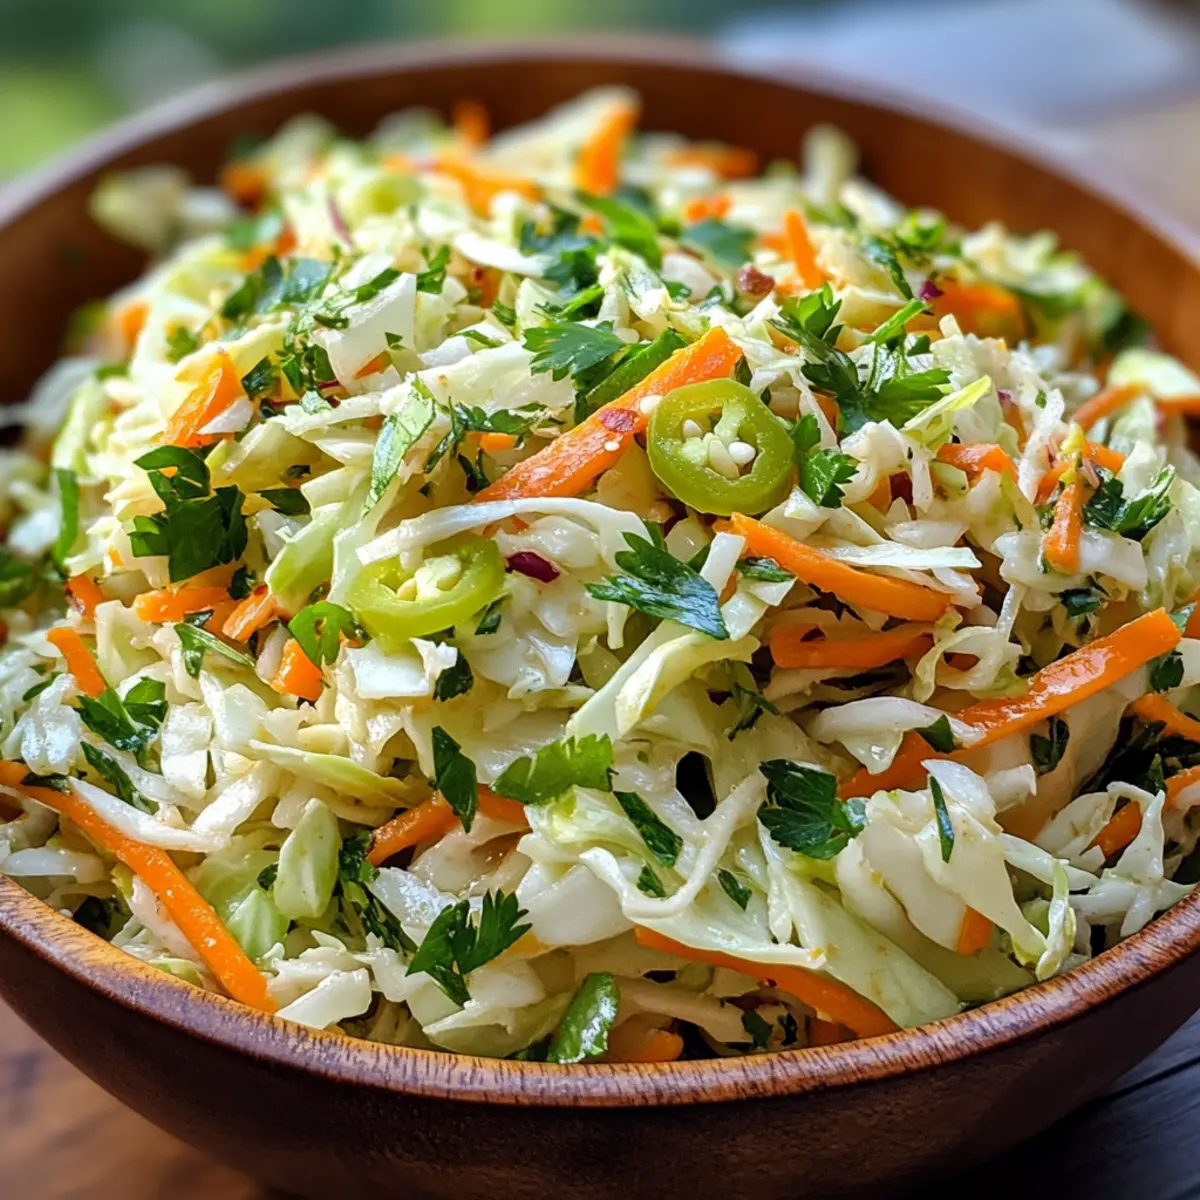
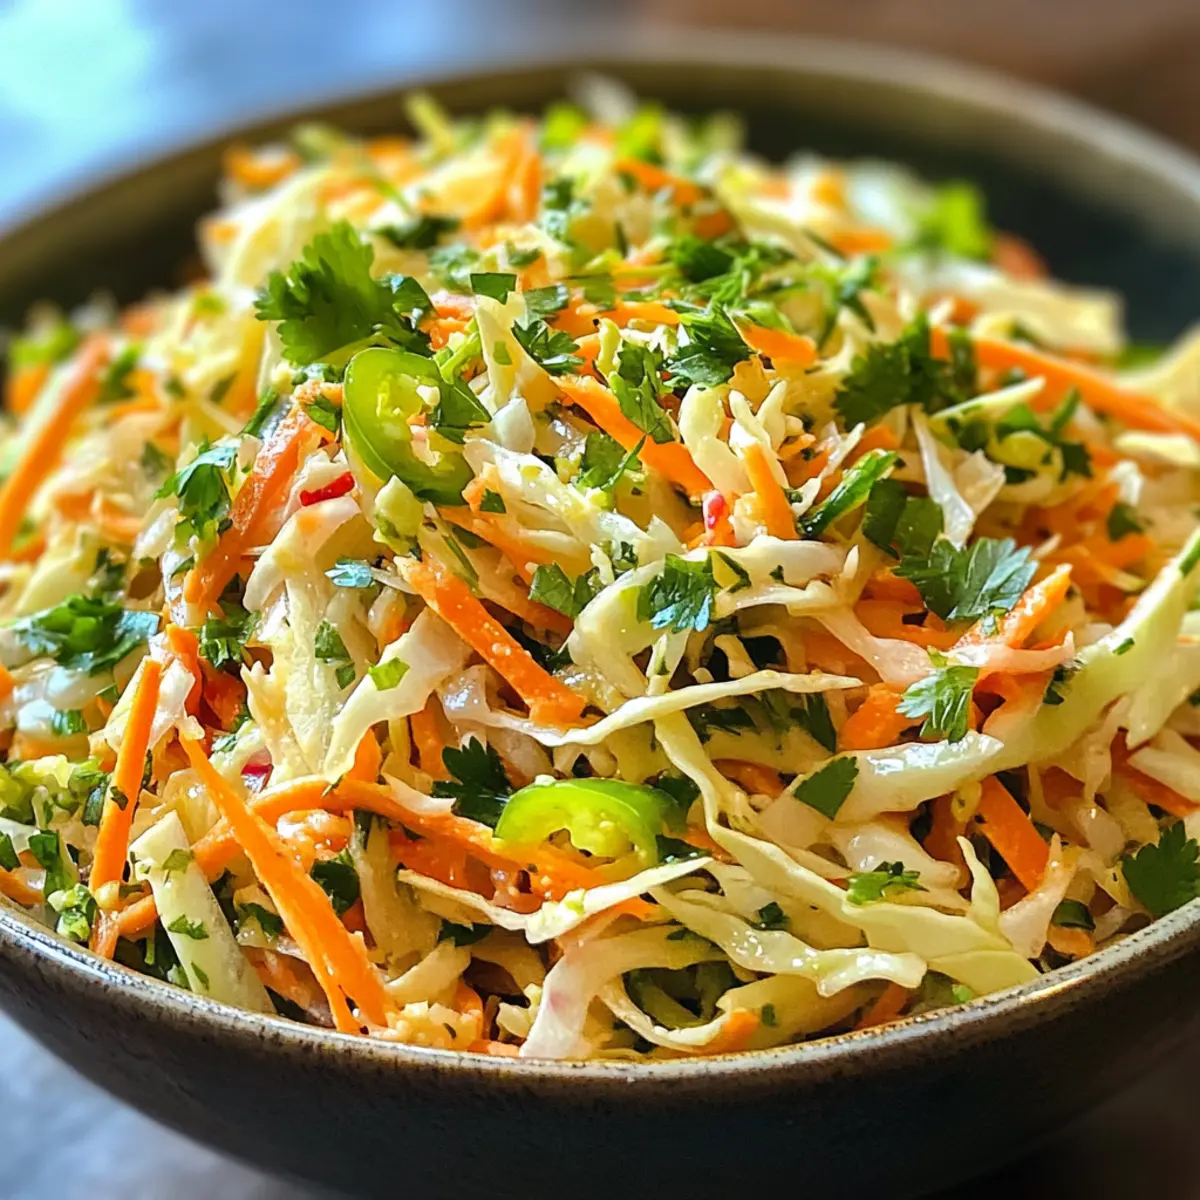
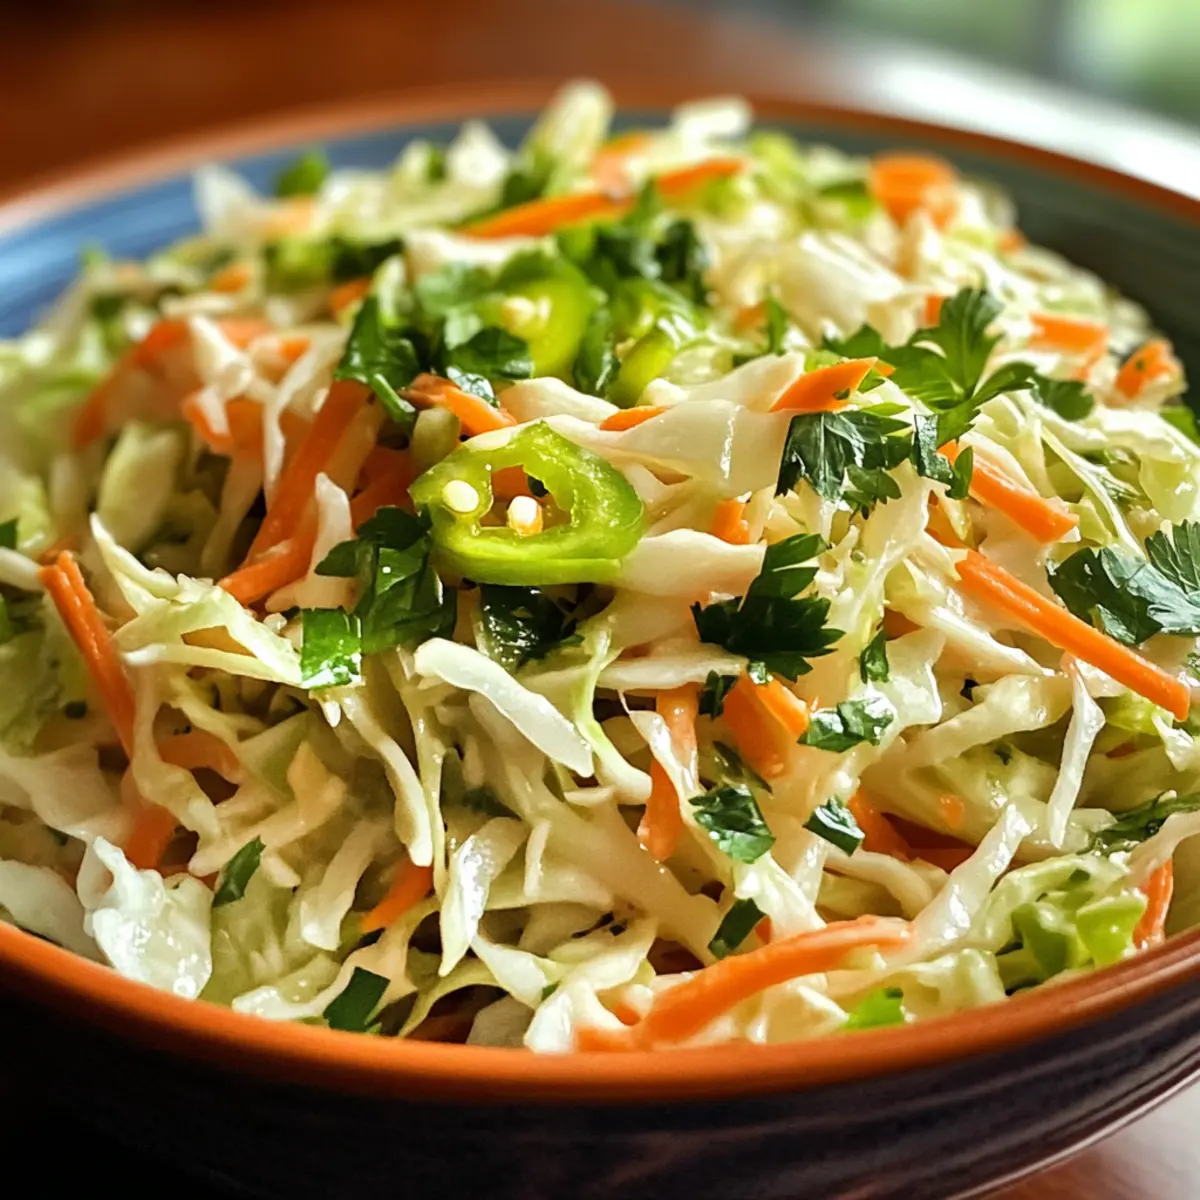
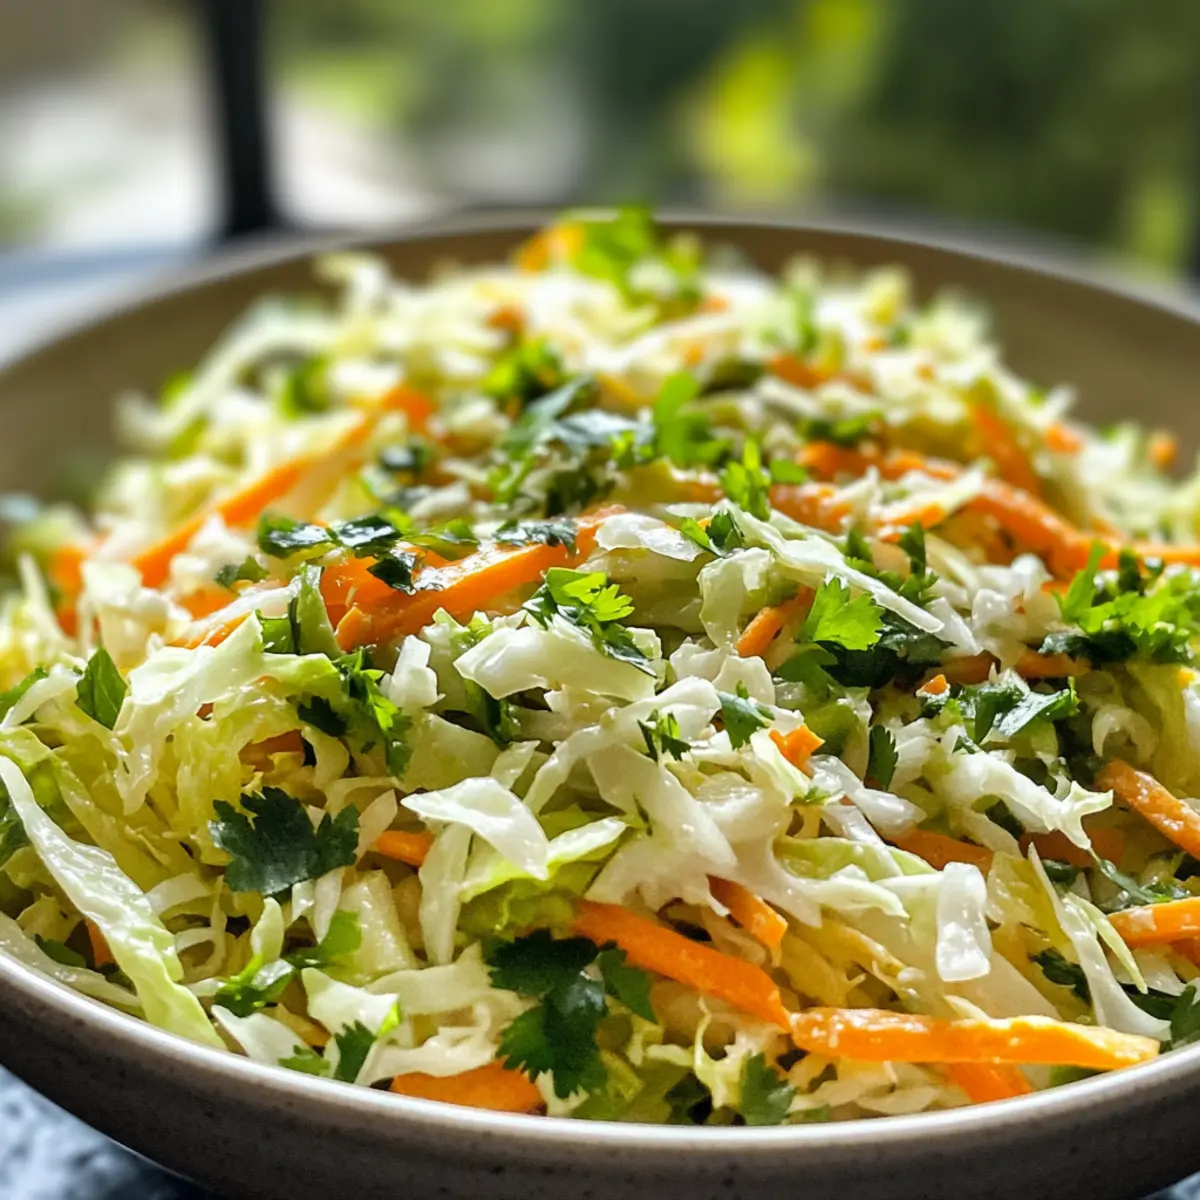
Crunchy Coleslaw: With vibrant colors and a refreshing crunch, coleslaw offers a crisp contrast to the rich filling of the egg rolls, rounding out the meal with freshness.
-
Southern-Style Potato Wedges: Crispy and seasoned, these hearty wedges add a comforting element, making your dinner more satisfying. Serve them with an herb dip for extra flavor.
-
Chilled Cucumber Salad: Light and refreshing, a cucumber salad enhances the spice of the egg rolls while adding a palate-cleansing crispness, balancing the rich and savory flavors beautifully.
-
Iced Sweet Tea: This classic Southern drink provides a refreshing, sweet contrast, balancing the spices and enriching the overall meal experience. It’s a timeless favorite that pairs perfectly with these egg rolls.
-
Dessert Option – Fried Banana Bites: End your meal on a sweet note with these simple fried banana bites. Their warm sweetness complements the flavors of the egg rolls while delivering another delightful crunch.
Elevate your egg roll experience with these satisfying sides that embody Southern charm and flavor!
Expert Tips for Voodoo Egg Rolls
• Oil Temperature: Always ensure the oil is properly heated to 350°F (175°C) before frying. This prevents sogginess and guarantees a perfectly crispy texture.
• Fill Wisely: Avoid overfilling the egg rolls, as this can lead to leaks during frying. Stick to 2-3 tablespoons of filling for best results.
• Prep Ahead: Make your Voodoo Egg Rolls ahead of time and freeze them before frying. This way, you can have them ready for spontaneous gatherings or weeknight dinners!
• Mix & Match: Feel free to get creative with your fillings! Substitute ground beef with sautéed mushrooms, bell peppers, or tofu for a delicious vegetarian option.
• Perfect Fry: Fry in batches to avoid overcrowding. This helps each egg roll cook evenly and maintain its crunch while frying.
Make Ahead Options
These Voodoo Egg Rolls are perfect for busy cooks looking to save time! You can prepare the filling (ground beef, cheese, and veggies) up to 3 days in advance, storing it in an airtight container in the refrigerator to maintain freshness. Additionally, you can assemble the egg rolls completely and refrigerate them for up to 24 hours before frying. To keep them from getting soggy, ensure they are well wrapped and not touching each other. When you’re ready to enjoy, simply fry them directly from the fridge, following the cooking instructions for a quick, delicious treat that’s just as mouthwatering as if they were made fresh!
Voodoo Egg Rolls Customization Ideas
Feel free to unleash your culinary creativity and adapt these Voodoo Egg Rolls to match your taste preferences!
-
Vegetarian Delight: Substitute ground beef with sautéed mushrooms or add some chopped bell peppers for a flavorful twist that’s equally satisfying.
-
Cheesy Variations: Try using Monterey Jack or pepper jack cheese instead of cheddar for a different cheese experience that introduces a touch of heat.
-
Herb Infusion: Enhance the freshness by adding chopped parsley, cilantro, or basil to your filling for a burst of aromatic flavor.
-
Spicy Kick: Want to turn up the heat? Add chopped jalapeños or a sprinkle of red pepper flakes to the filling for an extra zesty punch.
-
Baked Alternative: For a healthier version, brush egg rolls with oil and bake them at 400°F (200°C) for 20-25 minutes until golden brown and crispy, creating a guilt-free indulgence.
-
Saucy Sides: Pair with an array of dipping sauces like ranch dressing, spicy mayo, or sweet chili sauce. These complement the savory flavors beautifully!
-
Protein Packed: Try shredded chicken or pulled pork instead of beef for a different protein-rich option that still delivers on flavor.
-
Flavorful Fillings: Mix in shredded zucchini or spinach to amp up the vegetable content and enjoy a nutritious twist that adds even more flavor!
These ideas not only keep the spirit of Voodoo Egg Rolls alive but also enable you to cater to different dietary needs and preferences. For more delicious options, check out my Savory Beef Rolls or Cheesy Zucchini Rolls for more inspiration.
How to Store and Freeze Voodoo Egg Rolls
Fridge: Store cooked Voodoo Egg Rolls in an airtight container for up to 3 days. This way, you can easily enjoy leftover crispy delights at your leisure.
Freezer: For longer storage, freeze uncooked Voodoo Egg Rolls in a single layer on a baking sheet, then transfer to an airtight container or freezer bag. They can last for up to 3 months.
Reheating: To maintain crispiness, reheat frozen egg rolls in the oven at 375°F (190°C) for 15-20 minutes until heated through and crispy. Avoid microwaving, as it can make them soggy.
Prep Ahead: Make a big batch ahead of time and have these freezer-friendly Voodoo Egg Rolls ready for unexpected guests or a quick meal option!

Voodoo Egg Rolls Recipe FAQs
What type of beef is best for Voodoo Egg Rolls?
I recommend using ground beef with a fat content of around 80/20 for the best flavor and juiciness. However, if you prefer a lighter option, lean ground turkey or chicken can work nicely too.
How should I store leftover Voodoo Egg Rolls?
Store cooked Voodoo Egg Rolls in an airtight container in the refrigerator for up to 3 days. They make for a fantastic quick snack or addition to lunch!
Can Voodoo Egg Rolls be frozen?
Absolutely! For long-term storage, freeze the uncooked Voodoo Egg Rolls. Lay them in a single layer on a baking sheet until solid, then transfer to a freezer bag or airtight container. They can be frozen for up to 3 months!
What should I do if my egg rolls leak during frying?
If your egg rolls leak, they may be overfilled or not sealed properly. To prevent this, stick to 2-3 tablespoons of filling and seal the edges well with water. If they do leak, don’t worry! Just enjoy the crispy bits; they can be delicious too!
Can I make Voodoo Egg Rolls vegetarian?
Yes! For a vegetarian version, simply swap out the ground beef for sautéed mushrooms, bell peppers, or even tofu. Feel free to get creative with your mix of veggies!
How can I reheat frozen Voodoo Egg Rolls?
To reheat, preheat your oven to 375°F (190°C). Place the frozen egg rolls on a baking sheet and heat for about 15-20 minutes, or until they’re hot and crispy. Avoid microwaving, as it can make them soggy.

Savory Voodoo Egg Rolls: Crispy Flavor with a Southern Twist
Ingredients
Equipment
Method
- In a skillet over medium heat, brown the ground beef for about 5-7 minutes, stirring occasionally until no longer pink. Drain excess fat and sprinkle in Cajun seasoning and garlic powder, stirring well to combine.
- In a large mixing bowl, combine the cooked ground beef with cheddar cheese, green onions, and shredded carrots. Mix thoroughly.
- Lay an egg roll wrapper in a diamond shape, scoop 2-3 tablespoons of filling into the center. Fold the bottom corner over filling, tuck in sides, and roll up. Seal with a dab of water.
- In a deep skillet, heat vegetable oil to 350°F (175°C). Carefully add egg rolls and fry for about 3-4 minutes, turning until golden brown.
- Once cooked, arrange the Voodoo Egg Rolls on a serving platter and serve hot with dipping sauces.