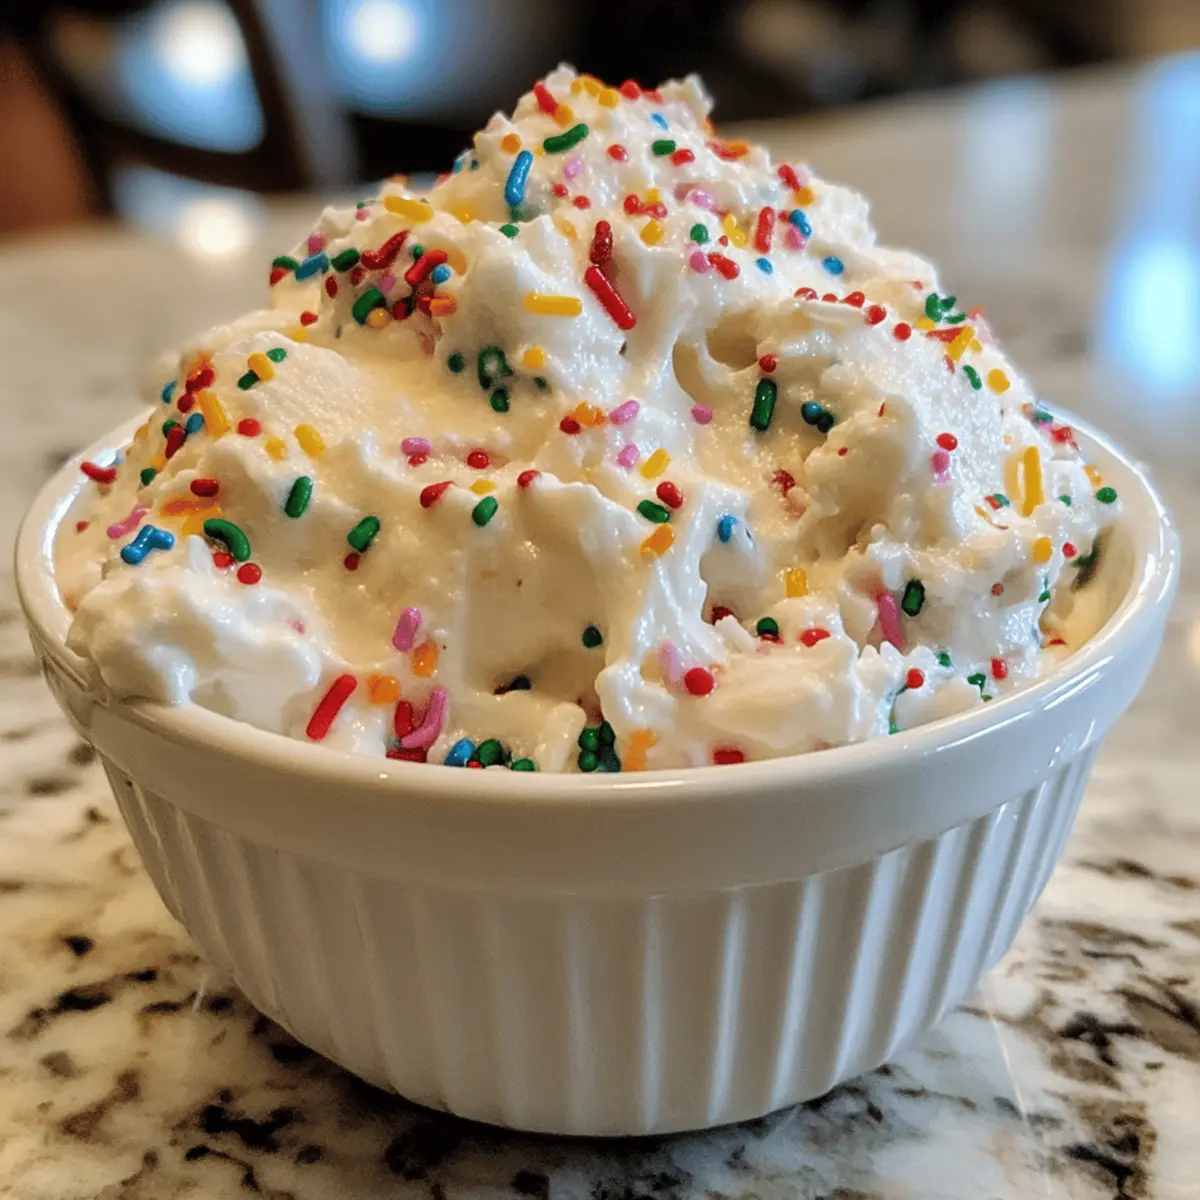
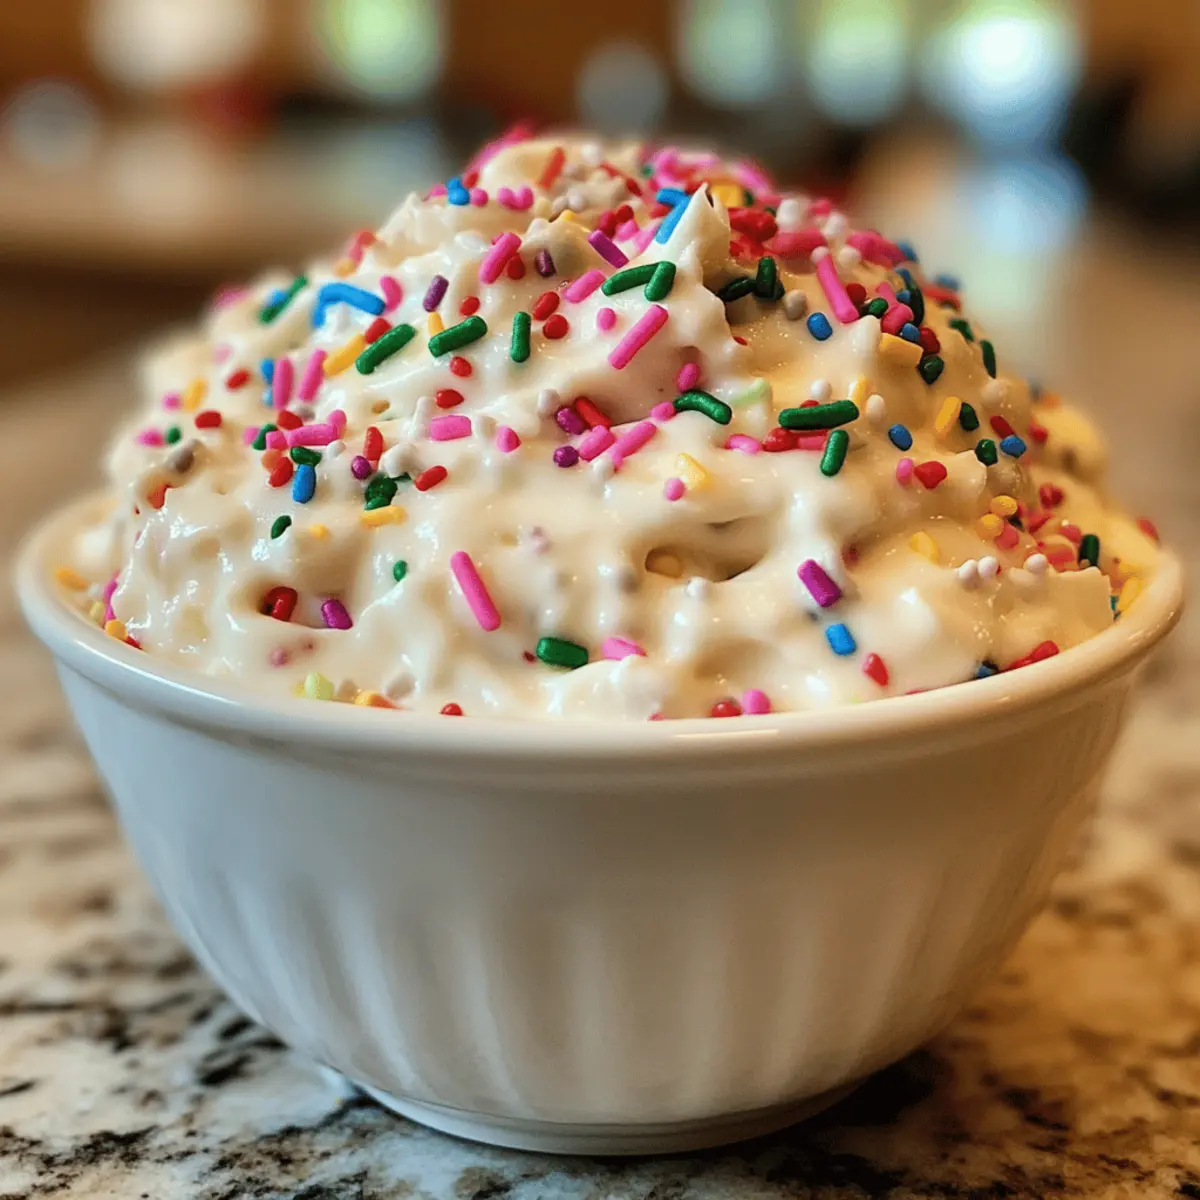
The first time I tasted this Christmas Tree Cake Dip, it felt like being wrapped in a cozy blanket of holiday nostalgia. Combining the iconic flavors of Little Debbie’s beloved snack cakes with a creamy, fluffy dip, this easy holiday dessert is sure to become a festive favorite. Not only is it a quick no-bake treat that comes together in mere minutes, but it also delights kids and adults alike, making it perfect for your seasonal gatherings. Imagine serving it at your next party, where everyone raves about its delightful textures and sweet hints of vanilla. Ready to spread some holiday cheer with this simple yet impressive dip? Let’s dive in and create some merry memories!
Why is Christmas Tree Cake Dip a Must-Try?
Easy to Make: This no-bake treat comes together effortlessly in just a few minutes, allowing you to enjoy the holiday hustle without the stress of extensive baking.
Kid-Friendly Fun: With its familiar flavors of Little Debbie Christmas Tree Cakes, this dip becomes an instant hit with kids, making it a delightful addition to holiday parties or family gatherings.
Versatile Pairings: Serve it with graham crackers or cookies for dipping—perfect for sharing at festivities! You can even experiment with alternate snacks like fruits or pretzels for a fun twist.
Nutritious Options: Each serving is approximately 117 calories, providing a sweet indulgence without overwhelming your festive diet. Plus, the recipe is fully adaptable if you want to incorporate alternative seasonal cakes for a unique taste.
Crowd-Pleasing: Everyone will love the creamy, fluffy texture combined with sweet hints of vanilla, a true embodiment of holiday cheer. Don’t forget to check out our Sky Jelly Cake for another festive dessert option!
Christmas Tree Cake Dip Ingredients
• The key to making this festive dip irresistible lies in the perfect blend of flavors and textures.
For the Dip
- Little Debbie Christmas Tree Cakes – Use 6 cakes from the 3 oz size (5 for the dip, 1 for garnish) or 8 cakes from the 8.52 oz box for a delightful base.
- Cream Cheese – Make sure it’s softened; this creamy ingredient provides a rich, indulgent texture.
- Milk – Whole milk works best to achieve a smooth, spreadable consistency that complements the dip.
- Vanilla Extract – Pure vanilla will elevate the dip’s flavor profile, harmonizing beautifully with the cake flavors.
- Cool Whip Whipped Topping – Use thawed for the light, airy texture that makes this dip so delightful.
For the Garnish
- Christmas Tree Sprinkles – These festive sprinkles add a charming finishing touch; feel free to swap with other holiday-themed sprinkles if desired.
Step‑by‑Step Instructions for Christmas Tree Cake Dip
Step 1: Prepare the Base
In a mixing bowl, use a hand mixer to beat 8 ounces of softened cream cheese on medium speed for about 1-2 minutes until it achieves a smooth and creamy consistency. Ensure there are no lumps as this will create a delightful base for your Christmas Tree Cake Dip, setting the foundation for the flavors to shine.
Step 2: Incorporate Cakes
Add the specified number of Little Debbie Christmas Tree Cakes—5 cakes if using the 3 oz size or 8 cakes from the 8.52 oz boxes—into the bowl. Mix on low speed for another 1-2 minutes until the cakes are thoroughly integrated with the cream cheese, creating a festive blend full of nostalgic flavors.
Step 3: Mix in Liquids
Pour in 1/4 cup of whole milk and 1 teaspoon of pure vanilla extract into the mixture. Use your hand mixer on low speed for about 30 seconds to 1 minute, ensuring the mix is well-combined and retains a smooth texture. This step will add the necessary creaminess to your Christmas Tree Cake Dip.
Step 4: Add Whipped Topping
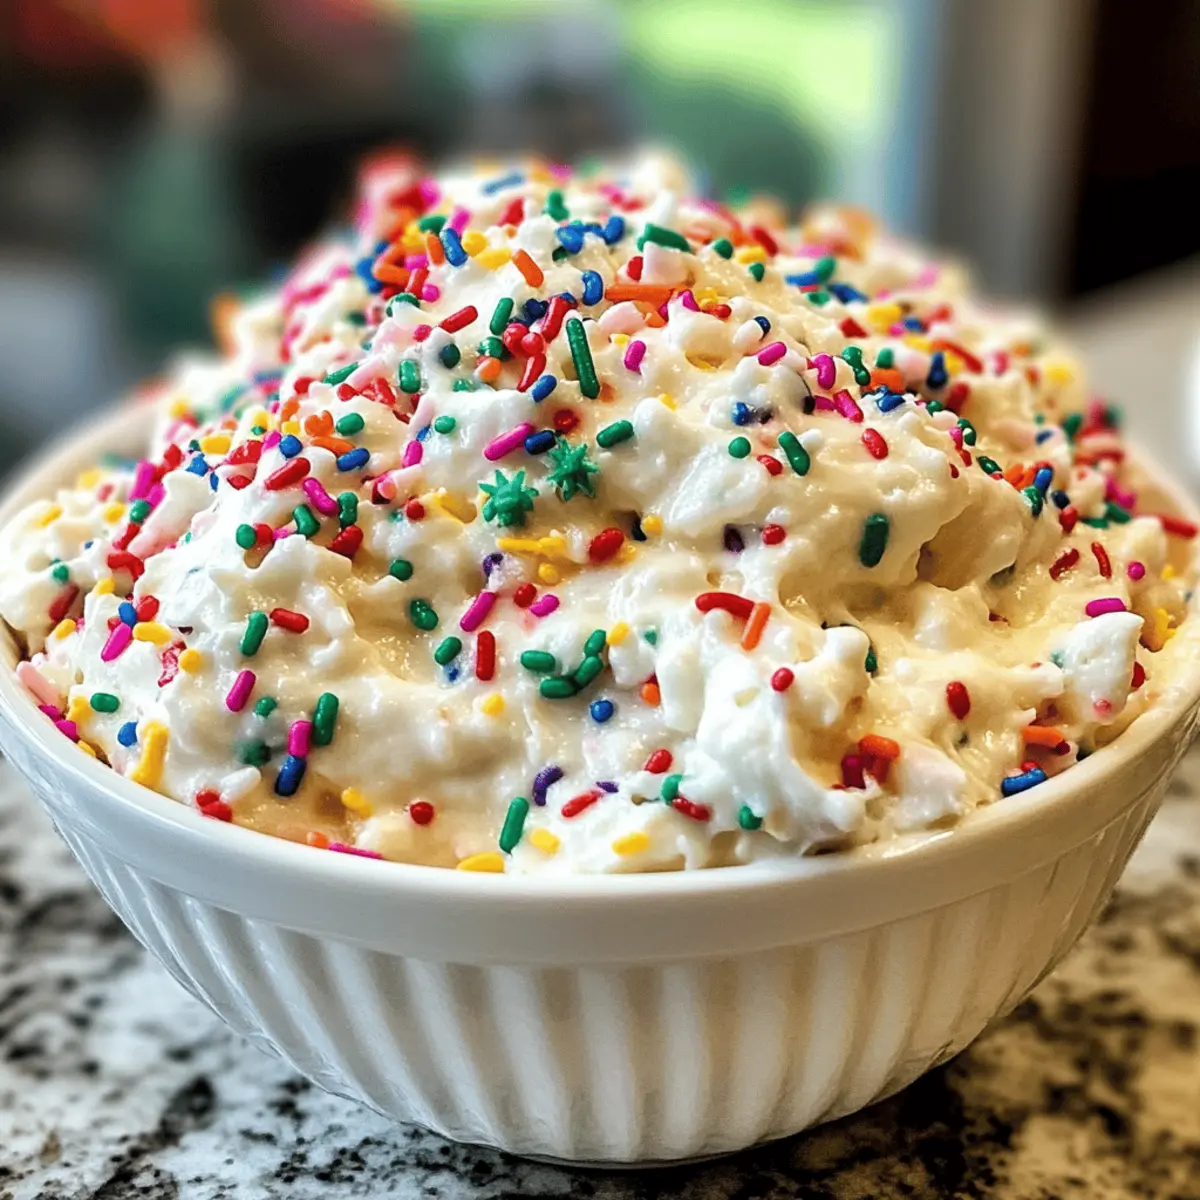
Gently fold in 8 ounces of thawed Cool Whip into the mixture using a spatula. Take care to maintain some chunky bits of the cake for added texture, which should take about 1-2 minutes. This will give the dip a light, airy feel while preserving the festive essence of the Christmas Tree Cake.
Step 5: Chill
Transfer the combined dip into a clean serving bowl. Cover it tightly with plastic wrap or a lid, then place it in the refrigerator to chill for at least 1 hour. This brief chilling time allows the flavors to meld together beautifully, enhancing the overall taste of the Christmas Tree Cake Dip.
Step 6: Garnish & Serve
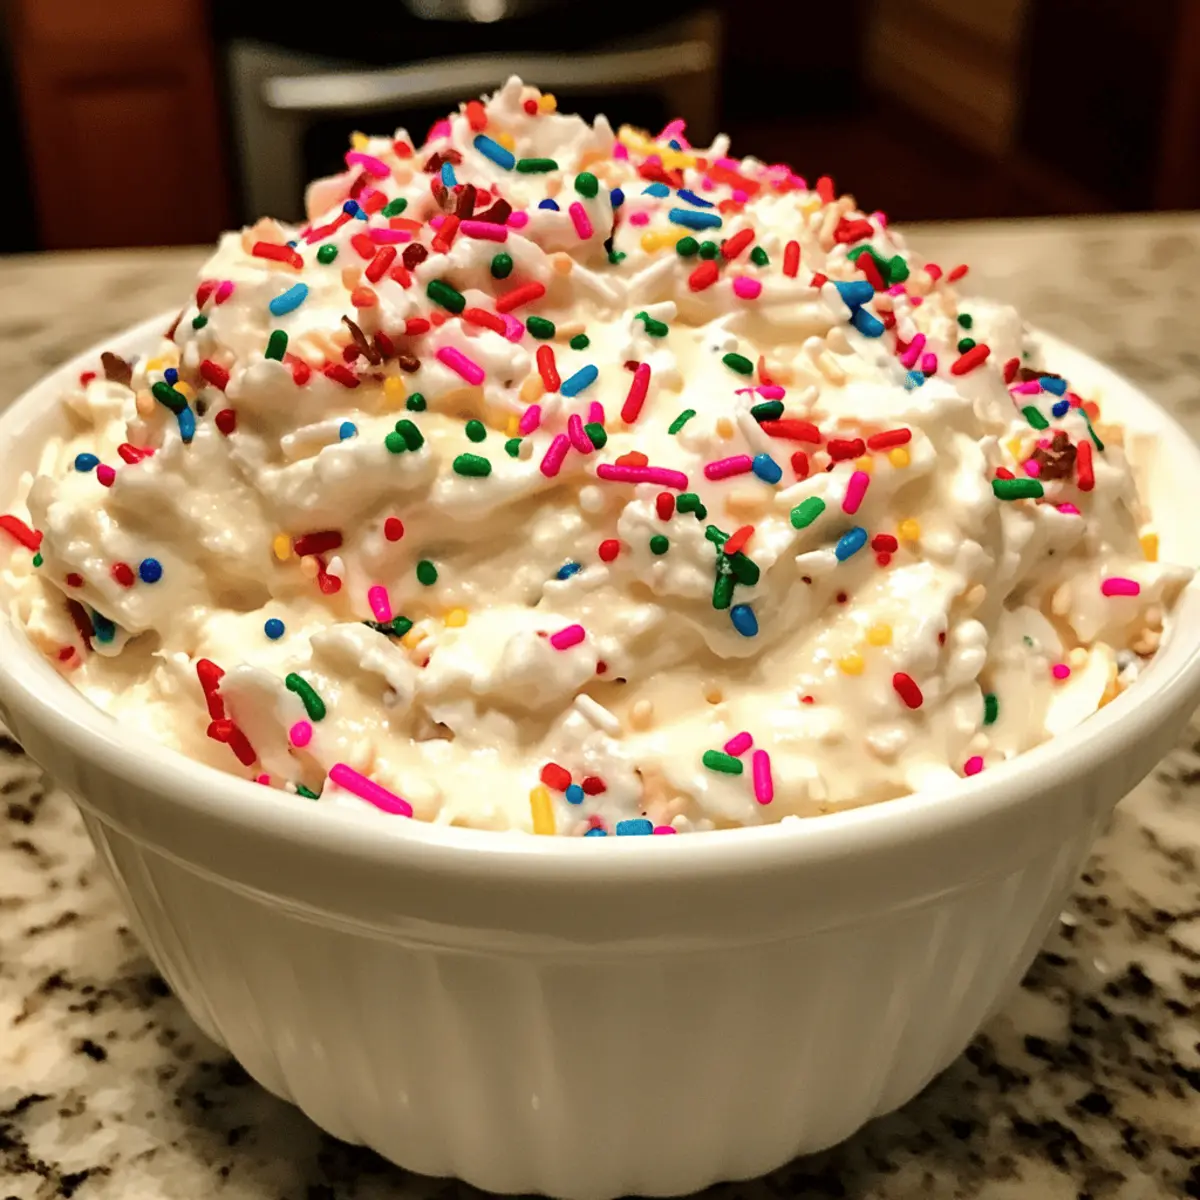
Before serving, take one remaining Christmas Tree Cake and slice it into small pieces for garnish. Decorate the top of the dip with these cake pieces and sprinkle festive Christmas Tree sprinkles for a cheerful touch. Pair this delicious dip with graham crackers, cookies, or fruit slices to create a fun and interactive dessert experience.
Make Ahead Options
These Christmas Tree Cake Dip is an ideal choice for busy home cooks looking to save time during the holiday season! You can prepare the dip up to 24 hours in advance, so it’s ready for your festive gatherings. To do this, complete the first five steps of the recipe and then transfer the dip to an airtight container in the refrigerator. This allows the flavors to meld beautifully. When you’re ready to serve, simply garnish with the additional Christmas Tree Cake and sprinkles as directed. Following these steps ensures your dip remains just as delicious and festive as ever, offering a delightful treat with minimal effort!
Expert Tips for Christmas Tree Cake Dip
• Room Temperature Ingredients: Ensure that your cream cheese is at room temperature before mixing; this prevents lumps and creates a smooth, creamy texture in your Christmas Tree Cake Dip.
• Chill for Flavor: Refrigerating the dip for at least an hour allows the flavors to meld beautifully; it’s well worth the wait to enhance the dip’s deliciousness!
• Mixing Gradually: When adding the cakes, mix slowly to avoid overwhelming your mixer; this helps maintain the perfect consistency and ensures a delightful cake chunk in every bite.
• Garnish Ideas: Get creative with garnishing! Use crushed candies or additional seasonal sprinkles instead of just cake pieces to make your Christmas Tree Cake Dip visually stunning.
• Taste-Testing: Always taste as you go! Adjust the milk or vanilla to customize the sweetness and creaminess to your preference, ensuring it’s just right for your holiday gatherings.
What to Serve with Christmas Tree Cake Dip?
Bring your holiday festivities to life with these delightful pairing suggestions that elevate every dip experience.
-
Graham Crackers: The slight crunch and sweetness of graham crackers perfectly balance the creaminess of the dip, creating a delightful textural contrast. They’re also a fun, easy choice for kids and adults alike.
-
Nilla Wafers: These classic cookies add a buttery vanilla flavor that echoes the dip’s sweet notes, making every bite a nostalgic journey. Their crisp texture adds an enjoyable crunch against the dip’s softness.
-
Fresh Fruit Slices: Try apples or strawberries for a fresh, vibrant twist. The natural acidity of the fruit enhances the sweetness of the cake dip, adding a refreshing element that lightens the overall indulgence.
-
Pretzels: For those who love a sweet and salty combo, pretzels are a perfect choice! Their crunchy exterior and saltiness contrast beautifully with the dip’s creamy sweetness, creating a dynamic flavor profile.
-
Mini Cookies: Pair with bite-sized holiday cookies for a sweet and festive experience. Consider chocolate chip or sugar cookies for double the flavor excitement.
-
Chocolate Dipping Sticks: Chocolate-covered pretzel rods or cookie sticks come alive when dipped in the creamy mixture, adding a rich depth of flavor and a touch of decadence.
-
Hot Cocoa: Complement your Christmas Tree Cake Dip with a cozy cup of hot cocoa. The rich warmth of the cocoa enhances the festive spirit, creating a perfect pairing for those chilly holiday evenings.
-
Sprinkle-Covered Marshmallows: Sweeten the excitement with marshmallows rolled in festive sprinkles. They add a playful visual pop and an additional layer of sweetness to your festive dip experience.
-
Eggnog: If you’re feeling adventurous, serve up a glass of homemade eggnog alongside. The creamy and nutmeg-infused flavor pairs harmoniously with the dip, making for a classic holiday combo.
How to Store and Freeze Christmas Tree Cake Dip
Fridge: Keep your Christmas Tree Cake Dip in an airtight container for up to 3 days in the refrigerator to maintain its creamy consistency and flavor.
Freezer: While it’s best enjoyed fresh, you can freeze the dip for up to 2 months. Transfer it to a freezer-safe container, leaving some room for expansion.
Thawing: To enjoy the frozen dip, thaw it in the fridge overnight before serving. Give it a gentle stir to restore its creamy texture.
Reheating: Since this is a no-bake dip, there’s no need to reheat. Just serve chilled or at a cool room temperature for the best experience!
Christmas Tree Cake Dip Variations
Feel free to customize this delightful dip and create your own unique flavor experience!
-
Zebra Cake Swap: Use zebra cakes instead of Christmas Tree Cakes for a chocolatey twist that surprises and delights.
-
Nut-Free Option: Replace cream cheese with a dairy-free alternative to create a nut-free version everyone can enjoy without worry.
-
Chocolate Bliss: For chocolate lovers, mix in some cocoa powder or substitute chocolate-flavored Cool Whip for a richer, decadent flavor.
-
Coconut Touch: Add shredded coconut to the dip for a tropical flair that will make your taste buds dance, enhancing the festive vibe.
-
Berry Delight: Fold in crushed strawberries or raspberries for a fruity twist that balances the sweetness and adds a pop of color.
-
Spiced Up: Sprinkle some cinnamon or nutmeg into the mix for a warming holiday spice that brings a cozy charm to your dip.
-
Smooth Operator: For a silkier dip, blend in silken tofu; it’s a fantastic way to add protein without altering the decadent taste.
-
Serving Variety: Serve with different types of dippers such as pretzels or apple slices for an exciting combination of flavors and textures—perfect for a crowd!
Don’t forget to check out our Nutty Vanilla Cake for another delicious dessert idea or explore our Blueberry and Cream Cheese Cake for a fruity dessert option!
Christmas Tree Cake Dip Recipe FAQs
What’s the best way to select Little Debbie Christmas Tree Cakes?
Absolutely! Choose cakes that are free from dark spots or visible damage on the packaging to ensure freshness. Look for cakes that are intact and have a good balance of frosting covering, as this contributes to the dip’s flavor and texture.
How long can I store Christmas Tree Cake Dip in the refrigerator?
You can keep your Christmas Tree Cake Dip in an airtight container in the refrigerator for up to 3 days. It’s best consumed fresh, but chilling allows the flavors to meld beautifully, enhancing the overall taste. After the third day, the dip might lose its ideal creamy consistency and flavor.
Can I freeze the Christmas Tree Cake Dip?
Yes, you can freeze the dip for up to 2 months! Just transfer it to a freezer-safe container, leaving about an inch of headspace for expansion. When you’re ready to enjoy it, thaw it in the refrigerator overnight. After thawing, give it a gentle stir to restore its creamy texture before serving.
What should I do if the dip is too thick?
If your Christmas Tree Cake Dip turns out thicker than desired, no worries! Simply add a tablespoon of milk at a time and mix until you reach your desired consistency. Ensure all ingredients are at room temperature during preparation; this will help maintain a smooth blend.
Is this dip safe for kids with allergies?
Check the labels on all ingredients carefully! The dip contains cream cheese and Cool Whip, which could pose an issue for those with dairy allergies. Additionally, ensure that there are no traces of nuts or gluten in the Little Debbie cakes if allergies are a concern. Always consult with your child’s caregiver about materials used in the ingredients.
How can I make this dip healthier?
Great question! To make this Christmas Tree Cake Dip healthier, consider using reduced-fat cream cheese and lighter whipped topping. You can also add some protein powder for extra nutrition. Alternatively, you might experiment with healthier dippers like apple slices or plain rice cakes instead of cookies to keep the indulgence in check.
Irresistible Christmas Tree Cake Dip for Holiday Cheer
Ingredients
Equipment
Method
- In a mixing bowl, beat 8 ounces of softened cream cheese on medium speed for 1-2 minutes until smooth and creamy.
- Add 5 Little Debbie Christmas Tree Cakes into the bowl and mix on low speed for 1-2 minutes until well integrated.
- Pour in 1/4 cup of whole milk and 1 teaspoon of pure vanilla extract, mix on low for 30 seconds to 1 minute until smooth.
- Gently fold in 8 ounces of thawed Cool Whip using a spatula, maintaining some chunks of cake for texture.
- Transfer the dip into a serving bowl, cover with wrap, and refrigerate for at least 1 hour.
- Before serving, garnish with sliced pieces of the remaining Christmas Tree Cake and sprinkle with Christmas Tree sprinkles.