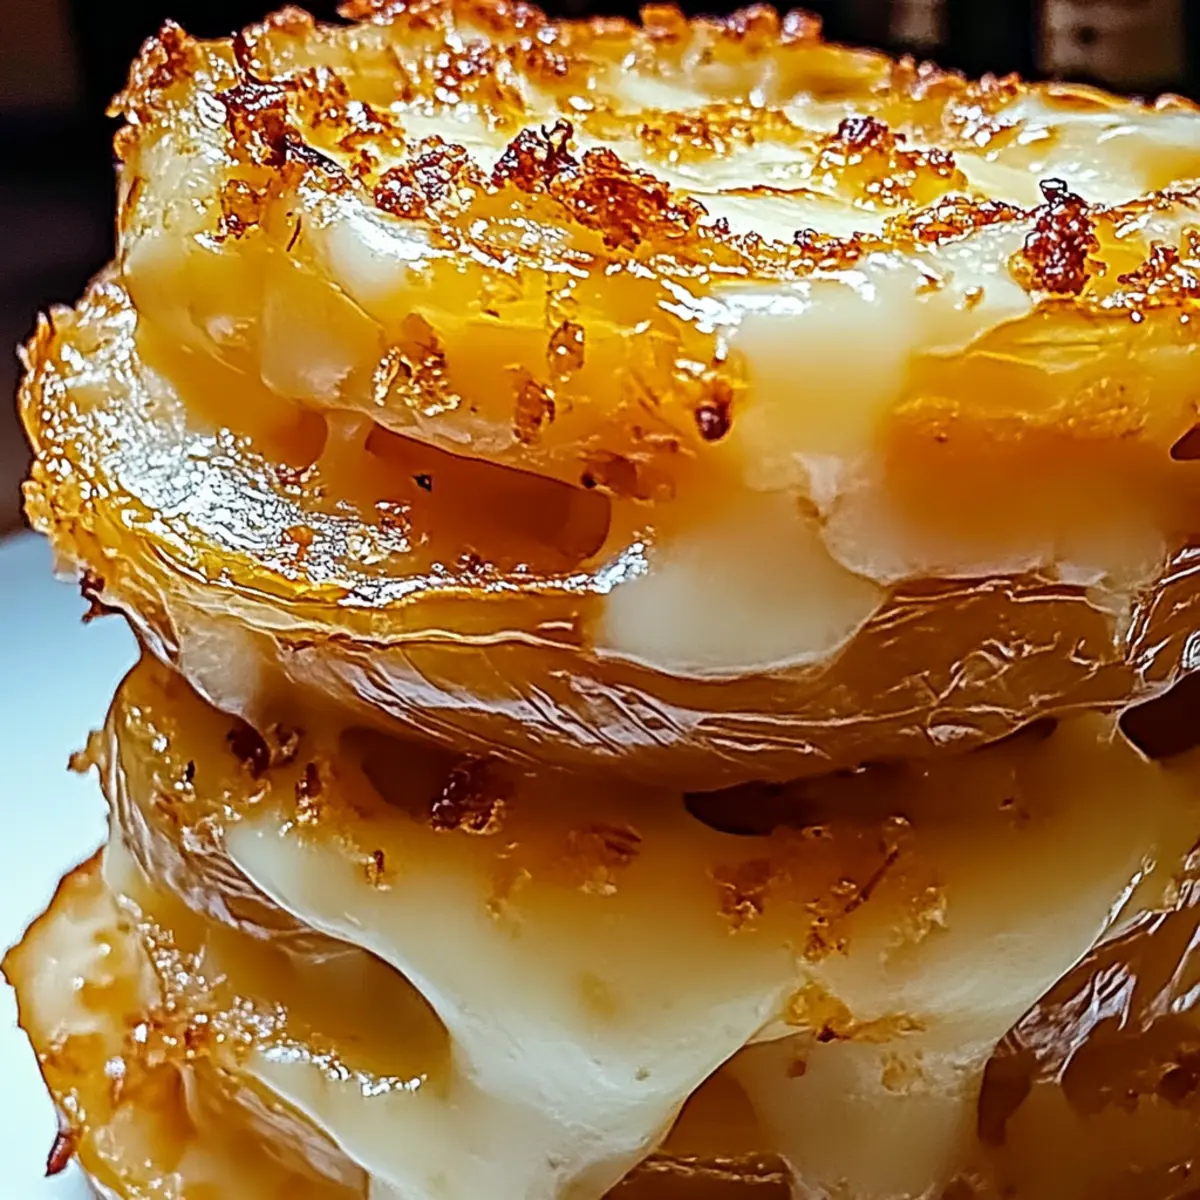
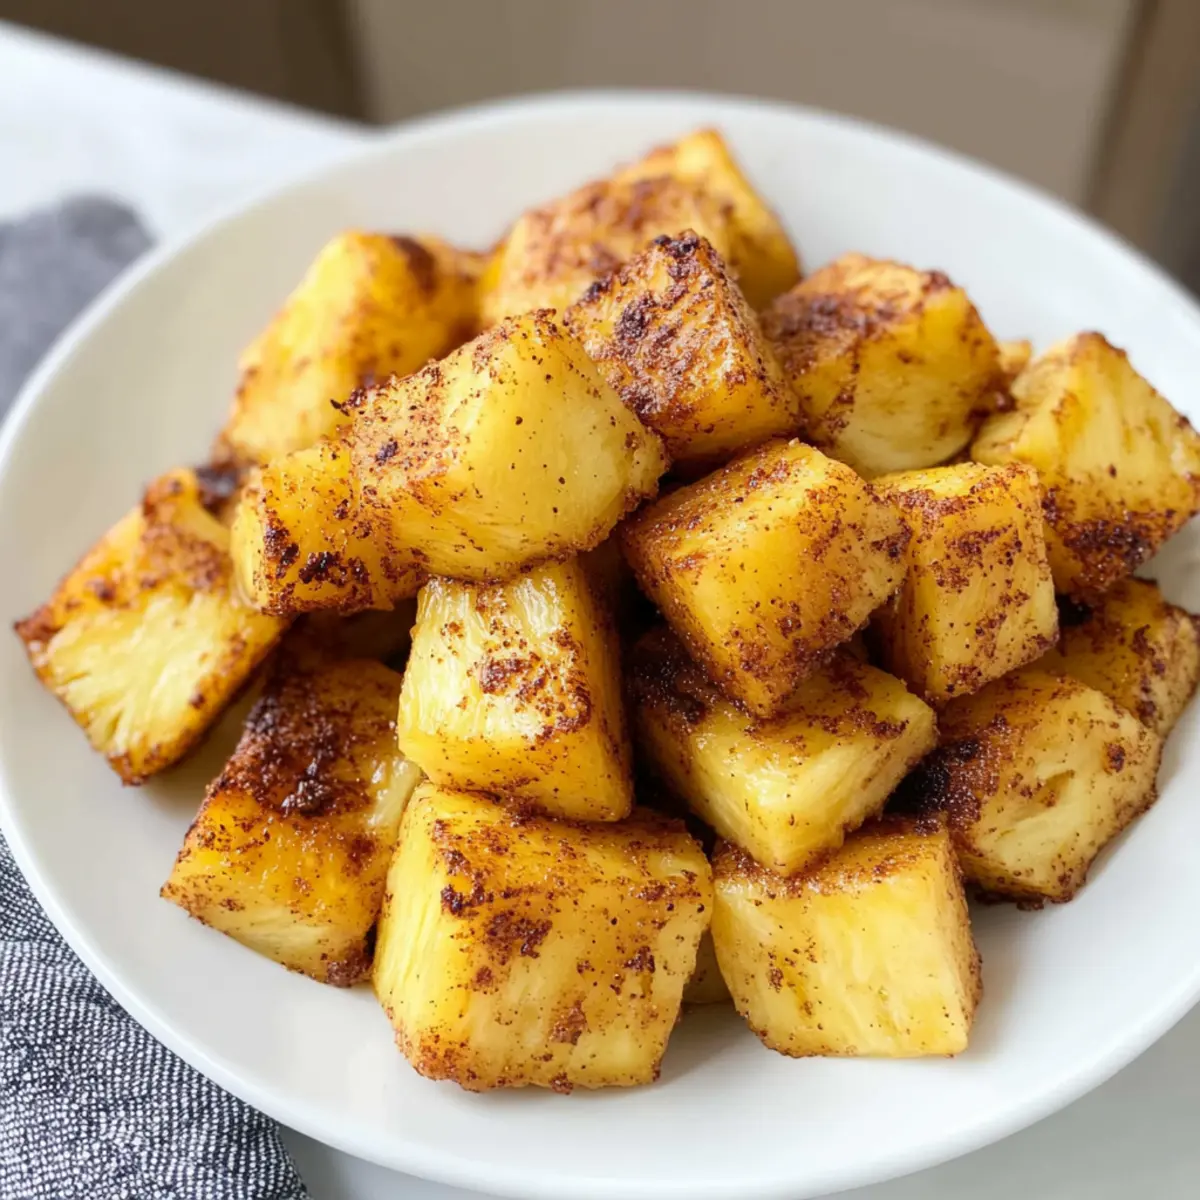
As the sweet scent of caramelized pineapple fills the kitchen, I can’t help but feel transported to a sunlit beach in Brazil. My latest culinary adventure, Air Fryer Pineapple with Brown Sugar and Cinnamon, captures that blissful tropical essence right at home! This quick and easy dessert showcases the natural sweetness of fresh pineapple while using minimal oil, making it a guilt-free indulgence. Perfectly air-fried in just 25 minutes, each bite offers a delightful crunch paired with warm, spiced flavors. Whether you’re seeking a delightful end to a summer meal or a fun way to impress guests, this recipe is sure to please. Are you ready to elevate your dessert game with this simple yet delicious treat?
Why Choose Air Fryer Pineapple?
Sweet, Tropical Flavor: This dessert bursts with the natural sweetness of fresh pineapple, enhanced by warm spices that evoke tropical vibes.
Quick & Easy: With just 25 minutes from prep to plate, you can whip up a delightful treat without breaking a sweat.
Healthy Indulgence: Using minimal oil, this recipe keeps things light, making it a guilt-free choice compared to heavier desserts.
Versatile Serving Options: Enjoy it alone or dress it up with a scoop of ice cream or some vanilla yogurt for added creaminess. You could even serve it alongside grilled meats for a unique twist!
Crowd-Pleaser: Perfect for family gatherings or romantic dinners, this air-fried goodness is sure to impress and delight, just like my other favorites, Tropical Chicken Pineapple and Tropical Pineapple Soft.
Air Fryer Pineapple Ingredients
• Get ready for a tropical delight!
For the Pineapple
- Fresh Pineapple – Choose a ripe pineapple for maximum sweetness and flavor; it should feel firm yet slightly yielding when pressed.
For the Sweet Coating
- Light Brown Sugar – This ingredient adds sweetness and helps achieve that lovely caramelization; coconut sugar works as a great healthier alternative.
- Melted Butter – It allows the spices to adhere and adds rich flavor; feel free to swap for coconut oil for a dairy-free option.
For the Spice Blend
- Cinnamon – Enhances the tropical sweetness with a warm, comforting touch; consider experimenting with a hint of ginger for a different twist.
- Nutmeg – Use sparingly to complement the cinnamon with a subtle spiced note that elevates the dish.
Step‑by‑Step Instructions for Air Fryer Pineapple
Step 1: Preheat the Air Fryer
Begin by preheating your air fryer to 400°F (204°C) for about 5 minutes. This ensures the air fryer is hot enough to achieve that delicious caramelization on your Air Fryer Pineapple. A properly preheated appliance maximizes the flavors and gives you a beautiful golden crust as the pineapple cooks to perfection.
Step 2: Prepare the Pineapple
While the air fryer heats up, take a fresh, ripe pineapple and peel it, removing all the skin and eyes. Cut the pineapple into bite-sized cubes, ensuring they are of uniform size for even cooking. Place the pineapple cubes in a large mixing bowl, and get ready to infuse them with flavor!
Step 3: Mix the Sweet Coating
In the same bowl with your cubed pineapple, drizzle in melted butter or coconut oil to help the spices adhere. Then, sprinkle in light brown sugar, cinnamon, and a dash of nutmeg. Use a spatula to gently toss everything until the pineapple is well-coated and the spices are evenly distributed, creating a fragrant, enticing mixture.
Step 4: Arrange the Pineapple in the Air Fryer
Carefully place the coated pineapple cubes in the air fryer basket, ensuring they are arranged in a single layer. Avoid overcrowding the basket, as this could prevent even cooking. The goal is to allow the hot air to circulate freely, leading to beautifully caramelized Air Fryer Pineapple pieces.
Step 5: Air Fry the Pineapple
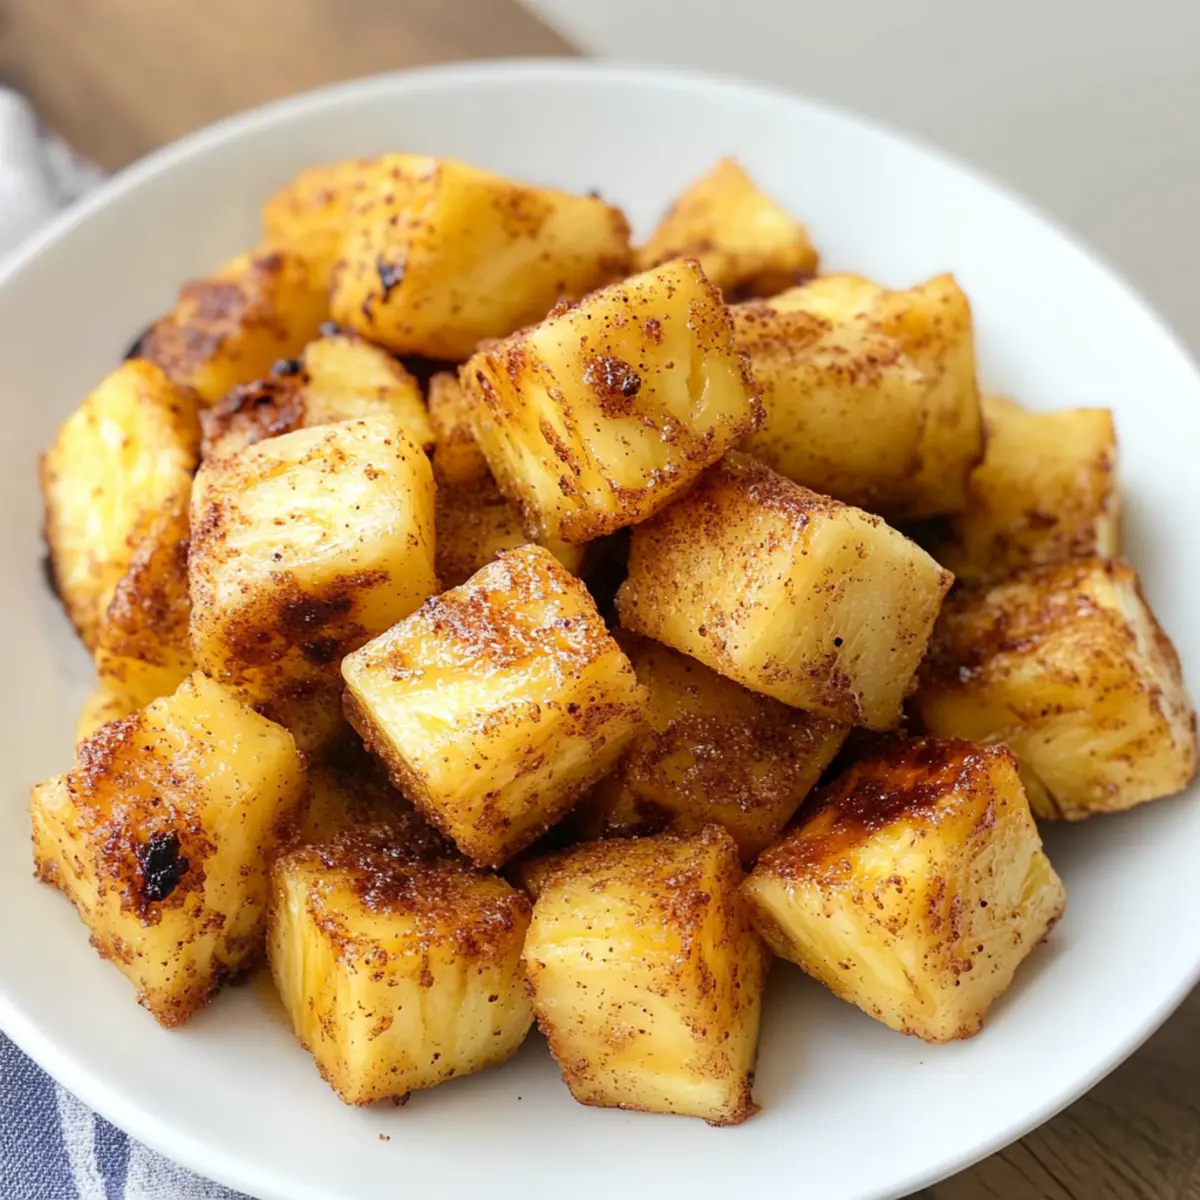
Set your air fryer to cook the pineapple for about 10 minutes. Halfway through the cooking time, pause the air fryer and gently shake the basket to ensure consistent browning. You’ll know your pineapple is ready when it appears golden brown and slightly charred around the edges, exuding a sweet aroma!
Step 6: Serve and Enjoy
Once the cooking time is up, carefully remove the air fryer basket. Let the pineapple cool slightly before serving. For an extra touch, you can garnish your Air Fryer Pineapple with a sprinkle of shredded coconut or a drizzle of honey. Enjoy this tropical delight as a standalone dessert or a fun accompaniment to your favorite dishes!
How to Store and Freeze Air Fryer Pineapple
Fridge: Store any leftover air fryer pineapple in an airtight container for up to 2 days to maintain its delicious flavor and texture.
Freezer: This recipe is not suitable for freezing, as the texture of the pineapple may change when thawed. Enjoy fresh for the best experience!
Reheating: To enjoy leftovers, reheat the pineapple in your air fryer at 350°F (175°C) for about 3-5 minutes until warmed through.
Serving Fresh: For the best taste, serve the air fryer pineapple immediately after cooking to relish its warm, caramelized goodness.
Make Ahead Options
These Air Fryer Pineapple treats are perfect for meal prep enthusiasts! You can prepare the pineapple cubes and coat them in melted butter, brown sugar, cinnamon, and nutmeg up to 24 hours in advance. Simply store the coated pineapple in an airtight container in the refrigerator to keep it fresh and flavorful. When you’re ready to enjoy, just pop the prepped pineapple cubes into the air fryer for about 10 minutes, shaking the basket halfway through for even caramelization. This way, you can save precious time on busy weeknights while still serving up a delicious and tropical dessert that’s just as delightful as if you made it fresh!
What to Serve with Air Fryer Pineapple?
Imagine a warm evening breeze wafting through the air while you savor that sweet, caramelized pineapple—what could possibly enhance this tropical delight?
-
Grilled Chicken Skewers: Juicy, savory chicken perfectly complements the sweetness of pineapple. The smoky flavor of grilling adds depth and balances the dish beautifully.
-
Vanilla Yogurt: A creamy dollop of vanilla yogurt contrasts with the warm, spiced pineapple, creating a luscious pairing. The coolness enhances the delightful texture.
-
Coconut Rice: Light and fluffy coconut rice brings a subtle sweetness that pairs harmoniously with the air-fried pineapple. Garnish with a sprinkle of lime zest for a refreshing kick.
-
Mixed Green Salad: A crisp salad dressed with a tangy vinaigrette provides a refreshing contrast to the warm dessert. Add sliced almonds for crunch and a touch of nuttiness.
-
Sparkling Water: A glass of sparkling water with a splash of lime makes for a refreshing accompaniment, cleansing the palate between bites of the rich, sweet pineapple.
-
Dark Chocolate Sauce: Drizzling rich dark chocolate over the pineapple introduces a decadent flavor profile that beautifully melds with the sweetness. It’s a luxurious finish for any dessert table.
Expert Tips for Air Fryer Pineapple
• Choose Ripeness Wisely: Always opt for a ripe pineapple; a firm texture that yields slightly when pressed indicates perfect sweetness and flavor.
• Avoid Overcrowding: Arrange pineapple cubes in a single layer in the air fryer basket; overcrowding can lead to uneven cooking and sogginess.
• Perfect Timing: Keep an eye on cooking time; air fry for about 10 minutes but check halfway through to ensure an even golden-brown finish.
• Extra Garnish: Elevate your Air Fryer Pineapple by garnishing with shredded coconut or a drizzle of honey for added flavor and visual appeal.
• Spice it Up: Don’t hesitate to adjust spices; a pinch of cayenne or swapping cinnamon for allspice can create a unique twist that surprises your palate.
Air Fryer Pineapple: Recipe Variations
Feel free to sprinkle your own creativity into this delightful recipe and enjoy it in numerous exciting ways!
- Sweet Swap: Replace light brown sugar with honey or maple syrup for a unique sweet flavor that adds depth to your dish.
- Spicy Kick: Add a pinch of cayenne or chili powder for unexpected heat and a surprising warm contrast to the sweetness.
- Creamy Delight: Serve with a scoop of creamy vanilla ice cream or a dollop of coconut yogurt for an indulgent twist.
- Tropical Twist: Mix in some shredded coconut before air frying for added texture and a delightful tropical feel.
- Cinnamon Variation: Try swapping cinnamon for allspice or a pinch of nutmeg for an intriguing flavor dimension.
- Herb Infusion: Experiment with fresh mint or basil after cooking for a refreshing herbaceous finish, elevating the tropical essence.
- Fruity Entourage: Serve alongside fresh fruit salad to enhance the tropical flair, making it a perfect summer dish.
- Grilled Duo: Pair your air-fried pineapple with grilled chicken or pork, like my family-favorite Tropical Chicken Pineapple for an unforgettable meal!
These variations will keep your culinary adventures exciting and fresh, so get ready to enjoy this versatile treat your way!
Air Fryer Pineapple with Brown Sugar and Cinnamon Recipe FAQs
How do I choose a ripe pineapple?
Absolutely! A ripe pineapple should feel firm but yield slightly when pressed. Look for a sweet, fragrant aroma, and avoid any with dark spots or a shriveled skin.
How should I store leftover air fryer pineapple?
You can store any leftover air fryer pineapple in an airtight container in the fridge for up to 2 days. This keeps it fresh and preserves its wonderful flavor and texture. Just remember to let it cool to room temperature before storing.
Can I freeze air fryer pineapple?
This recipe is not suitable for freezing, as the texture of the pineapple may change significantly when thawed. I recommend enjoying it fresh for the best taste experience! If you do have leftovers, make sure to consume them within the 2-day shelf life in the fridge.
What can I do if my air fryer pineapple isn’t caramelizing?
Very! If your pineapple isn’t caramelizing as expected, consider checking the temperature of your air fryer; ensure it’s preheated to 400°F (204°C). Also, avoid overcrowding the basket—this can prevent the hot air from circulating properly. If needed, toss the pineapple with a bit more melted butter or sugar to enhance caramelization.
Are there any dietary considerations for air fryer pineapple?
Absolutely! This recipe is naturally gluten-free and can easily be adapted to be dairy-free by substituting melted butter with coconut oil. If you’re concerned about allergies, always check the labels on your sugar alternatives to ensure they’re safe for your dietary needs.
Air Fryer Pineapple: Sweet, Healthy Bliss in 25 Minutes
Ingredients
Equipment
Method
- Preheat your air fryer to 400°F (204°C) for about 5 minutes.
- Peel the fresh pineapple and cut into bite-sized cubes. Place in a large mixing bowl.
- Drizzle in melted butter (or coconut oil) and toss with brown sugar, cinnamon, and nutmeg until well-coated.
- Arrange the coated pineapple cubes in a single layer in the air fryer basket, avoiding overcrowding.
- Air fry the pineapple for about 10 minutes, shaking the basket halfway through for even cooking.
- Once done, let cool slightly before serving. Garnish with shredded coconut or honey if desired.