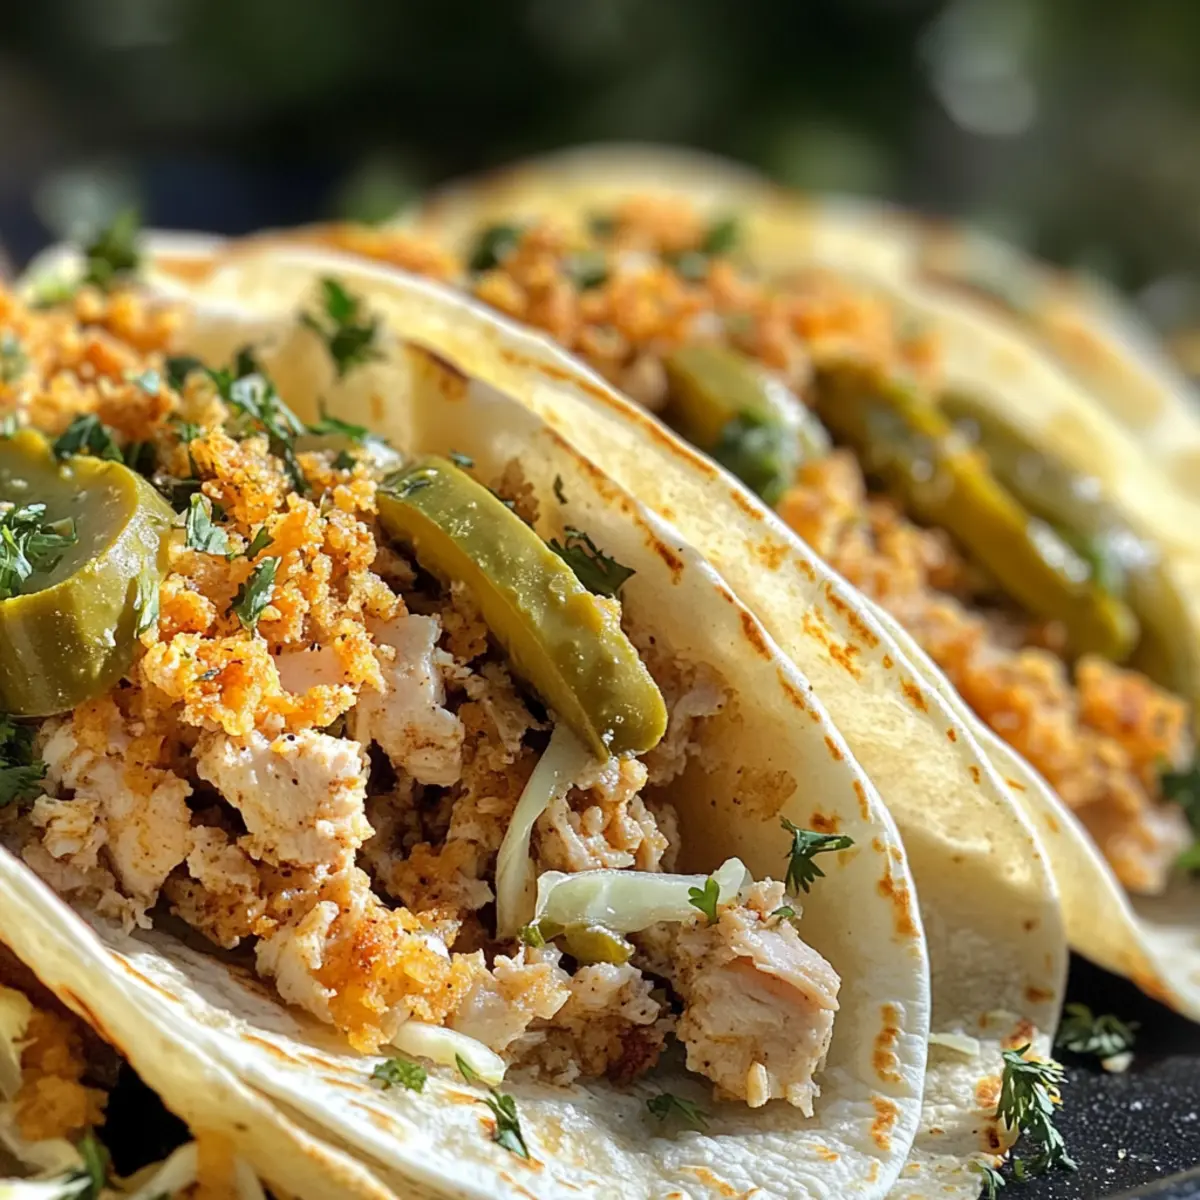
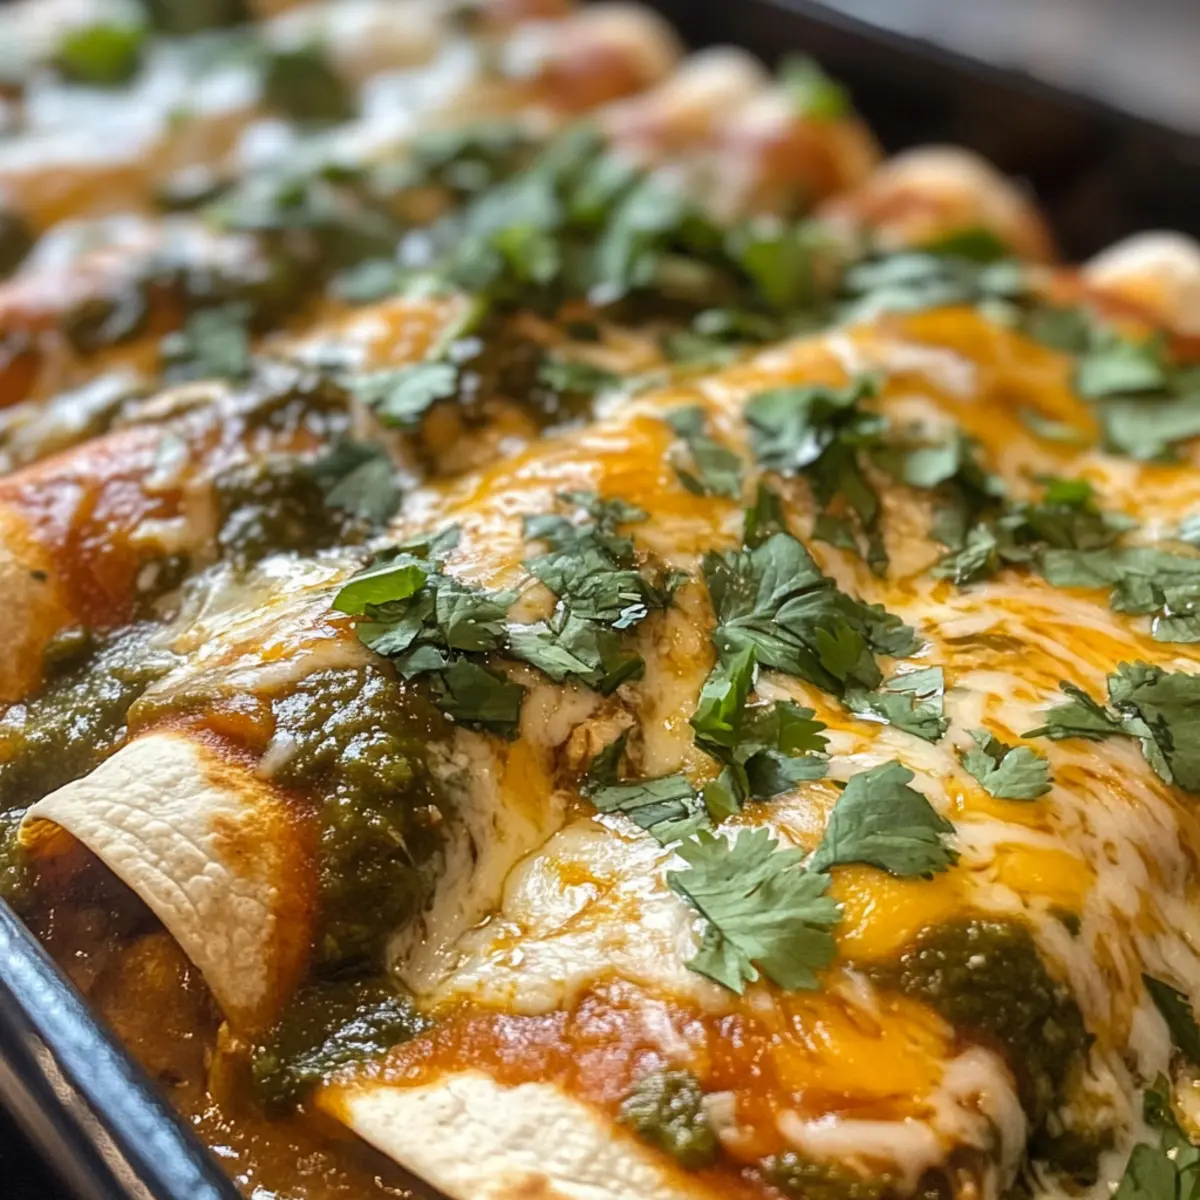
The aroma of roasted poblanos fills the kitchen, and my taste buds start tingling. I’ve discovered the secret to a cozy dinner that impresses without the fuss: Creamy Poblano Chicken Enchiladas. With soft corn tortillas enfolding tender rotisserie chicken and drizzled with a rich poblano-cilantro sauce, this recipe is a delightful way to elevate your weeknight meals. Not only is it incredibly easy to prepare, but it also brings everyone together at the table—the perfect antidote to fast-food fatigue. So grab your apron and let’s dive into this warm, comforting dish that’s sure to become a family favorite. What’s your favorite twist on enchiladas?
Why Are Enchiladas So Irresistible?
Comfort in Every Bite: There’s something truly special about enchiladas that brings everyone in the family together. Creamy, Velvety Sauce: The rich poblano-cilantro sauce envelops the enchiladas, creating a flavor explosion with each bite. Time-Saver: Using shredded rotisserie chicken means less prep time, making this dish perfect for busy weeknights. Versatile Ingredients: Whether you want to add black beans or substitute the cheese, the possibilities are endless! Plus, for those who love classic flavors, check out our Homemade Chicken Pot Pie Soup for another comforting option. Get ready to impress your loved ones with this delightful recipe and never look back at fast food again!
Creamy Poblano Chicken Enchiladas Ingredients
For the Sauce
• Unsalted Butter (3 tablespoons) – Adds richness and flavor. Substitute with olive oil for a dairy-free option.
• Garlic (3 cloves, peeled and smashed) – Provides aromatic depth. Fresh garlic is recommended for the best flavor.
• Poblano Peppers (2, seeds and stems removed, chopped) – Adds mild heat and earthy flavor. Substitute with Anaheim peppers if unavailable.
• All-Purpose Flour (1/4 cup) – Thickens the sauce. Can substitute with cornstarch for a gluten-free option.
• Chicken Broth (1 1/4 cups) – Enhances the savory flavor base. Use low-sodium broth to control saltiness.
• Whole Milk (1 1/4 cups) – Gives the sauce creaminess. Consider using almond or oat milk for a lighter version.
• Chopped Cilantro (1/2 cup) – Adds freshness and herbaceous notes. Substitute with parsley if cilantro is not preferred.
• Kosher Salt (1 teaspoon) – Enhances all flavors. Adjust to taste, particularly if using salted broth.
For the Filling
• Shredded Rotisserie Chicken (4 cups) – Provides convenient protein. Any shredded cooked chicken will work.
• Corn Tortillas (12, warmed) – Serves as the wrap base. Warm tortillas to prevent cracking; can substitute with whole wheat or gluten-free tortillas.
For the Topping
• Shredded Pepper Jack Cheese (8 ounces) – Adds creaminess and a bit of heat. Substitute with Monterey Jack or Cheddar cheese for a different flavor profile.
• Juice of 1/2 Lime – Brightens the dish. Fresh lime juice is recommended for the best flavor.
• Chopped Cilantro for garnish (1 tablespoon) – Visual and flavor garnish. Optional but encouraged for presentation.
Step‑by‑Step Instructions for Creamy Poblano Chicken Enchiladas
Step 1: Prepare the Sauce
In a large pan, melt 1 tablespoon of butter over medium heat. Add the smashed garlic and chopped poblano peppers to the pan, cooking for about 10 minutes until they soften and become aromatic. After they are tender, stir in 2 more tablespoons of butter, followed by sprinkling the flour over the mixture. Stir continuously for 1 minute until a thick paste forms.
Step 2: Make It Creamy
Gradually pour in 1 1/4 cups of chicken broth, stirring until the mixture is smooth and combined. Use an immersion blender to puree the sauce until silky. Bring it to a gentle simmer, then add 1 1/4 cups of whole milk. Stir continuously for 5-7 minutes until the sauce thickens slightly, and then mix in the chopped cilantro and salt before removing from heat.
Step 3: Assemble Enchiladas
Preheat your oven to 375°F (190°C). In a 9×13 baking dish, pour a thin layer of the creamy poblano sauce on the bottom to prevent sticking. Take each warmed corn tortilla and fill it with shredded rotisserie chicken, then roll it tightly and place seam-side down in the dish. Continue this process until all tortillas are filled and snugly arranged in the baking dish.
Step 4: Top It Off
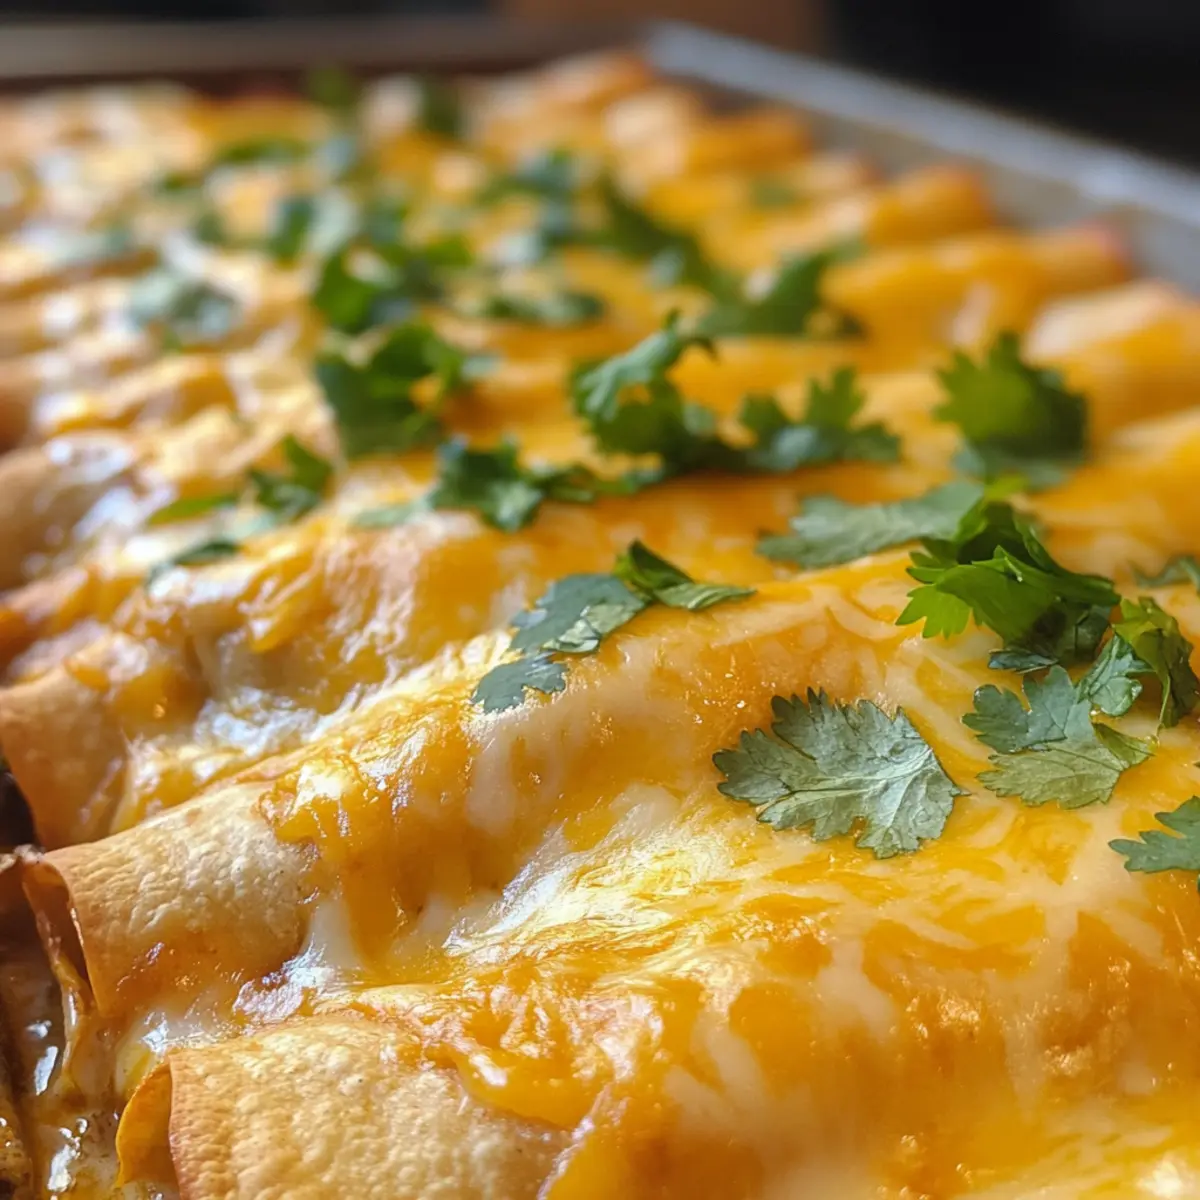
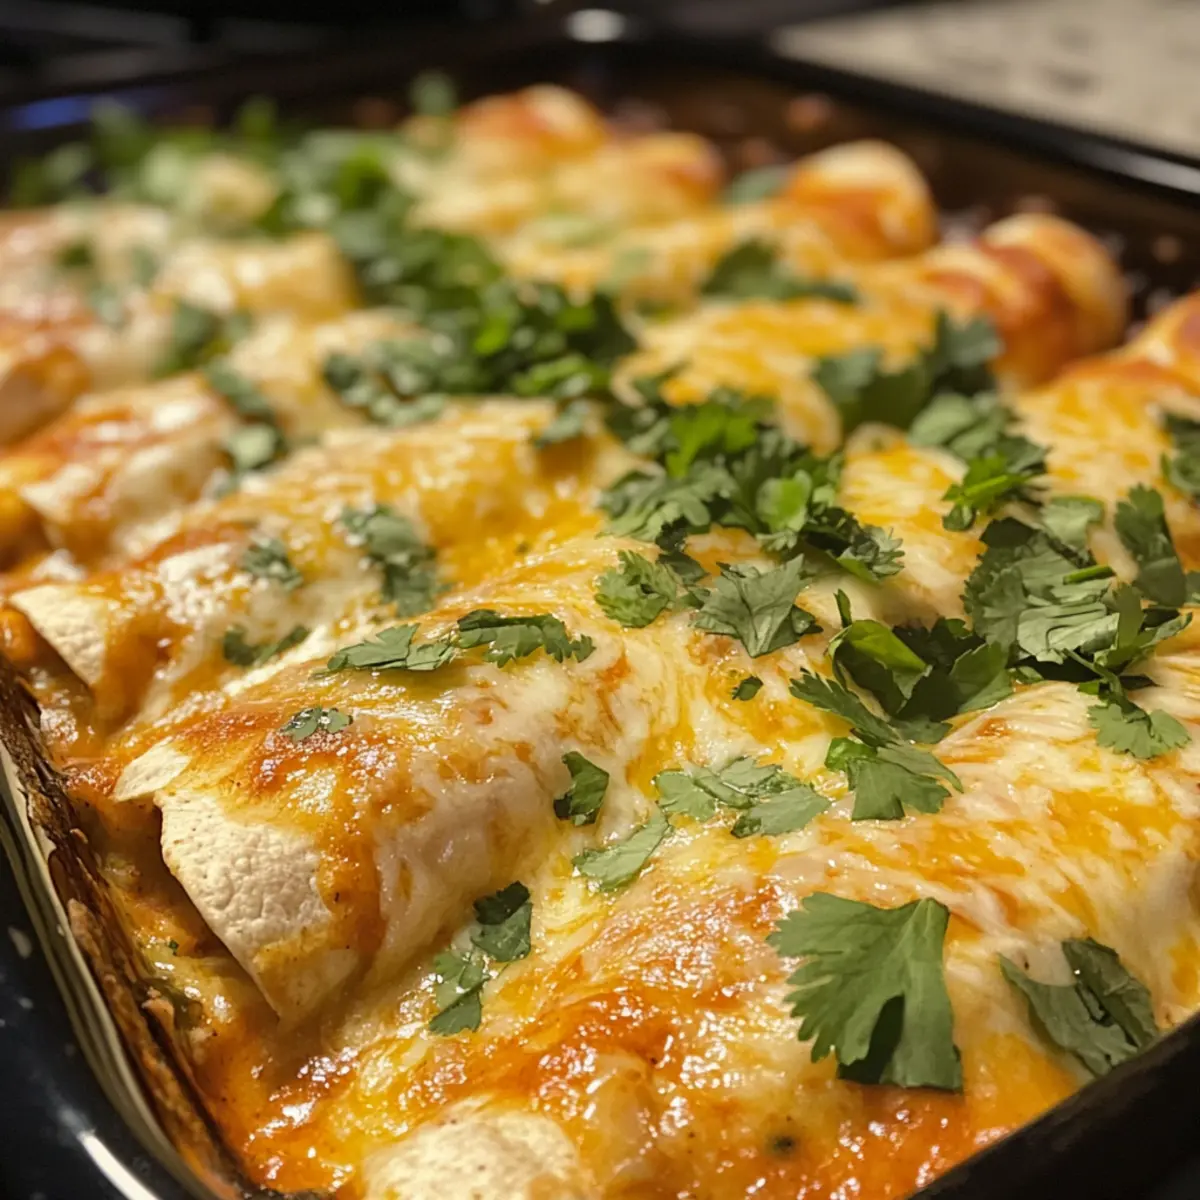
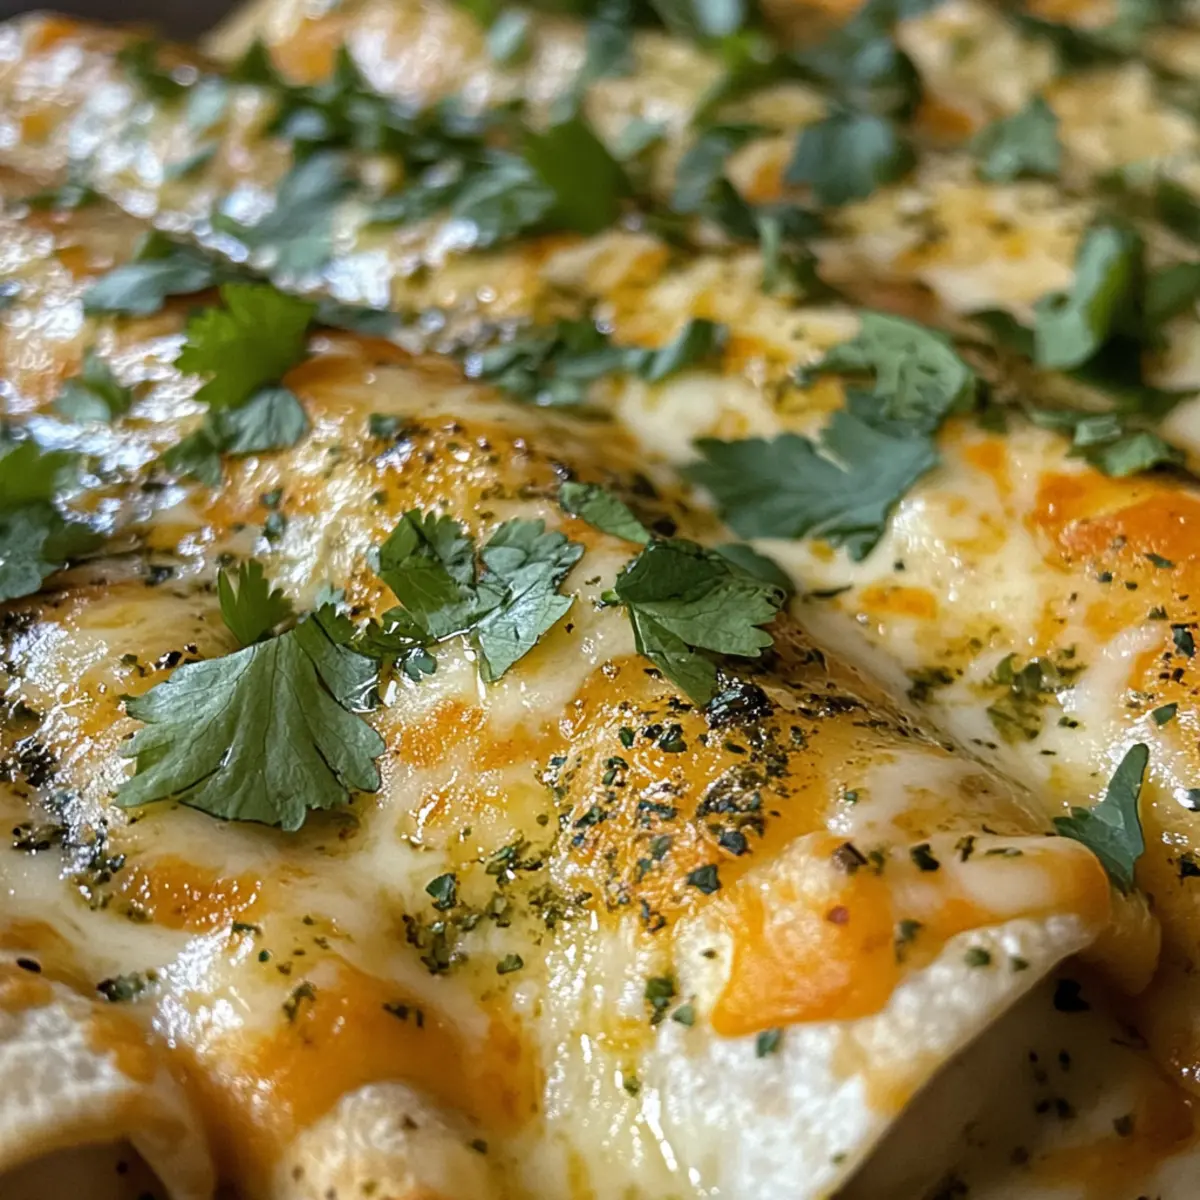
Once all the enchiladas are in the dish, pour the remaining creamy poblano sauce evenly over the top. Sprinkle the shredded pepper jack cheese generously over the sauce, giving a rich, creamy finish. Bake uncovered in the preheated oven for 15-20 minutes, until the cheese is melted and the sauce is bubbly, creating an inviting aroma in your kitchen.
Step 5: Serve With Flair
After removing the baking dish from the oven, squeeze fresh lime juice over the enchiladas to brighten the flavors. Garnish with a sprinkle of chopped cilantro for a fresh pop of color. It’s now time to enjoy these delectable creamy poblano chicken enchiladas with your loved ones, savoring every comforting bite!
How to Store and Freeze Creamy Poblano Chicken Enchiladas
- Fridge: Store leftovers in an airtight container for up to 3 days. Make sure to cover them to retain moisture and prevent them from getting dry.
- Freezer: Freeze the assembled unbaked enchiladas in an airtight container for up to 3 months. Cover tightly with foil or plastic wrap to prevent freezer burn.
- Reheating: Thaw overnight in the fridge before baking. To reheat, place in a preheated oven at 350°F (175°C) for 25–30 minutes, or until heated through.
- Make-Ahead Tips: You can prepare the creamy poblano chicken enchiladas ahead of time and store them in the fridge for up to 24 hours before baking.
Creamy Poblano Chicken Enchiladas Variations
Feel free to take creative liberties with these enchiladas, making them your own culinary masterpiece!
- Vegetarian: Replace shredded chicken with sautéed zucchini, mushrooms, and spinach for a delicious, meat-free option. This provides a hearty and nutritious twist while keeping all the creaminess intact.
- Spicy Kick: Add diced jalapeños or a splash of your favorite hot sauce to the sauce before blending. This elevates the heat level and gives the enchiladas an exciting punch of flavor!
- Gluten-Free: Use corn tortillas or gluten-free wraps to make these enchiladas gluten-free. It’s an easy substitution that doesn’t compromise the delightful taste.
- Cheesy Delight: Mix in a layer of cheese, such as Monterrey Jack or Queso Fresco, in the filling for an extra cheesy goodness that melts beautifully inside.
- Seafood Twist: Swap in shredded cooked shrimp or crab meat instead of chicken for a seafood variation that’s rich and flavorful, perfect for a coastal-inspired dish.
- Bold Flavors: Incorporate chipotle peppers in adobo to the sauce for a smoky flavor. Just a little bit adds depth and warmth to every bite!
- Layered Dish: Create a layered enchilada casserole by stacking the tortillas and sauce in a baking dish instead of rolling them. This makes for a visually stunning dish that’s easy to share and serve.
- Lime Zest: Include lime zest in the filling or the sauce for a pop of citrus flavor that brightens the creamy enchiladas, enhancing the overall deliciousness.
Looking for more cozy dinner inspirations? You might enjoy our Honey Chili Chicken and Roasted Vegetables or dive into the comforting goodness of Homemade Chicken Rolls and Fresh Salad. Happy cooking!
Expert Tips for Creamy Poblano Chicken Enchiladas
- Double the Sauce: Consider doubling the poblano sauce for extra creaminess in your enchiladas. It’s perfect for drizzling over the top.
- Warm Tortillas First: Always warm your corn tortillas before filling them. This prevents cracking and makes them easier to roll.
- Avoid Overbaking: Watch the baking time closely. Enchiladas are done when the cheese is melted and bubbly, but not browned.
- Use Fresh Ingredients: For the best flavor, opt for fresh garlic and lime juice. This enhances the overall taste of your creamy poblano chicken enchiladas.
- Blend Safely: If using an immersion blender for your sauce, blend in small batches and be careful to avoid hot splatter.
Make Ahead Options
These Creamy Poblano Chicken Enchiladas are perfect for meal prep! You can prepare the delicious poblano sauce and assemble the enchiladas up to 24 hours in advance. Simply store the unbaked enchiladas in the refrigerator, ensuring they are covered tightly to maintain freshness and prevent drying out. If you need to prep further ahead, you can freeze the assembled enchiladas for up to 3 months; just be sure to label them for easy identification. When you’re ready to serve, bake them straight from the refrigerator or thaw before baking. This way, you’ll have a comforting, home-cooked meal ready with minimal effort, bringing the cozy flavors of homemade enchiladas to your busy weeknights!
What to Serve with Creamy Poblano Chicken Enchiladas
Elevate your cozy dinner experience with these complementary dishes that perfectly balance the creamy flavors of your enchiladas.
-
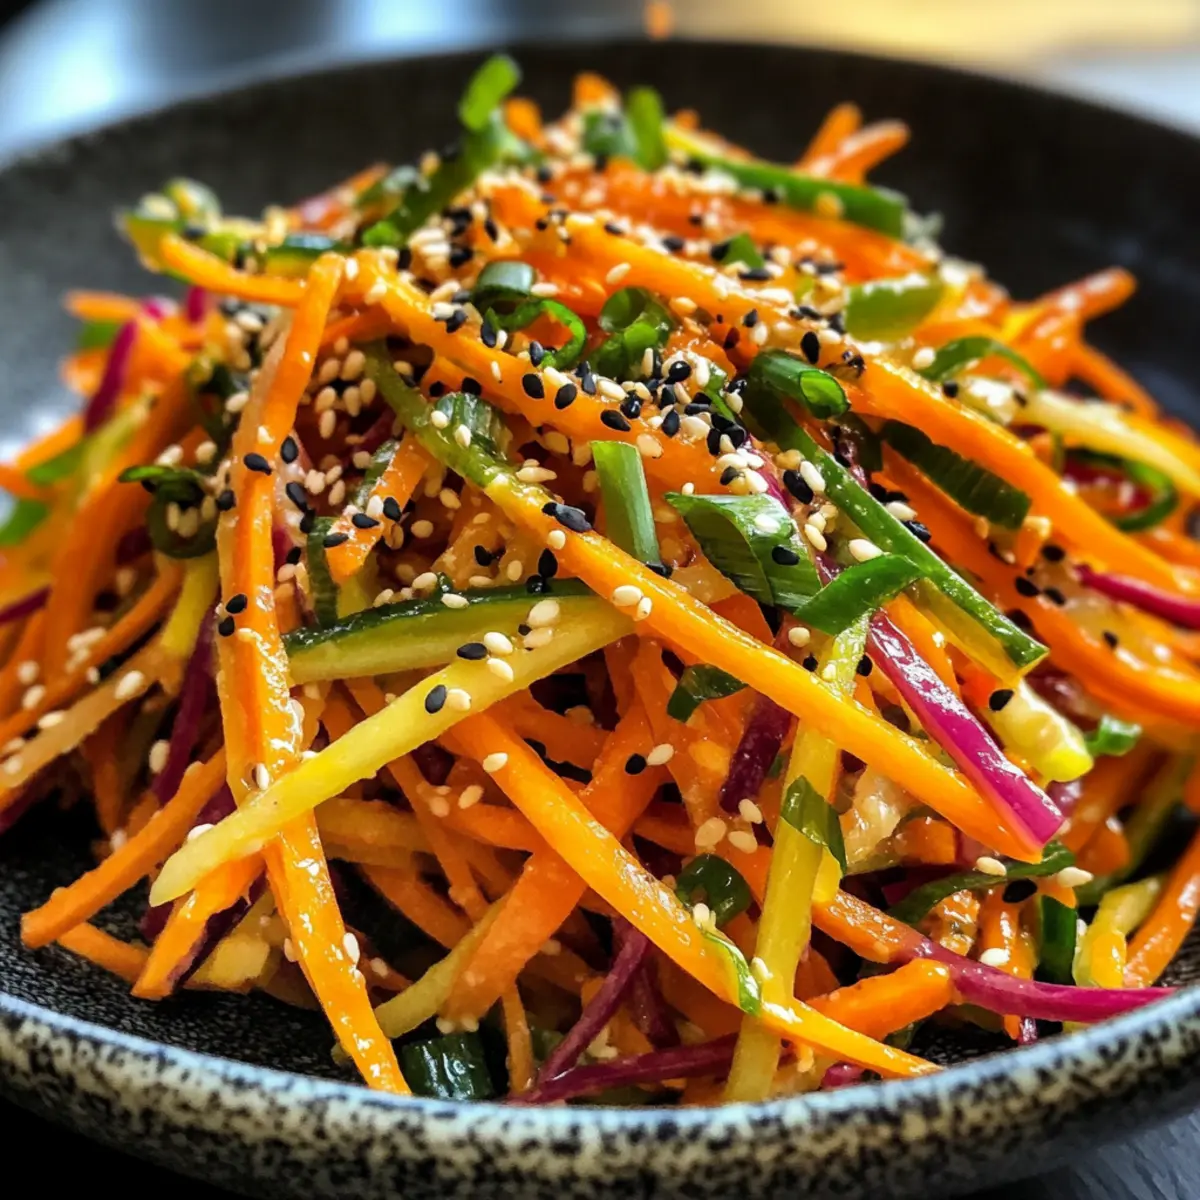
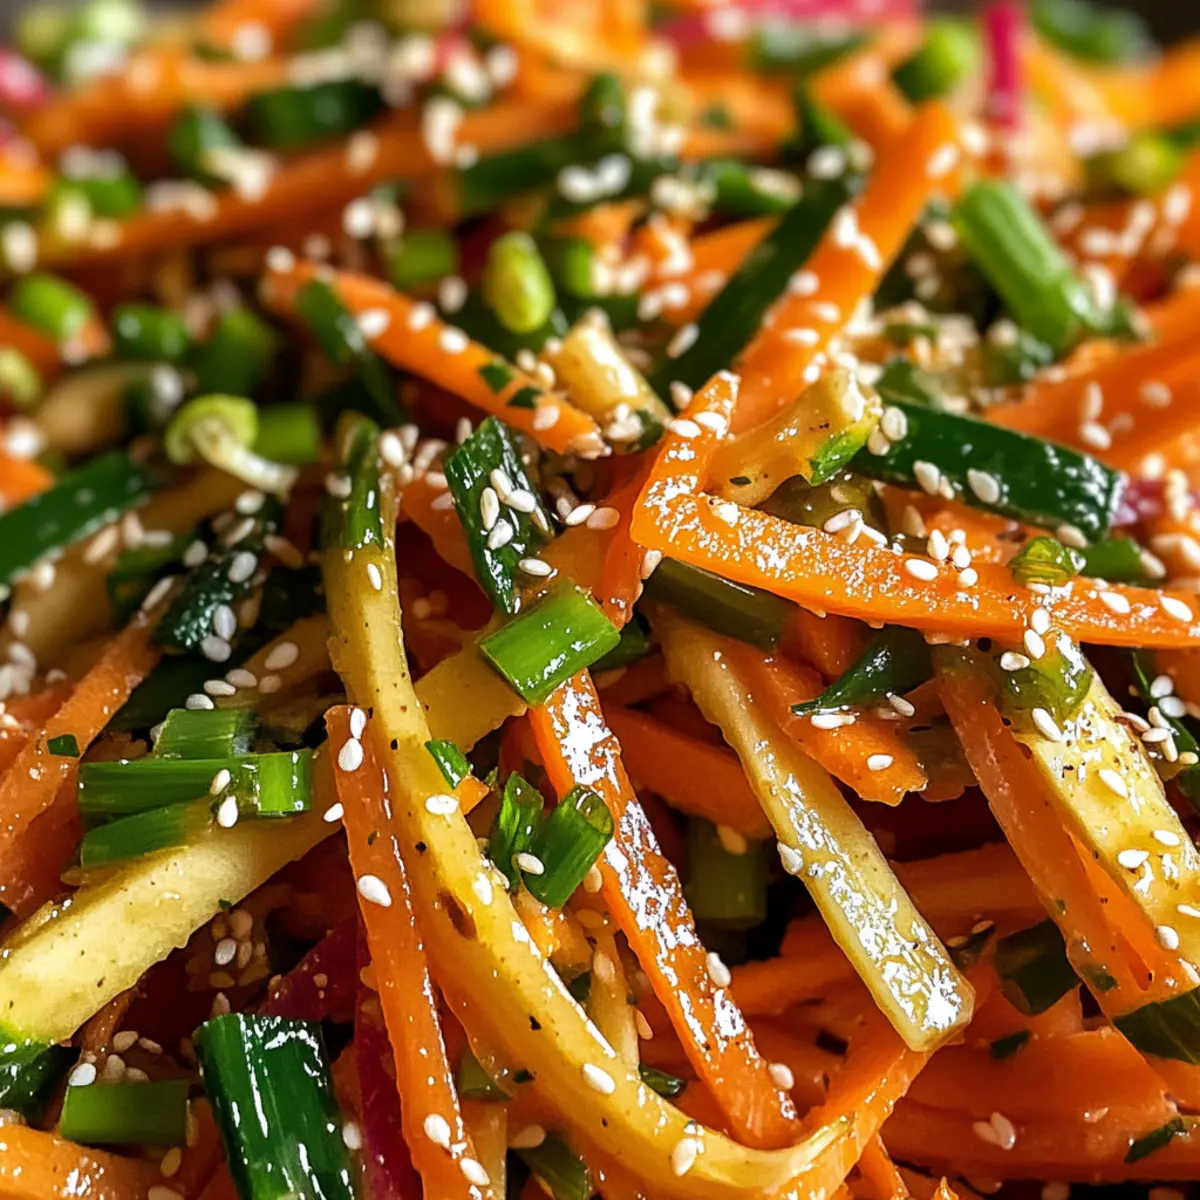
Mexican Street Corn Salad: This bright and zesty salad adds crunch and sweetness, making it a refreshing side to the creamy enchiladas. The combination of lime, chili, and corn creates a delightful contrast.
-
Cilantro Lime Rice: Fluffy rice with a hint of lime and fresh cilantro ties in beautifully with the flavors of the enchiladas, providing a satisfying base that soaks up the sauce nicely.
-
Black Beans: A warm side of seasoned black beans is nutrient-rich and adds a hearty texture. Served alongside, they bring a savory balance to the creaminess of the dish.
-
Guacamole and Tortilla Chips: Creamy guacamole paired with crunchy tortilla chips offers a fun and flavorful appetizer. It’s perfect for nibbling while waiting for those delicious enchiladas to come out of the oven.
-
Margarita Wine Spritzer: A light and bubbly drink that enhances the meal’s festive feel, this spritzer’s citrus notes complement the dish’s flavors without overwhelming them.
-
Churros with Chocolate Sauce: End your meal on a sweet note! These crispy, sugary treats provide a delightful contrast to the savory enchiladas and make for a fantastic dessert pairing.
Each pairing not only enhances the meal’s visual appeal but also creates a memorable dining experience sure to impress family and friends.
Creamy Poblano Chicken Enchiladas Recipe FAQs
How do I choose the right poblano peppers?
Absolutely! When selecting poblano peppers, look for ones that are firm and glossy, without dark spots. The ideal poblano should also have a deep green color. If you find ones with a slightly wrinkled skin, they are likely past their prime. Fresh poblano peppers will add that essential flavor to your creamy poblano chicken enchiladas.
How should I store leftover creamy poblano chicken enchiladas?
Store any leftover enchiladas in an airtight container in the refrigerator for up to 3 days. Be sure to cover them to retain moisture. If you want to reheat, simply place them in a 350°F oven for about 15-20 minutes until warmed through. They make a comforting meal for busy weeknights!
Can I freeze creamy poblano chicken enchiladas?
Very! You can freeze the assembled but unbaked enchiladas for up to 3 months. To do this, place them in a freezer-safe, airtight container or wrap them tightly in foil. When ready to bake, thaw them in the refrigerator overnight and then bake as directed at 375°F for 15-20 minutes, or until bubbly.
What if my sauce is too thick?
If you find your creamy poblano sauce turns out too thick, don’t worry! You can simply whisk in a little bit of chicken broth or additional milk to reach your desired consistency. Start with a tablespoon or two at a time, mixing until smooth. It’s always better to start slow—that way, you maintain the creamy texture without it becoming too runny!
Are the ingredients safe for my dietary needs?
If you’re catering to specific dietary needs, this recipe can be easily adjusted. For a dairy-free option, swap the butter and milk with olive oil and almond or oat milk. If you have gluten allergies, use cornstarch instead of flour and ensure your tortillas are gluten-free. Feel free to reach out if you have specific questions about substitutions!
Can I make these enchiladas ahead of time?
Absolutely! You can assemble your creamy poblano chicken enchiladas up to 24 hours in advance. Just cover them tightly with foil and store them in the fridge until you’re ready to bake. If they sit for longer, consider doubling the sauce recipe to keep the tortillas from soaking too much. Enjoy the convenience of a delicious homemade meal without the last-minute rush!
Creamy Poblano Chicken Enchiladas for Cozy Nights In
Ingredients
Equipment
Method
- In a large pan, melt 1 tablespoon of butter over medium heat. Add the smashed garlic and chopped poblano peppers to the pan, cooking for about 10 minutes until they soften and become aromatic. After they are tender, stir in 2 more tablespoons of butter, followed by sprinkling the flour over the mixture. Stir continuously for 1 minute until a thick paste forms.
- Gradually pour in 1 1/4 cups of chicken broth, stirring until the mixture is smooth and combined. Use an immersion blender to puree the sauce until silky. Bring it to a gentle simmer, then add 1 1/4 cups of whole milk. Stir continuously for 5-7 minutes until the sauce thickens slightly, and then mix in the chopped cilantro and salt before removing from heat.
- Preheat your oven to 375°F (190°C). In a 9x13 baking dish, pour a thin layer of the creamy poblano sauce on the bottom to prevent sticking. Take each warmed corn tortilla and fill it with shredded rotisserie chicken, then roll it tightly and place seam-side down in the dish. Continue this process until all tortillas are filled and snugly arranged in the baking dish.
- Once all the enchiladas are in the dish, pour the remaining creamy poblano sauce evenly over the top. Sprinkle the shredded pepper jack cheese generously over the sauce, giving a rich, creamy finish. Bake uncovered in the preheated oven for 15-20 minutes, until the cheese is melted and the sauce is bubbly, creating an inviting aroma in your kitchen.
- After removing the baking dish from the oven, squeeze fresh lime juice over the enchiladas to brighten the flavors. Garnish with a sprinkle of chopped cilantro for a fresh pop of color. It's now time to enjoy these delectable creamy poblano chicken enchiladas with your loved ones, savoring every comforting bite!