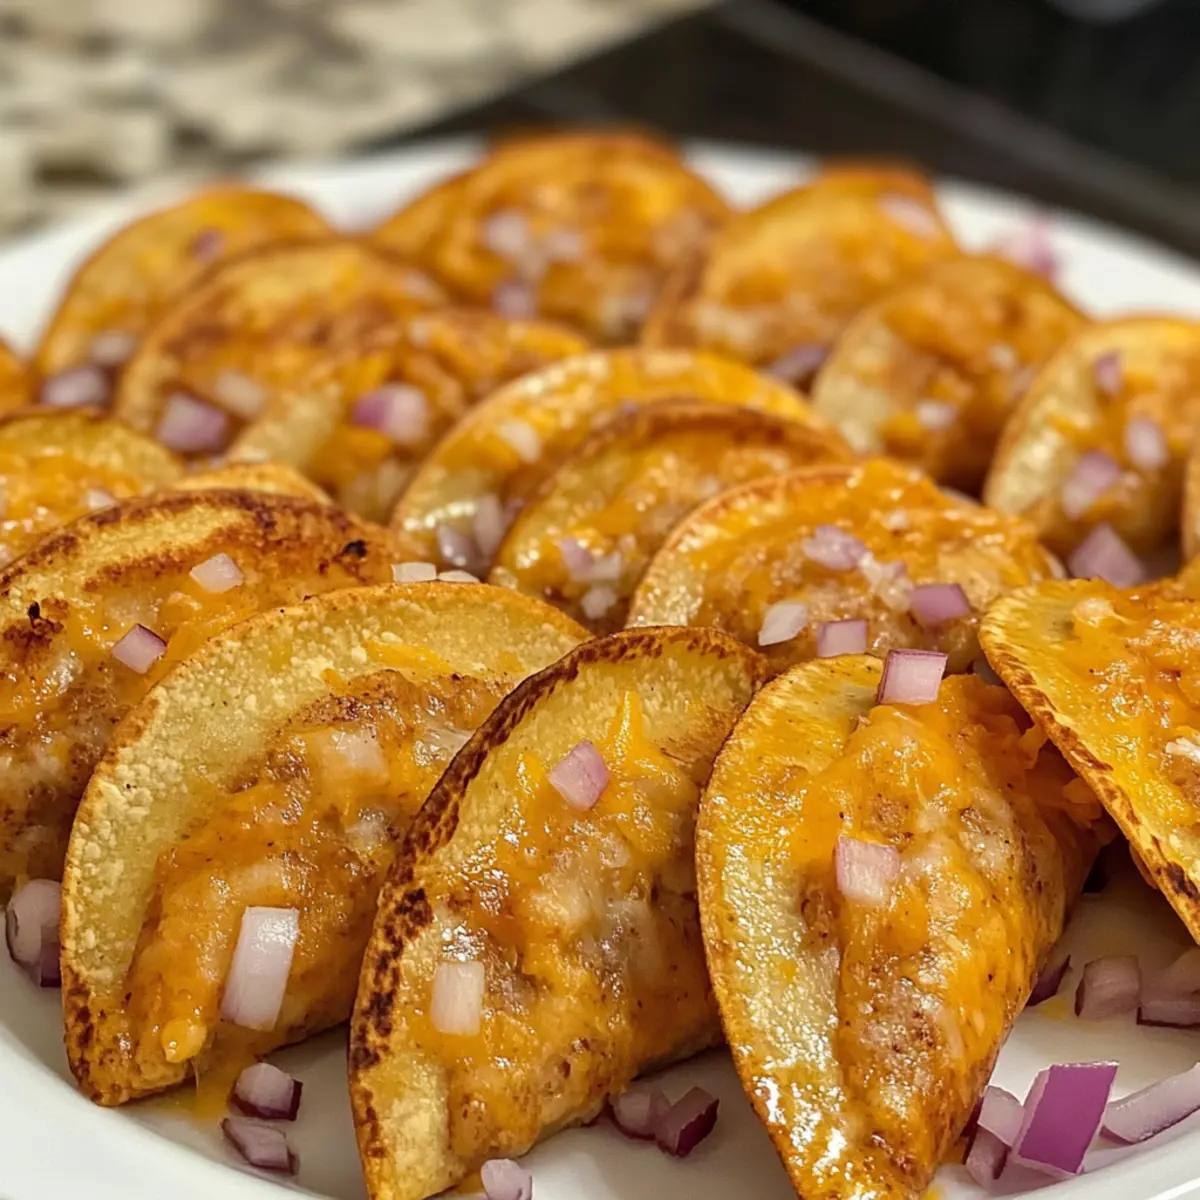
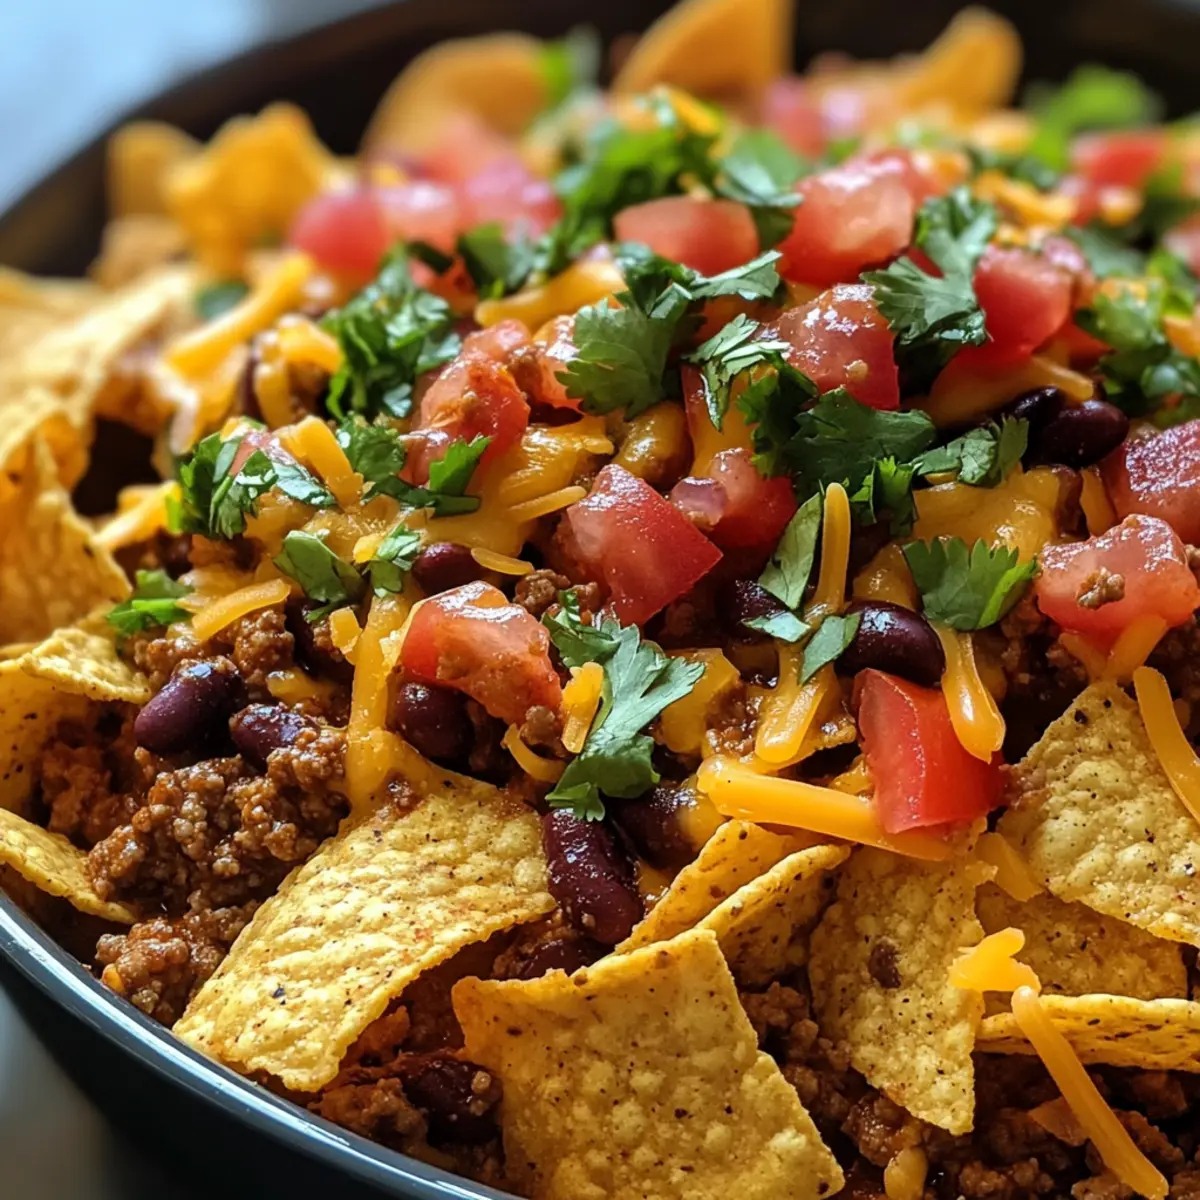
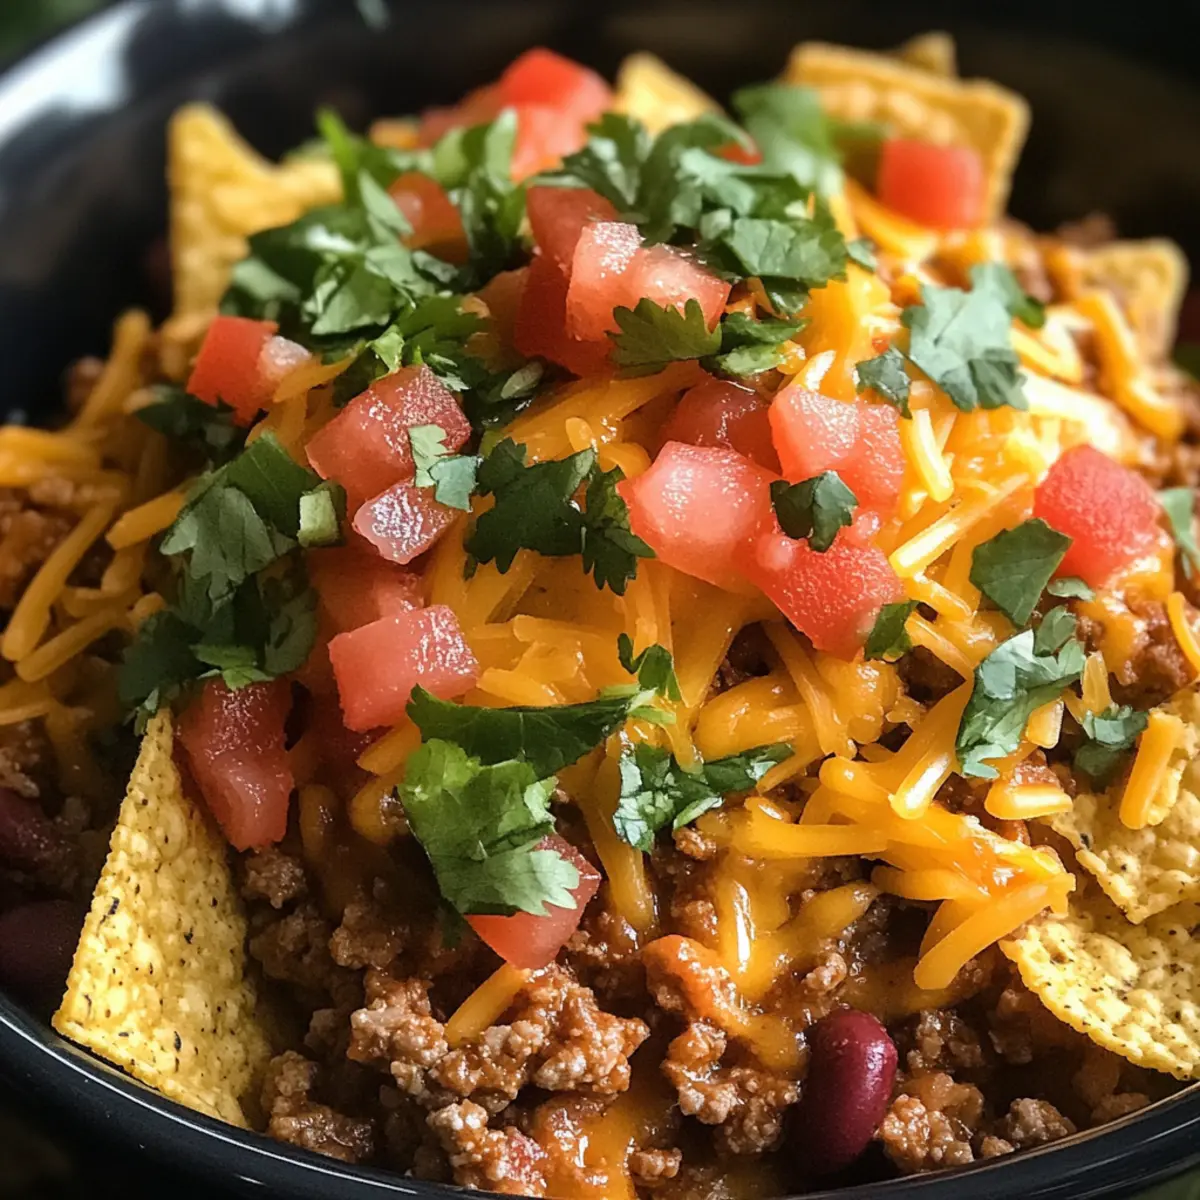
In the whirlwind of our busy lives, sometimes it feels like a culinary mini-crisis when you want something delicious and effortless. That’s where my Easy Slow Cooker Smothered Fritos Taco Bowls come to the rescue! Packed with savory ground beef and hearty chili beans, this crowd-pleaser is perfect for everything from cozy family dinners to lively game nights. The best part? It’s entirely customizable, so each person can create their dream taco bowl with their favorite toppings. Plus, with the slow cooker doing all the heavy lifting, you can kick back and relax while it simmers away. Intrigued? Let’s dive into this utterly satisfying recipe!
Why are Slow Cooker Taco Bowls a Must-Try?
Simplicity at Its Finest: With minimal prep and just a few ingredients, this recipe is perfect for busy weeknights.
Crowd-Pleasing Delight: Ideal for gatherings, everyone can tailor their bowls with toppings they love.
Flavorful & Hearty: The savory blend of beef, beans, and spices creates an irresistible flavor explosion.
Versatile Options: Easily swap in turkey or beans for a lighter version or add extra veggies for more nutrition.
Time-Saving Magic: Let your slow cooker work its wonders, freeing up your time for other fun activities. Whether paired with a side of fresh guacamole or enjoyed on its own, these Slow Cooker Smothered Fritos Taco Bowls will surely become a family favorite!
Slow Cooker Smothered Fritos Taco Bowls Ingredients
-
For the Beef Mixture
• Lean ground beef – Provides protein and flavor; you can substitute with ground turkey or chicken for a lighter option.
• Chopped onion – Adds sweetness and depth; shallots can be a favorite alternative.
• Chili beans – Contributes hearty texture and nutrition; feel free to swap in black beans or pinto beans if preferred.
• Tomato sauce – Offers moisture and acidity, enhancing flavor; use low-sodium versions if you wish to cut back on salt.
• Taco seasoning – This essential spice mix gives the authentic taco taste; homemade seasoning can also work wonders.
• Rotel Original – Zesty blend of tomatoes and green chilies; crushed tomatoes with green chiles can be used as a substitute.
• Water – Adjusts consistency; play around with the amount for your desired thickness. -
For Serving
• Fritos – The crunchy base for your taco bowls; Chili Cheese Fritos can elevate the flavor profile.
• Favorite taco toppings – Think shredded cheese, sour cream, lettuce, and diced tomatoes; customize with any of your beloved options to make your bowl unique!
Now that you have all the essentials for these Slow Cooker Smothered Fritos Taco Bowls, it’s time to get cooking and let those rich flavors meld together! Enjoy every delicious bite.
Step‑by‑Step Instructions for Slow Cooker Smothered Fritos Taco Bowls
Step 1: Brown Beef
In a large skillet over medium-high heat, brown 1 pound of lean ground beef along with 1 chopped onion, stirring occasionally for about 5-7 minutes until the beef is no longer pink and the onions are tender and translucent. This step is crucial for locking in the rich flavors that will make your Slow Cooker Smothered Fritos Taco Bowls irresistible.
Step 2: Season & Combine
Once the beef and onions are cooked, stir in your favorite taco seasoning and ½ cup of water, mixing thoroughly. Allow the mixture to simmer on low heat for about 2-3 minutes, or until the seasoning is well blended and fragrant. Afterward, remove the skillet from heat to let the flavors meld before adding it to the slow cooker.
Step 3: Prepare Slow Cooker
Spray the inner pot of your slow cooker with non-stick cooking spray to prevent sticking. In the pot, combine one can of chili beans, one can of tomato sauce, and one can of Rotel Original. Gently stir these ingredients together, creating a savory base for your Slow Cooker Smothered Fritos Taco Bowls before adding in the prepared beef mixture.
Step 4: Cook
Cover the slow cooker with its lid and set it to high for 3-4 hours or low for 5-6 hours. You’ll know it’s ready when the mixture is bubbling and fragrant, and the flavors have blended beautifully. The longer cooking time allows for a deep, savory taste that makes each bite of taco filling unforgettable.
Step 5: Serve
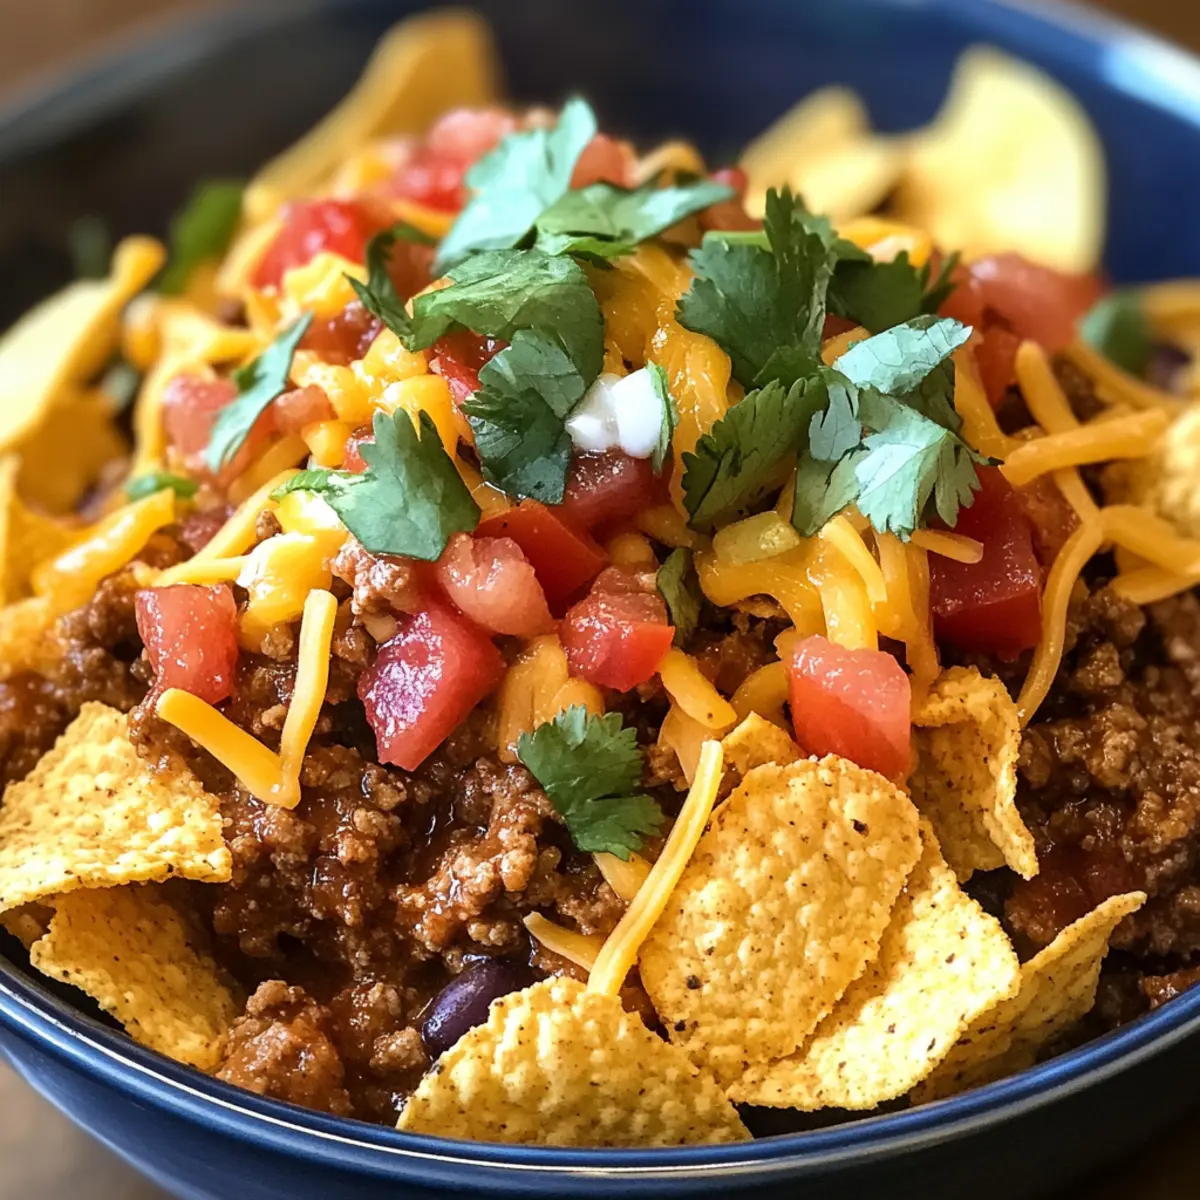
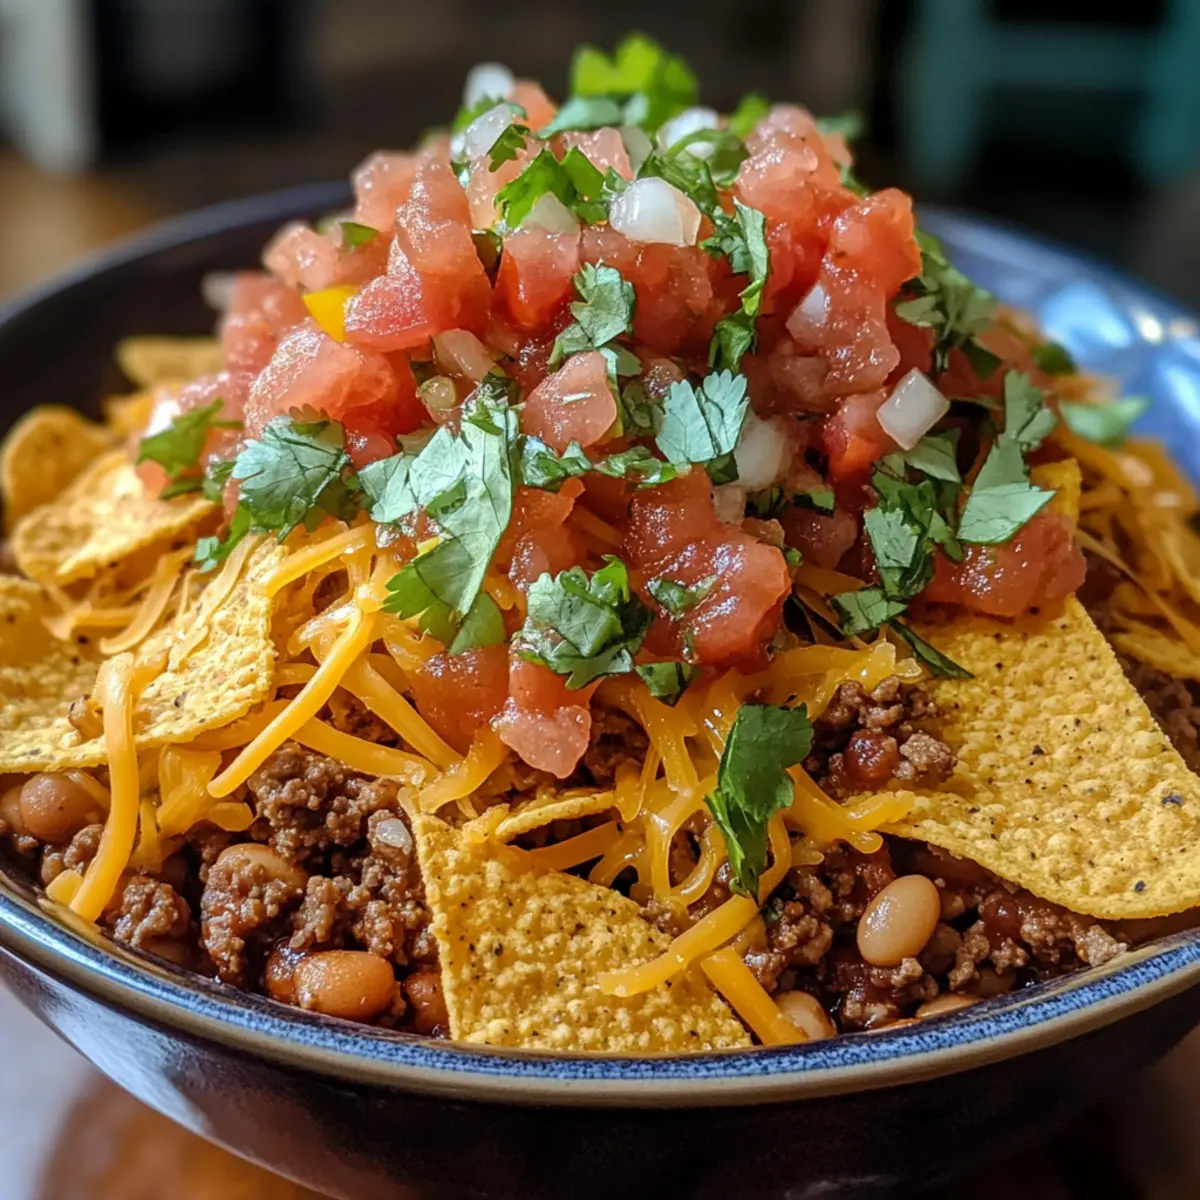
When the cooking time is up, give the beef mixture a good stir before serving. In bowls, layer a generous handful of Fritos as the crunchy base, then scoop in the hearty beef taco mixture. Top with your favorite toppings like shredded cheese, sour cream, and diced tomatoes for a delightful finishing touch. Enjoy your deliciously satisfying creation!
What to Serve with Easy Slow Cooker Smothered Fritos Taco Bowls
Enjoying a hearty bowl of savory flavors is just the beginning; let’s build a complete meal that will delight your taste buds.
-
Creamy Guacamole: This smooth and rich dip contrasts beautifully with the crunch of Fritos, adding freshness to each bite. A dollop of guacamole can elevate your taco bowls, making your experience even more delicious.
-
Spicy Salsa: A zesty, fresh salsa will not only add a pop of vibrant color but also brings delightful acidity that cuts through the richness of the beef. The combination of flavors is like a fiesta in your mouth!
-
Light Mexican Coleslaw: Crisp cabbage tossed in a light lime dressing offers a refreshing crunch that complements the warm fillings perfectly. It’s a great way to sneak in some extra veggies and balance the meal.
-
Chilled Corn Salad: This sweet and tangy salad with fresh corn, red onion, and cilantro brings a bright burst of flavor, making your taco bowls feel even more festive.
-
Baked Tortilla Chips: For those who crave extra crunch, serve a side of baked tortilla chips to scoop up any leftovers or toppings. They can offer a satisfying crunch alongside your flavorful taco bowl.
-
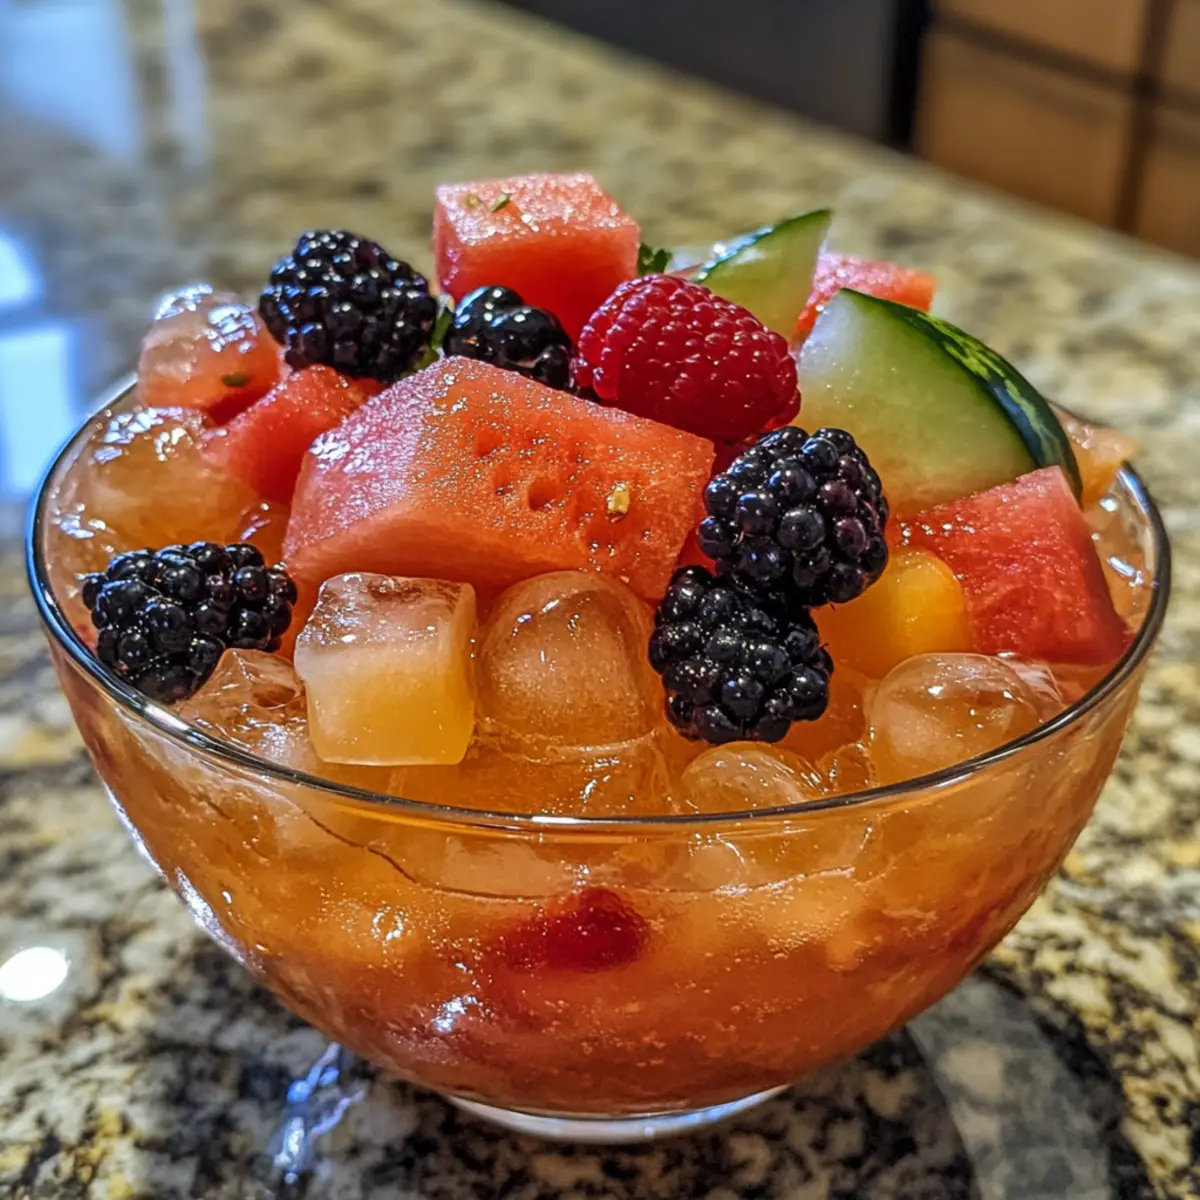
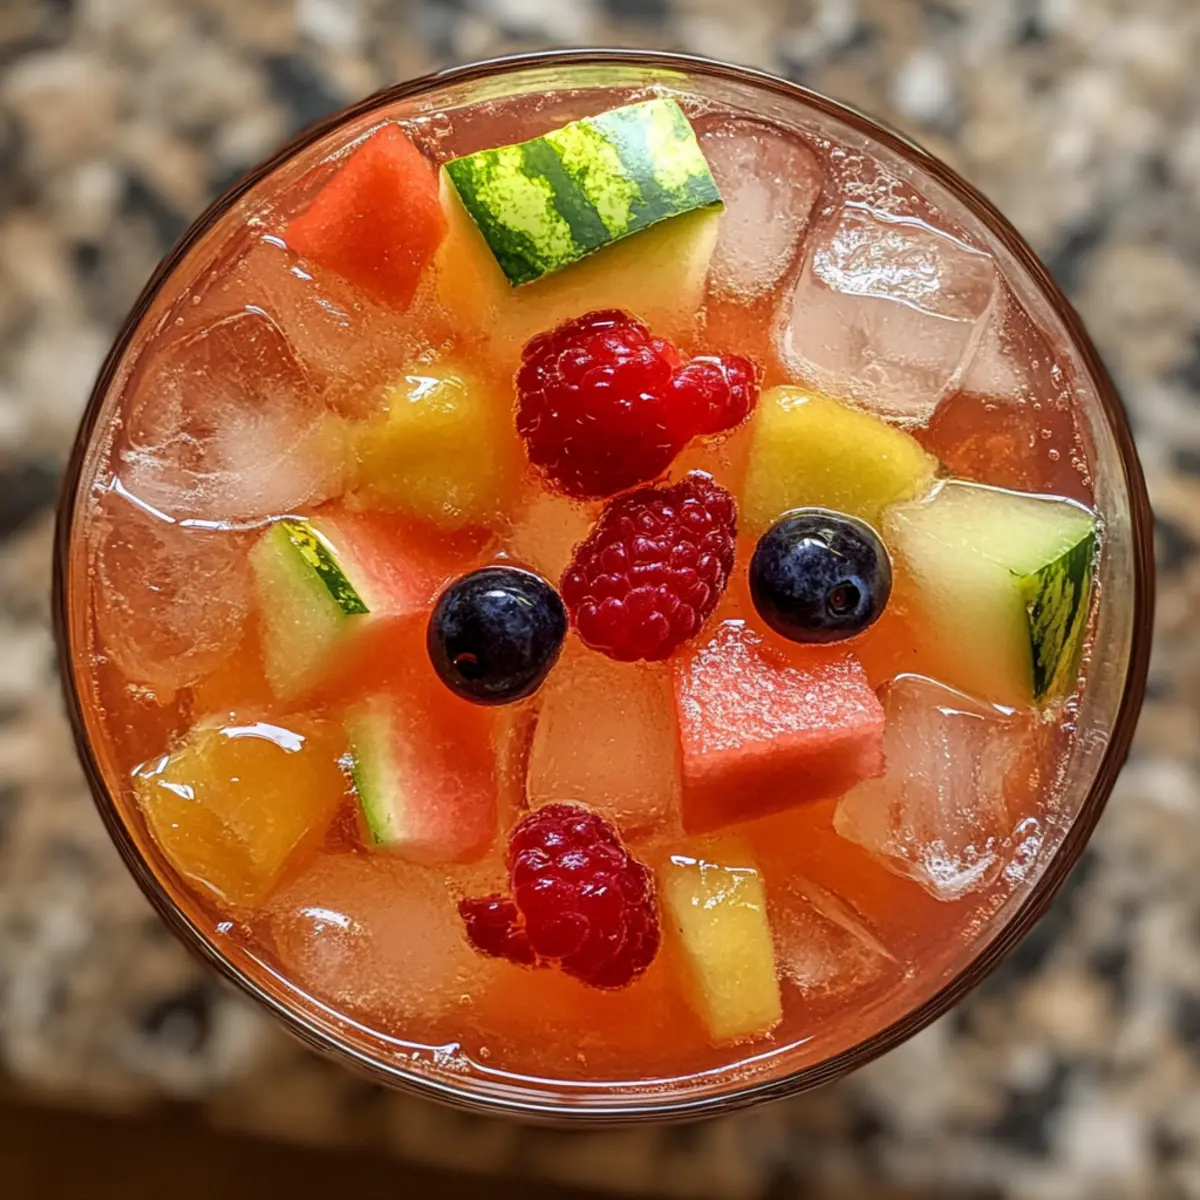
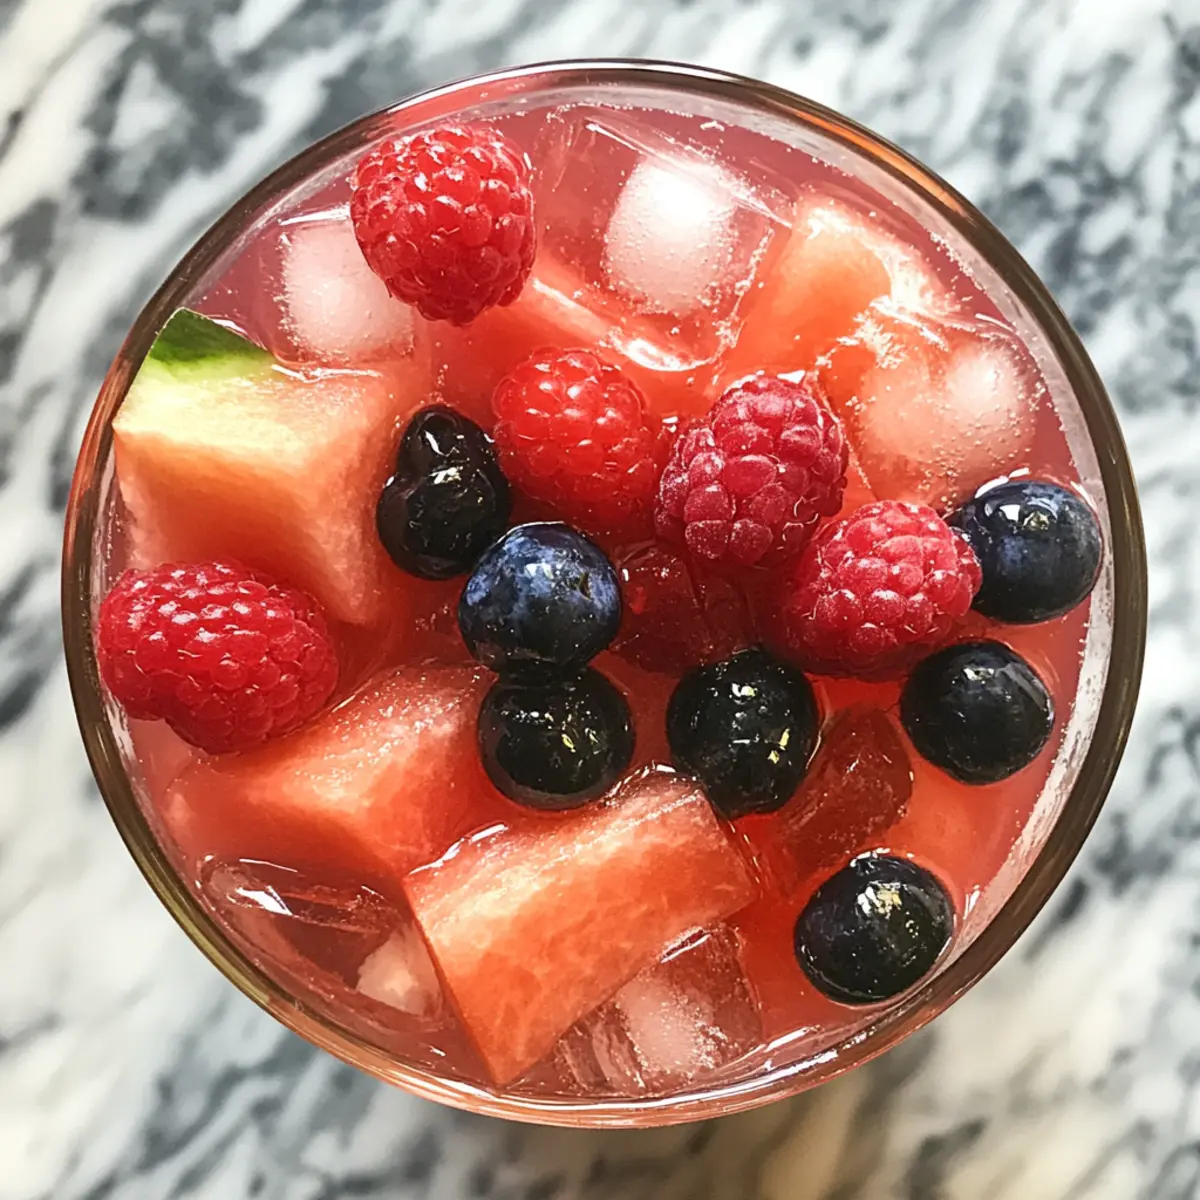
Refreshing Watermelon Agua Fresca: This light and sweet beverage is ideal for accompanying your meal, offering a refreshing contrast to the savory flavors of your taco bowls.
-
Chocolate Chip Cookies: For a sweet ending, serve soft chocolate chip cookies to round off the meal. Their gooey sweetness creates a perfect finale after the savory taco bowl experience.
-
Margaritas: And for a celebratory touch, why not sip on a classic margarita? The refreshing citrus notes will enhance the overall dining experience, adding fun and flavor!
Make Ahead Options
These Slow Cooker Smothered Fritos Taco Bowls are perfect for meal prep, allowing you to enjoy a satisfying dinner with minimal last-minute effort! You can prepare the beef and bean mixture up to 24 hours in advance; simply cook and combine all ingredients in your slow cooker, then let it cool before transferring to an airtight container and refrigerating. When you’re ready to enjoy, simply reheat the mixture and serve it over freshly heated Fritos, adding your favorite toppings right before serving. For optimal quality, consider storing the Fritos separately to maintain their crunch. This method is a time-saving lifesaver for busy weeknights, ensuring you have a delicious, hearty meal ready to go!
Slow Cooker Smothered Fritos Taco Bowls Variations
Feel free to get creative and make these taco bowls perfectly yours with these delightful variations!
- Turkey Substitute: Swap ground beef for lean ground turkey to lighten the dish without sacrificing flavor. A subtle twist that keeps the cozy vibes intact!
- Meatless Magic: Use black beans or lentils as a protein-packed, vegetarian alternative. They bring a hearty texture while infusing the dish with nutrients.
- Veggie Delight: Add bell peppers, corn, or even zucchini to the mix for pops of color and additional crunch. The extra vegetables not only enhance flavor but also make it even more wholesome.
- Extra Spice: Crank up the heat by adding diced jalapeños or a splash of hot sauce. This vibrant kick is guaranteed to awaken your taste buds!
- Rice Bowl: Layer in cooked rice before topping it with the beef mixture for a filling and comforting twist! This turns your taco bowls into a satisfying meal.
- Cheesy Dreams: Mix in velvety cream cheese or top with gooey cheddar for an extra cheesy experience. Who could resist that creamy goodness?
- Savory Salsa: Instead of Rotel, try fresh salsa for a chunkier texture and bright, zesty flavor. Fresh ingredients elevate the entire dish!
- Taco Fusion: Give a twist with Asian flavors—add soy sauce, sesame oil, and some chopped green onions for an unexpected yet delicious fusion.
No matter what variations you choose, each scoop will be filled with flavors worth savoring. Enjoy personalizing your Slow Cooker Smothered Fritos Taco Bowls today!
How to Store and Freeze Slow Cooker Smothered Fritos Taco Bowls
Fridge: Keep leftovers in an airtight container for up to 3 days. This will maintain the rich flavors of your Slow Cooker Smothered Fritos Taco Bowls.
Freezer: For longer storage, freeze the beef mixture in a freezer-safe container for up to 3 months. Allow it to cool before sealing to preserve texture.
Reheating: When ready to enjoy, thaw overnight in the fridge. Reheat in the microwave or on the stovetop until heated through, adding a splash of water if needed to maintain moisture.
Airtight Storage: Always ensure your container is tightly sealed to avoid freezer burn, ensuring your taco bowls taste as delicious as the day they were made!
Expert Tips for Slow Cooker Smothered Fritos Taco Bowls
- Choose Lean Meats: Using lean ground beef will help reduce excess grease; as a healthier alternative, ground turkey works wonderfully too.
- Customize Seasoning: Taste your taco mixture before serving! Adjust seasoning to your preference, adding more spices if needed for a kick.
- Layer Flavor: For an extra depth of flavor, consider sautéing garlic and spices with the onions before adding the beef to the skillet.
- Thick Texture: If you prefer a thicker filling, decrease the water in the mixture by a quarter cup; it’s all about achieving that perfect sauce consistency.
- Freezer Friendly: These Slow Cooker Smothered Fritos Taco Bowls are perfect for meal prep—simply cool and store in freezer-safe containers for up to three months.
Slow Cooker Smothered Fritos Taco Bowls Recipe FAQs
What kind of ground beef should I use?
Choosing lean ground beef is key to keeping your Slow Cooker Smothered Fritos Taco Bowls delicious yet healthier. If you’re looking for a lighter option, ground turkey or chicken works wonderfully and still provides that savory flavor we all love!
How should I store leftover taco bowls?
To keep your leftover Slow Cooker Smothered Fritos Taco Bowls fresh, store them in an airtight container in the fridge for up to 3 days. Make sure you let the mixture cool completely before sealing to maintain the best flavor and texture.
Can I freeze my taco bowl mixture?
Absolutely! To freeze, first cool the beef mixture completely. Then, transfer it to a freezer-safe container and store it for up to 3 months. For easy reheating, label your containers with the date, so you remember when they were made.
What if my beef taco mixture comes out too watery?
If your mixture turns out too watery, don’t worry—this can easily be fixed! Simply return the mixture to the slow cooker without the lid, and cook it on high for an additional 30 minutes. This will reduce the liquid and thicken your taco filling beautifully. You can also reduce the amount of water added initially if you prefer a thicker consistency.
Are there any dietary considerations?
Yes! If you’re serving these Slow Cooker Smothered Fritos Taco Bowls to guests, consider potential allergies. Ensure to have a variety of toppings, like dairy-free cheese and sour cream for lactose intolerant friends. Additionally, always check the taco seasoning and other ingredient labels for allergens like gluten or nuts, especially if you’re using pre-packaged items.
What toppings do you recommend for the best flavor?
The toppings are where you can truly personalize your taco bowls! I recommend using a mix of shredded cheese, sour cream, fresh lettuce, diced tomatoes, and even jalapeños for a kick. Fresh lime and cilantro also add a lovely zesty touch that brings the whole dish together. Enjoy catering to everyone’s preferences!
Mouthwatering Slow Cooker Smothered Fritos Taco Bowls Delight
Ingredients
Equipment
Method
- Brown 1 pound of lean ground beef and 1 chopped onion in a skillet over medium-high heat for 5-7 minutes.
- Stir in taco seasoning and ½ cup of water, simmer for 2-3 minutes before adding to slow cooker.
- Spray slow cooker with non-stick spray, combine chili beans, tomato sauce, and Rotel Original.
- Add beef mixture to slow cooker, cover, and cook on high for 3-4 hours or low for 5-6 hours.
- Serve in bowls with a base of Fritos topped with beef mixture and favorite toppings.