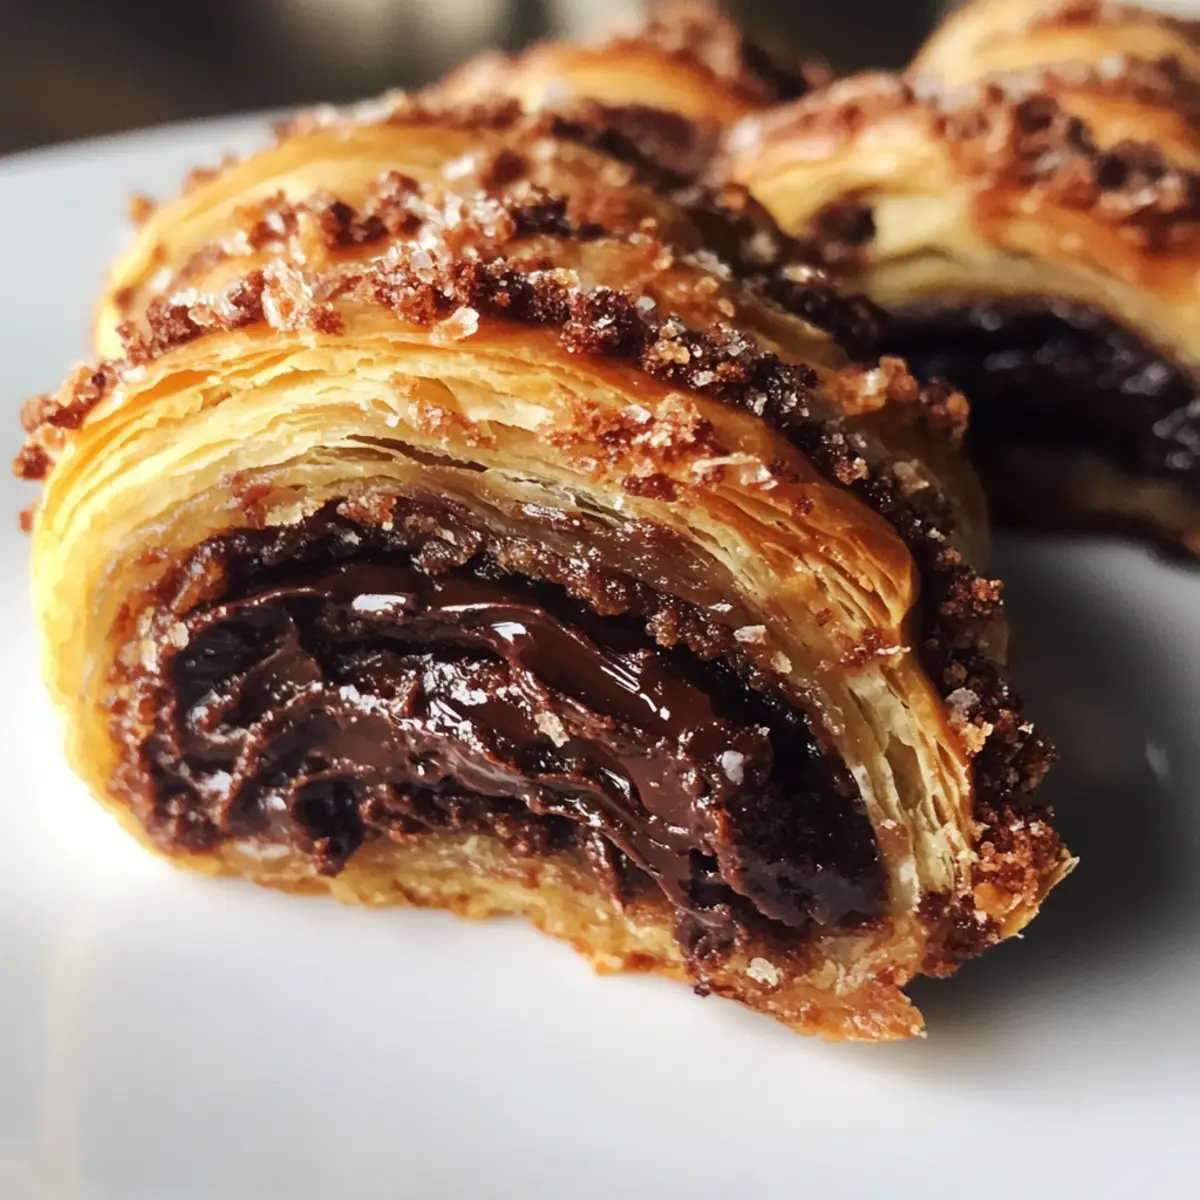
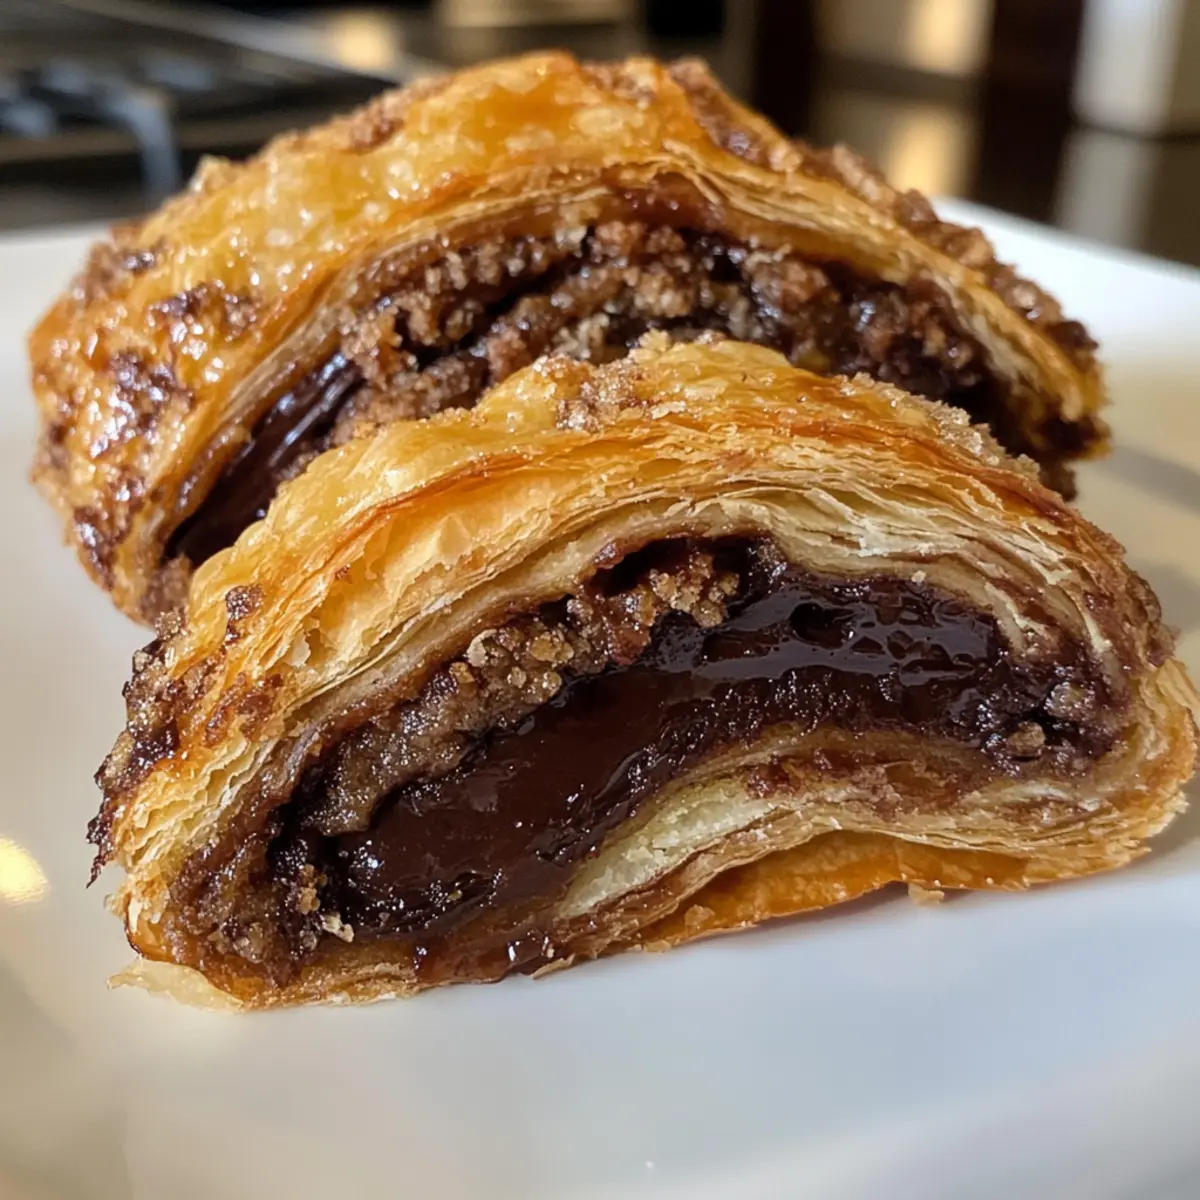
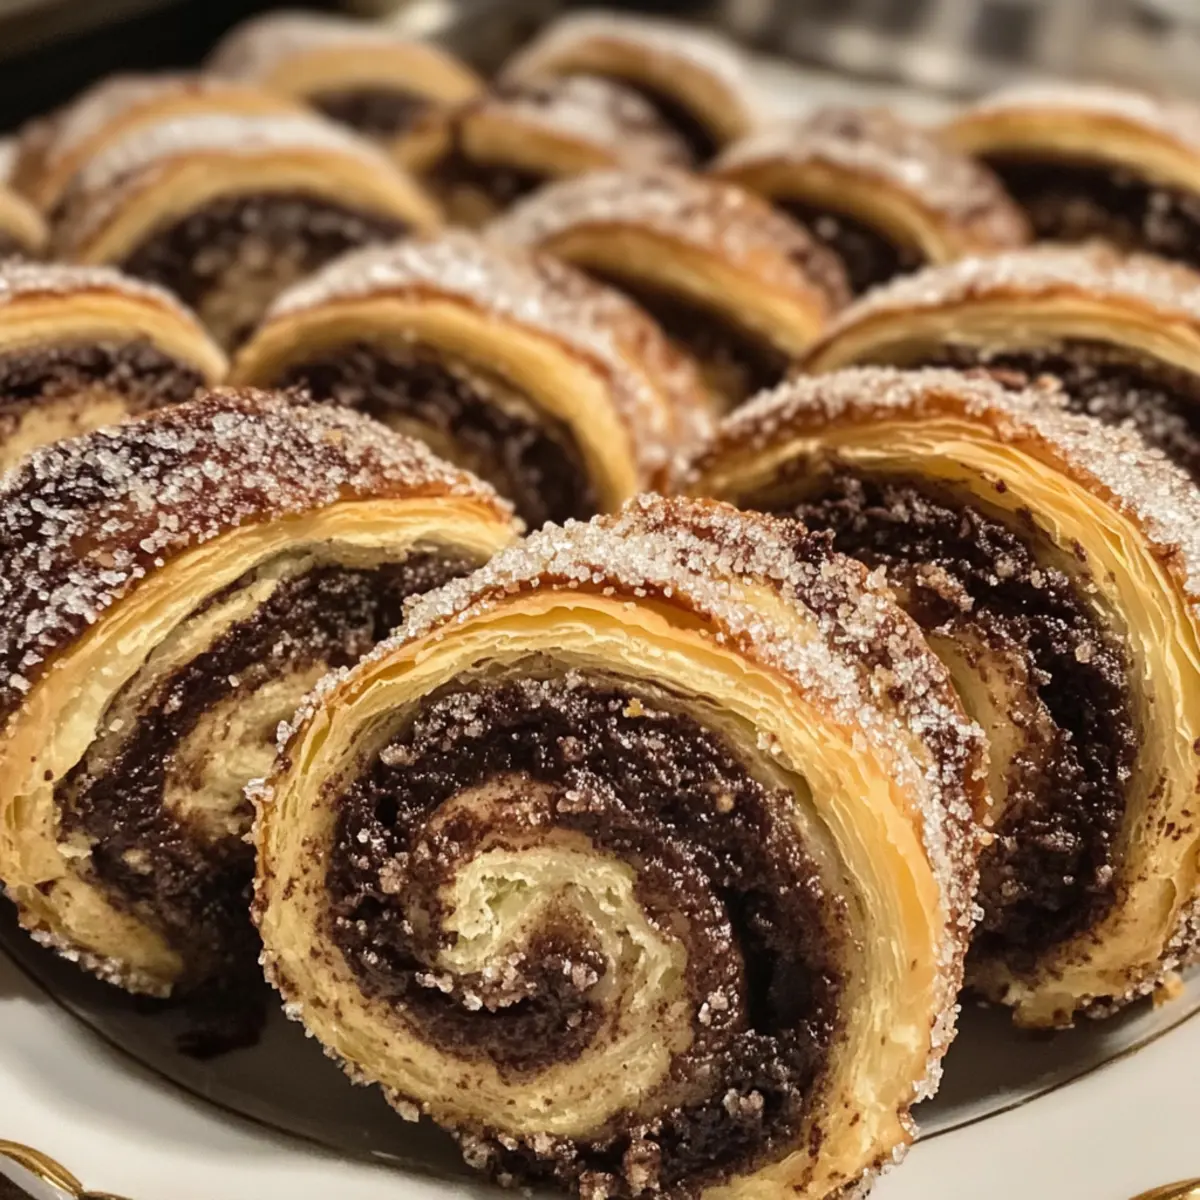
As the winter air fills with the scent of spices and sweet laughter, I can’t help but think of the joy that comes with baking traditional treats like Gluten Free Chocolate Rugelach. This delightful pastry, rich and flaky, boasts a luscious chocolate filling that feels like a warm hug during the chilly holiday season. Not only is this gluten-free version perfect for your loved ones who follow a gluten-free diet, but it’s also an impressive showstopper for gatherings, offering a comforting twist to the classic recipe. With the combination of cream cheese for tenderness and a hint of dark chocolate, these pastries are simply irresistible. Have you ever wondered how one little treat can bring together flavors and memories, making every bite a celebration? Let’s dive into the heart of this recipe and make some pastry magic happen!
Why is this rugelach so irresistible?
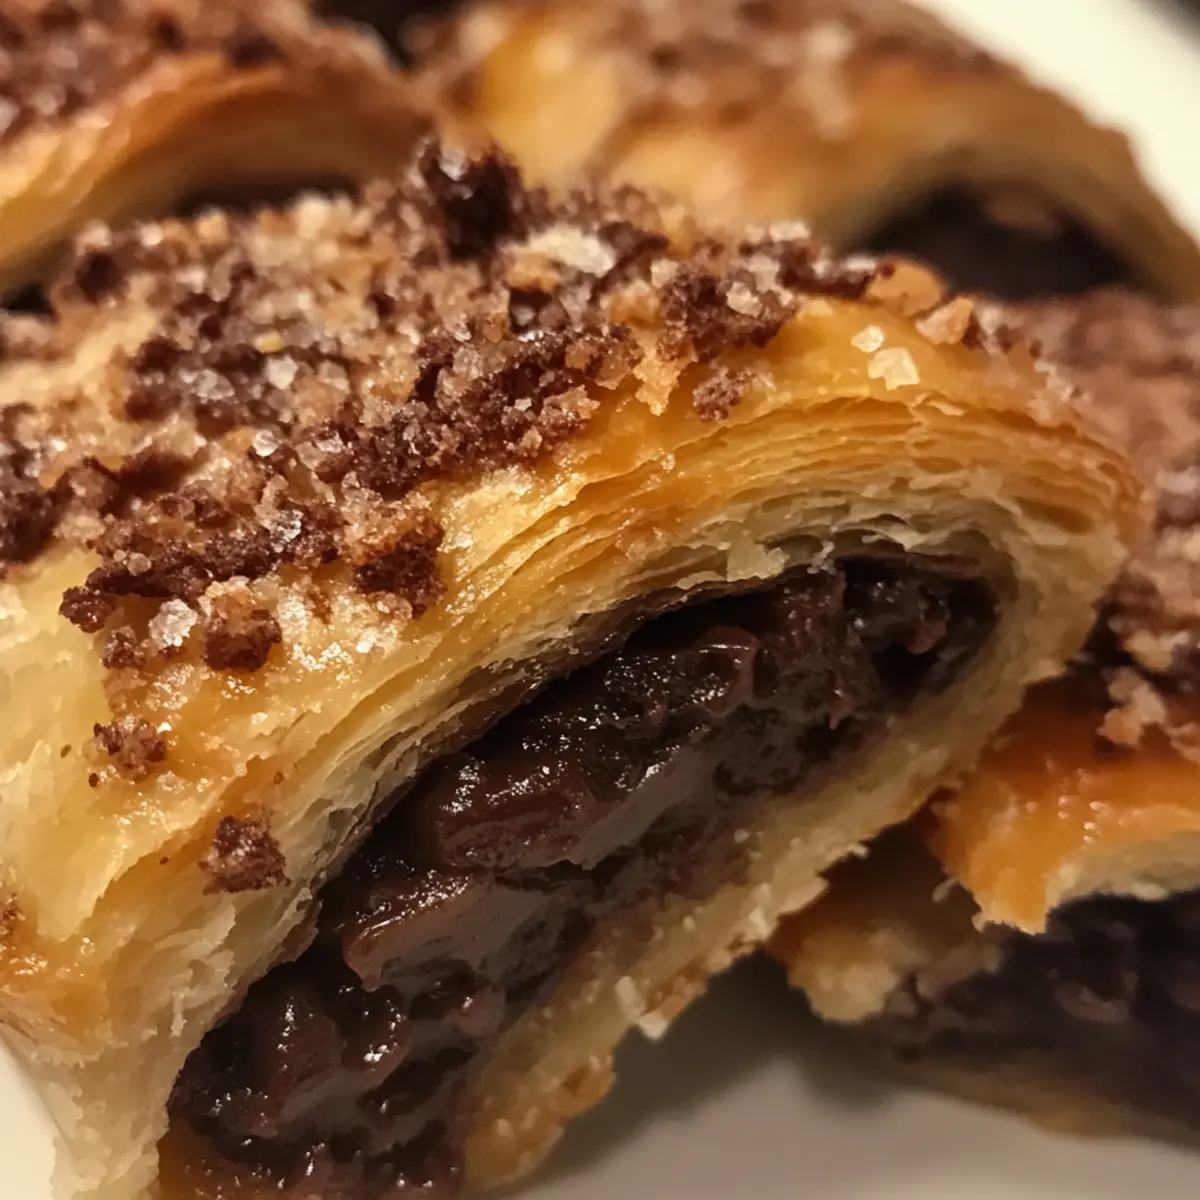
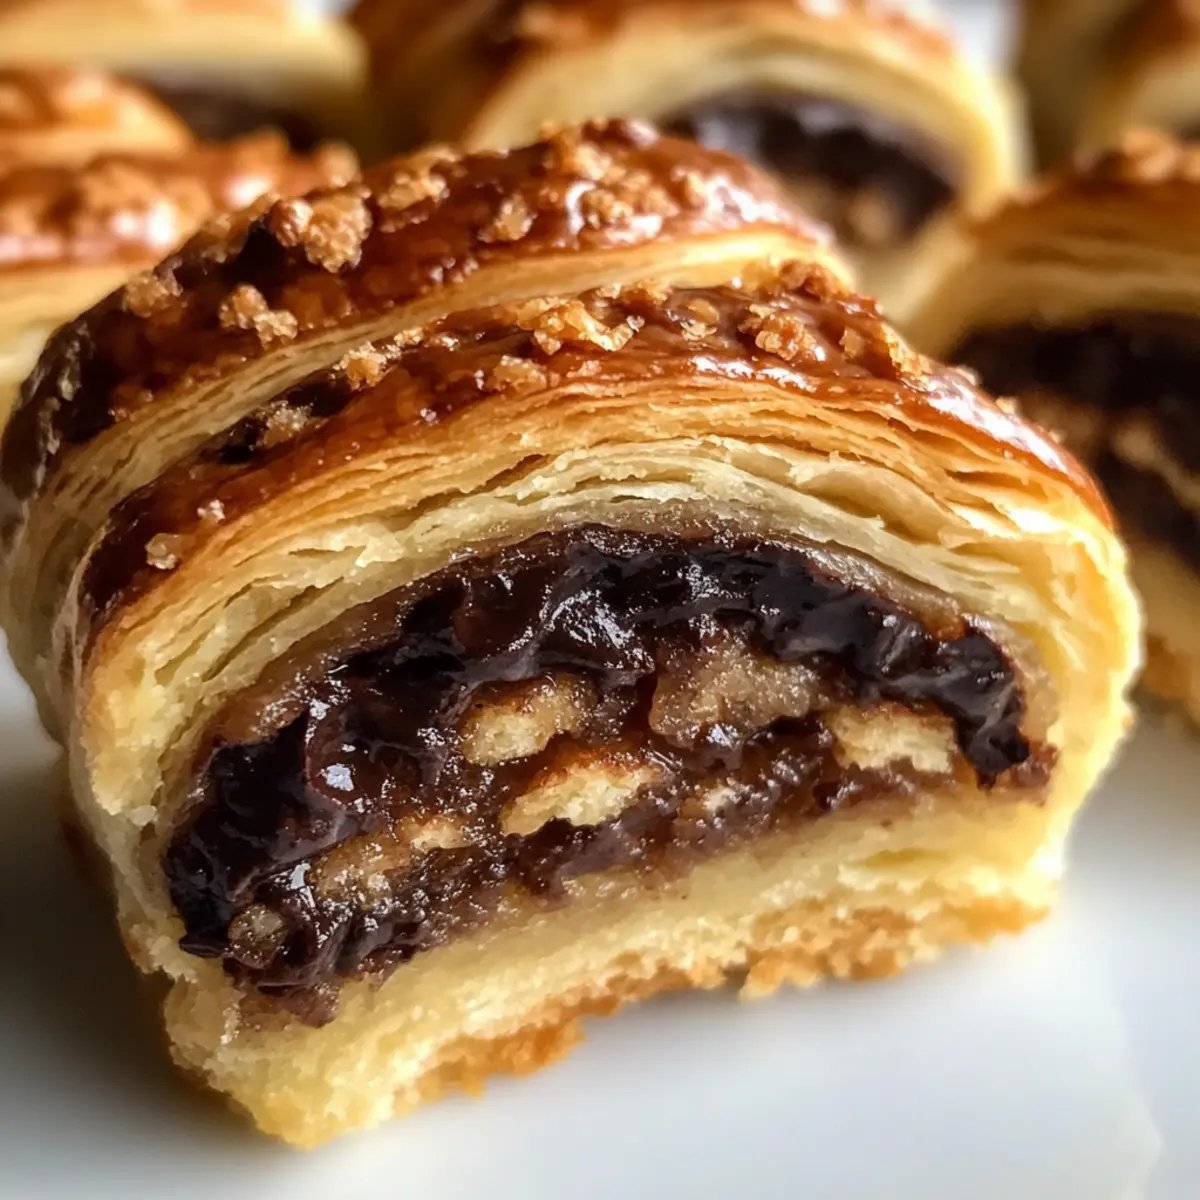
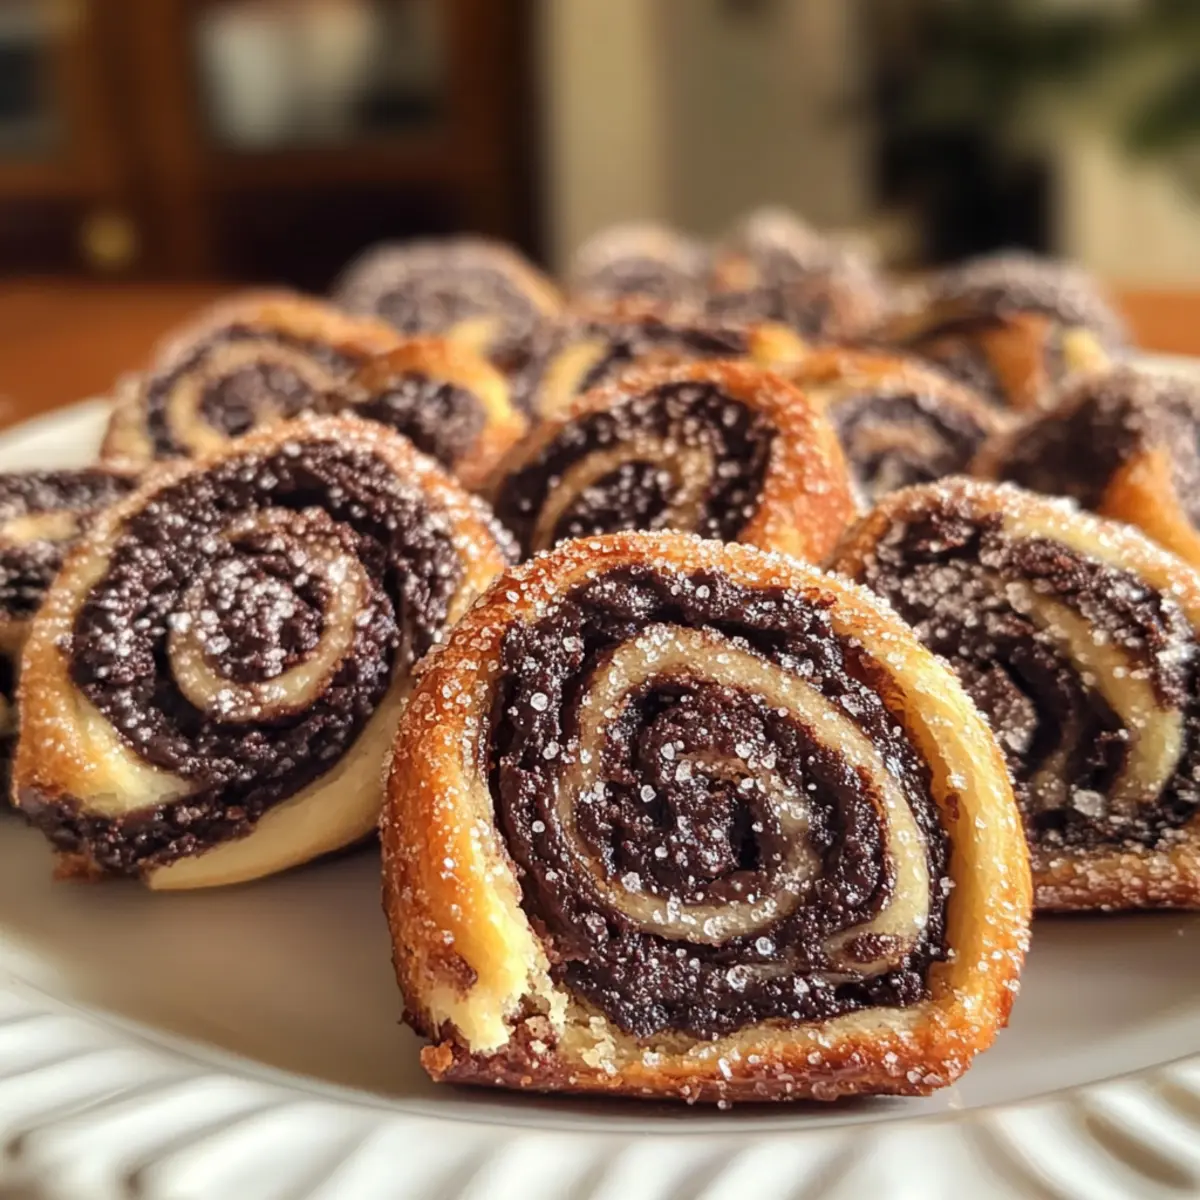
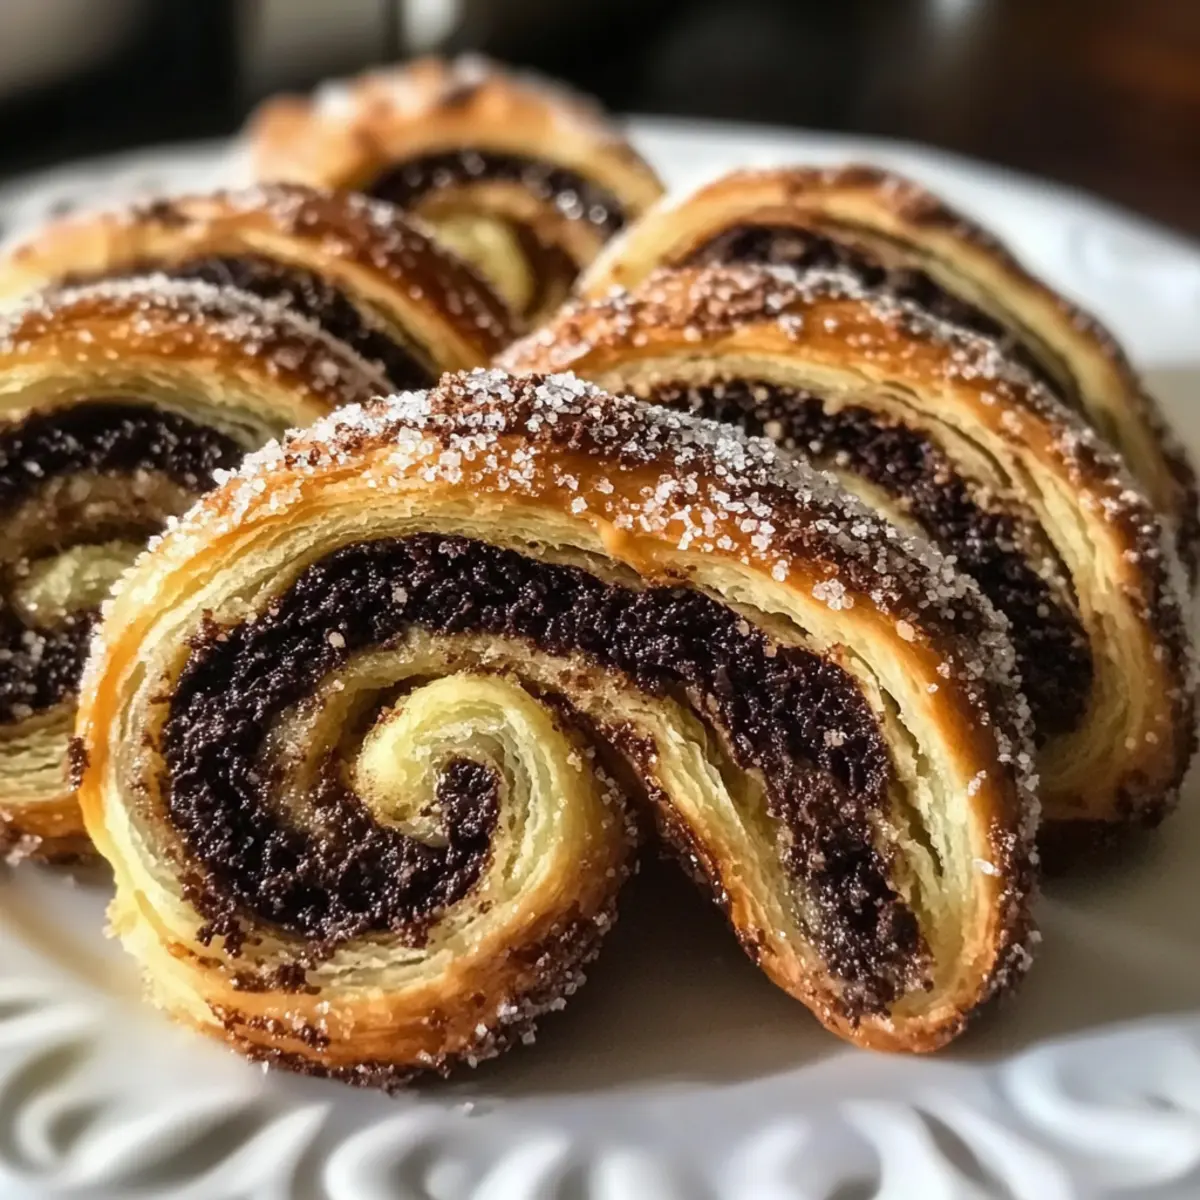
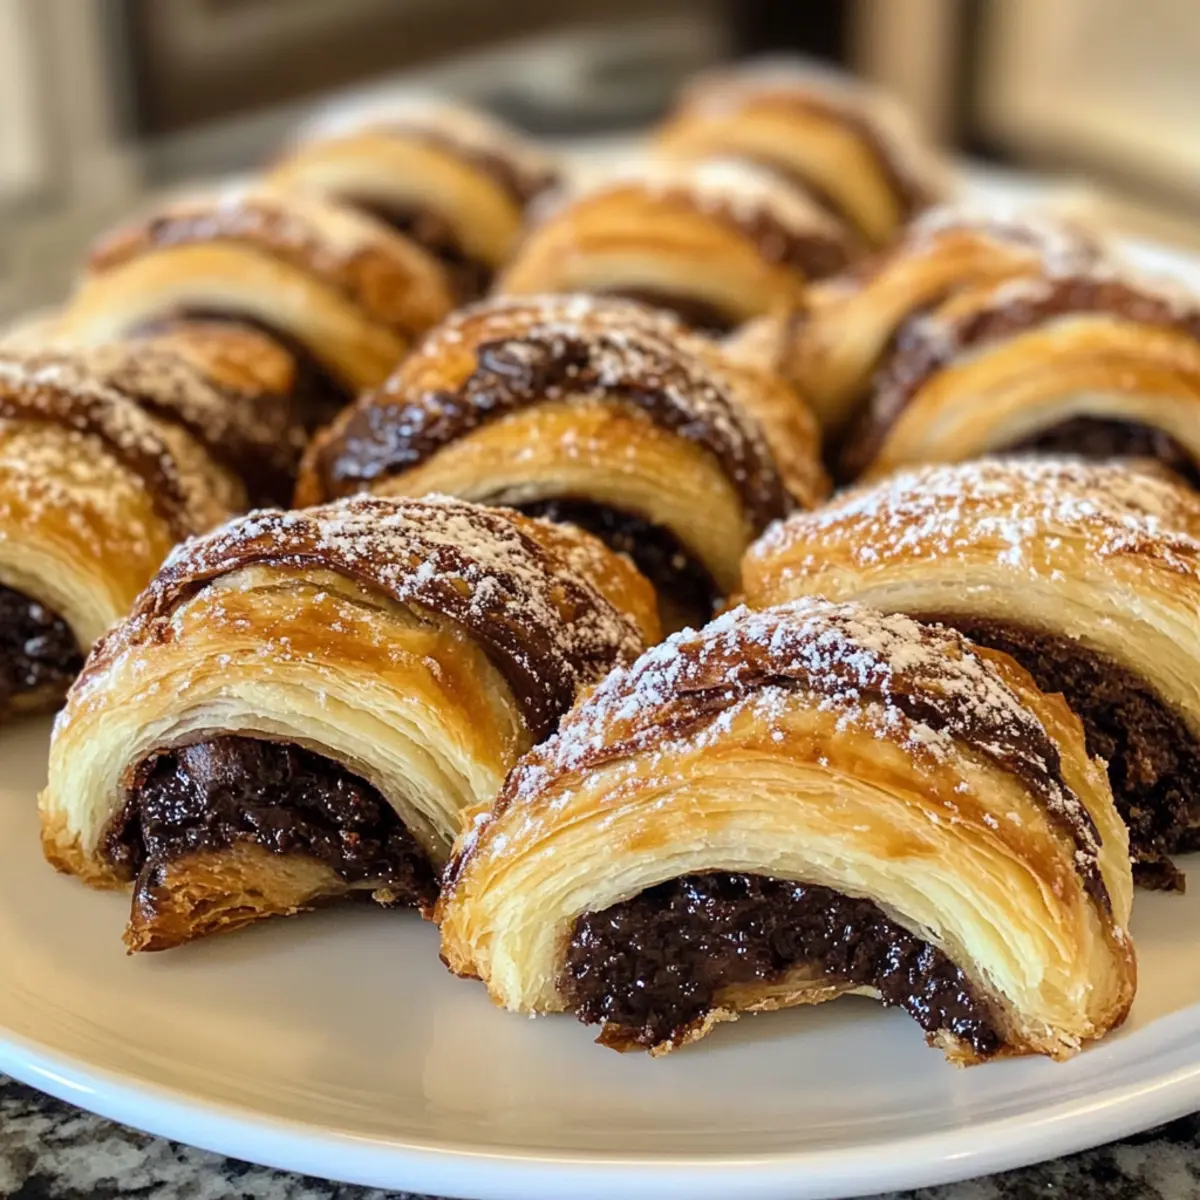
Deliciously Flaky: The rich texture of these pastries, achieved through a careful layering of dough, will have everyone swooning.
Decadent Chocolate Filling: Each bite is filled with luscious dark chocolate that melts in your mouth, providing a delightful contrast to the flaky layers.
Customizable Creations: Feel free to experiment with unique fillings; try cinnamon sugar or fruit preserves for a twist that excites your palate.
Perfect for Celebrations: Whether it’s a holiday gathering or a cozy family night, these rugelach are an instant hit that elevates every occasion.
Simplified Preparation: With straightforward instructions and tips for ingredient substitutions, you’ll create bakery-worthy treats right at home.
Gluten Free Chocolate Rugelach Ingredients
Discover the perfect ingredients for your gluten-free baking adventure!
For the Dough
- Gluten Free Flour – A blend like Cup4Cup ensures flakiness; any gluten-free mix with xanthan gum works too.
- Kosher Salt – Essential for enhancing the flavors of your rugelach.
- Baking Powder – Helps create a tender texture, particularly important for gluten-free recipes.
- Granulated Sugar – Sweetens the dough; swap it with coconut sugar for a healthier option.
- Unsalted Butter (cold) – Keeps the pastry flaky; ensure it’s chilled to prevent overmixing.
- Cream Cheese (full fat, cold) – Adds moisture and richness to the dough, enhancing the overall flavor.
- Milk (cold or water) – Hydrates the dough; almond milk makes a great non-dairy choice.
- Vanilla Extract – Provides a delicious depth of flavor, making each bite even more delightful.
For the Filling
- Dark Chocolate (60% or darker) – The star of your rugelach, offering a rich, melty filling that brings a smile to every face.
- Cocoa Powder (preferably Dutch processed) – Intensifies the chocolate flavor; regular cocoa may be used if needed.
- Brown Sugar – Adds an extra layer of sweetness and depth to the chocolate filling.
For the Topping
- Egg (for egg wash) – Gives a lovely shiny crust; substitute with non-dairy milk for a vegan twist.
- Coarse Sugar – Adds a delightful crunch on top of your finished pastries.
With these carefully selected ingredients, your gluten-free chocolate rugelach will not only be delicious but also a beautiful centerpiece for any gathering!
Step‑by‑Step Instructions for Gluten Free Chocolate Rugelach
Step 1: Prepare the Dough
In a food processor, combine the gluten-free flour, granulated sugar, baking powder, and kosher salt. Add cold, cubed unsalted butter and cold cream cheese to the mixture. Pulse until the mixture resembles coarse crumbs, about 15-20 seconds. Slowly add cold milk (or water) and vanilla extract, pulsing just until the dough comes together, around 10 seconds.
Step 2: Chill the Dough
Transfer the dough onto a lightly floured surface, gently shaping it into a rectangle about 1 inch thick. Wrap the dough in plastic wrap and refrigerate for 10-15 minutes. This chilling time is crucial to keep the butter solid, ensuring your Gluten Free Chocolate Rugelach will be tender and flaky once baked.
Step 3: Laminate the Dough
Remove the chilled dough from the refrigerator and roll it out on a floured surface to a thickness of about ¼ inch. Fold the rolled dough into thirds, like a letter, then wrap and refrigerate for another 10-15 minutes. Repeat this rolling and folding process three times in total, maintaining a cool environment to achieve that delicate, multi-layered structure.
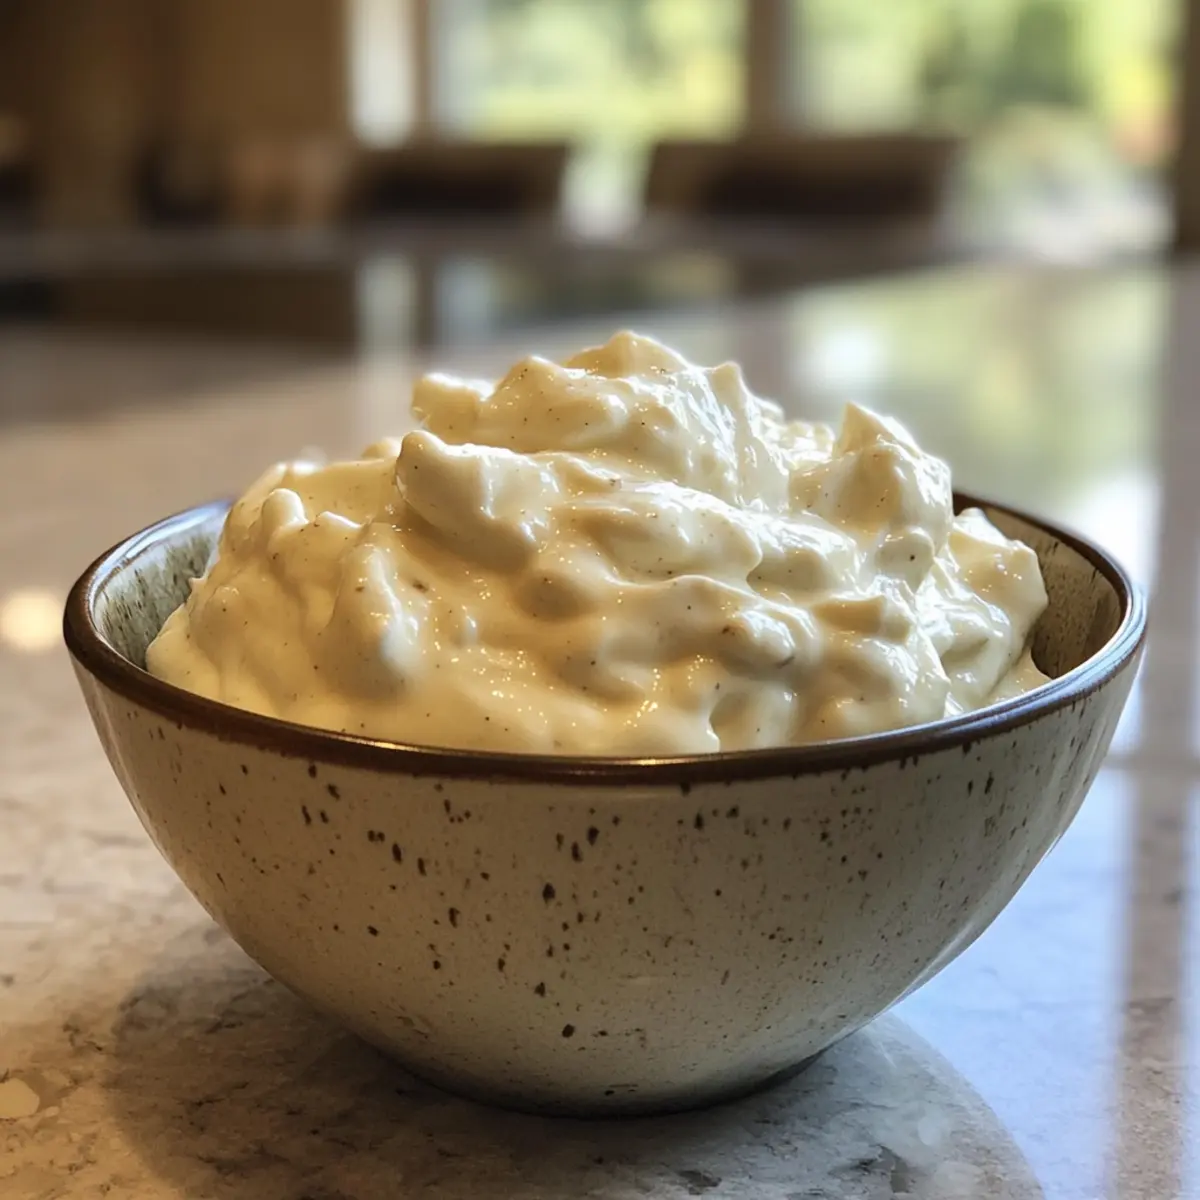
Step 4: Prepare the Filling
While the dough chills, prepare the filling by mixing the chopped dark chocolate, cocoa powder, brown sugar, and a pinch of salt in a bowl. This rich chocolate filling will add delicious decadence to your Gluten Free Chocolate Rugelach. Make sure to set it aside until the dough is ready to create those tasty rolls.
Step 5: Assemble the Rugelach
Once your dough has been laminated and chilled, roll it out again into a large circle. Brush the surface with melted butter, then evenly sprinkle the chocolate filling mixture over the dough, covering it completely. Starting from one edge, gently roll the dough into a tight log, ensuring all the filling stays inside.
Step 6: Slice and Chill
Cut the rolled log into 1.5-inch segments and place them on a parchment-lined baking sheet. For the best results, chill these segments in the refrigerator for at least 1 hour. Chilling helps maintain their shape while baking, resulting in perfectly formed Gluten Free Chocolate Rugelach.
Step 7: Preheat the Oven and Prepare for Baking
Preheat your oven to 400°F. While the oven warms, prepare an egg wash by whisking an egg with a splash of water. Brush this mixture over the tops of your chilled rugelach, giving them a glossy finish that enhances the presentation and texture when baked.
Step 8: Bake to Perfection
Place the rugelach in the preheated oven and bake at 400°F for 10 minutes. Then, reduce the temperature to 375°F and continue baking for an additional 20-24 minutes, or until they are golden brown and flaky. Keep a close eye on them to avoid over-baking and achieve that perfect finish.
Step 9: Cool and Serve
After baking, remove the Gluten Free Chocolate Rugelach from the oven and let them cool on a wire rack for about 10 minutes. This cooling period allows them to set and enhance their flaky texture. Once slightly cooled, they are ready to be enjoyed warm or at room temperature!
Expert Tips for Gluten Free Chocolate Rugelach
• Use a Food Processor: This tool ensures the butter and cream cheese remain cold, which is vital for flaky texture. Avoid overmixing!
• Chill Time is Key: Properly chilling your dough layers after rolling and folding is essential. It helps maintain the shape and flakiness during baking.
• Don’t Skip the Egg Wash: Brushing your rugelach with an egg wash before baking gives them a beautiful golden crust. For a vegan option, use non-dairy milk.
• Monitor Baking Time: Keep an eye on your pastries! Begin at 400°F for the first 10 minutes, then reduce to 375°F until golden brown, about 20-24 minutes total.
• Experiment with Fillings: Besides chocolate, try adding cinnamon sugar or fruit preserves, allowing you to create gluten-free rugelach that fits your taste preferences.
What to Serve with Gluten Free Chocolate Rugelach
As you prepare to serve your rich and flaky pastries, let’s explore delightful pairings that will create a memorable spread for your loved ones.
-
Fresh Berries: Brighten up your table with a mix of strawberries and blueberries, adding a burst of freshness that complements the chocolate beautifully.
-
Creamy Vanilla Ice Cream: The warm, buttery rugelach paired with cold, creamy ice cream creates a decadent dessert experience for those cozy evenings.
-
Whipped Cream: Light and airy, homemade whipped cream offers a delightful contrast to the rich chocolate filling, enhancing every bite with sweetness.
-
Coffee or Espresso: A well-brewed cup adds warmth and depth, making each pastry taste even better as you enjoy the rich beverage alongside.
-
Herbal Tea: Soothing flavors of chamomile or mint will balance the chocolate’s richness, making for a lovely afternoon treat that warms the soul.
-
Dark Chocolate Drizzle: Elevate your rugelach with a gentle drizzle of melted dark chocolate on top for an elegant touch that any chocolate lover will appreciate.
-
Milk or Almond Milk: A comforting glass of milk or a creamy, non-dairy alternative provides a classic pairing that brings back nostalgic memories of treats from childhood.
Gluten Free Chocolate Rugelach Variations
Customize your Gluten Free Chocolate Rugelach to fit your tastes, and explore exciting new flavors!
-
Dairy-Free: Swap cream cheese with vegan cream cheese and use almond milk for a delightful dairy-free adaptation.
Try adding a sprinkle of cinnamon in the filling for a warm, cozy twist! -
Nutty Delight: Incorporate finely chopped nuts, like walnuts or pecans, into the chocolate filling for a rich texture.
The nuts add a lovely crunch, perfect for those who enjoy a bit of crunch in each bite. -
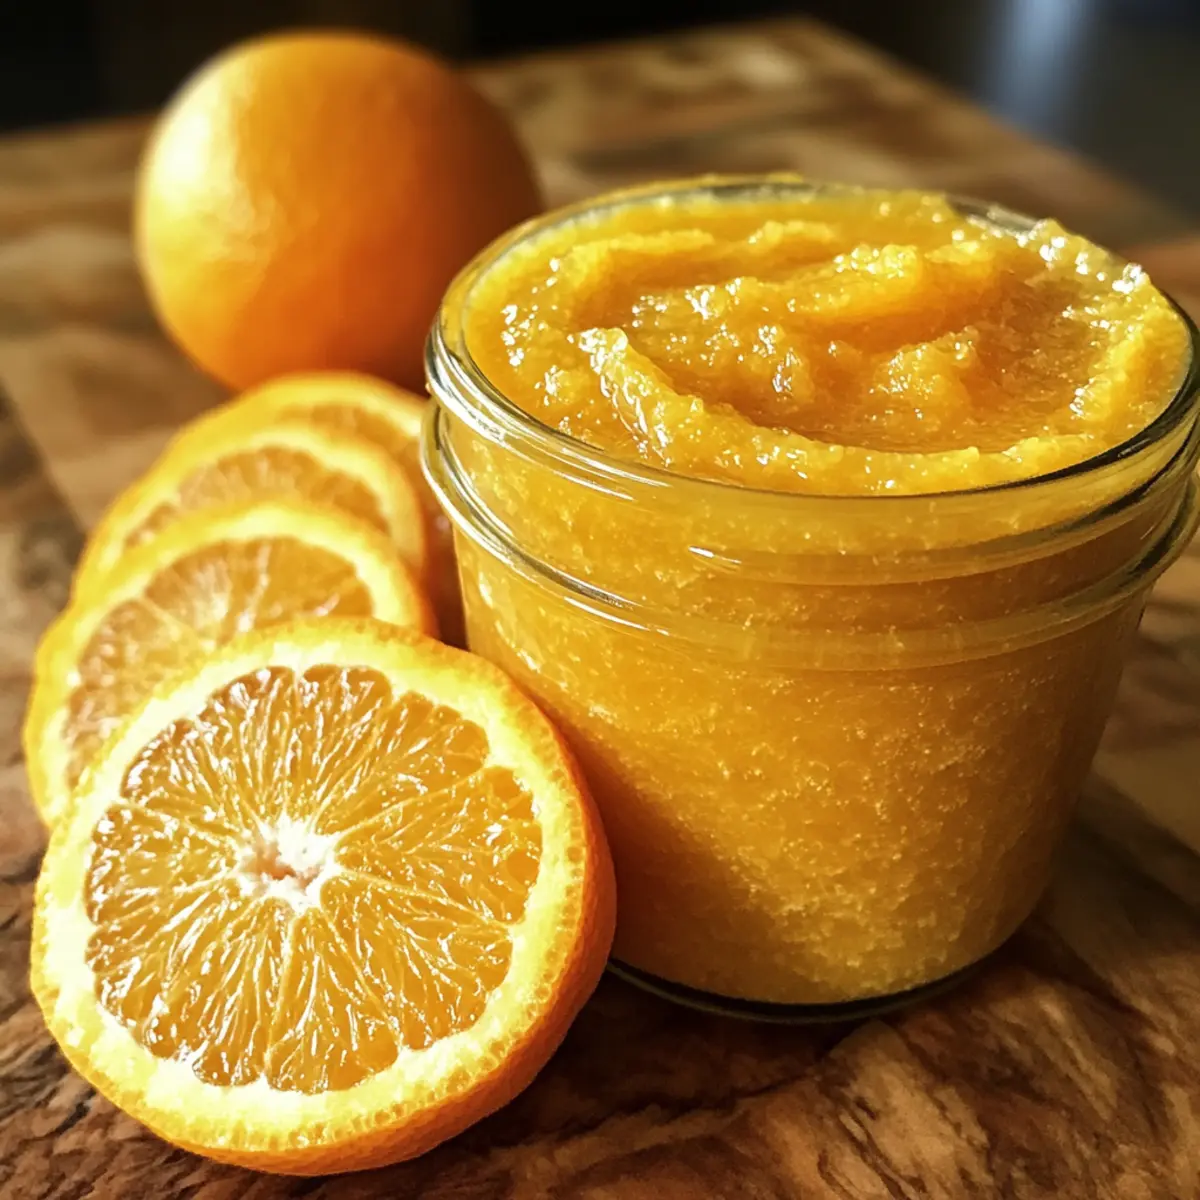
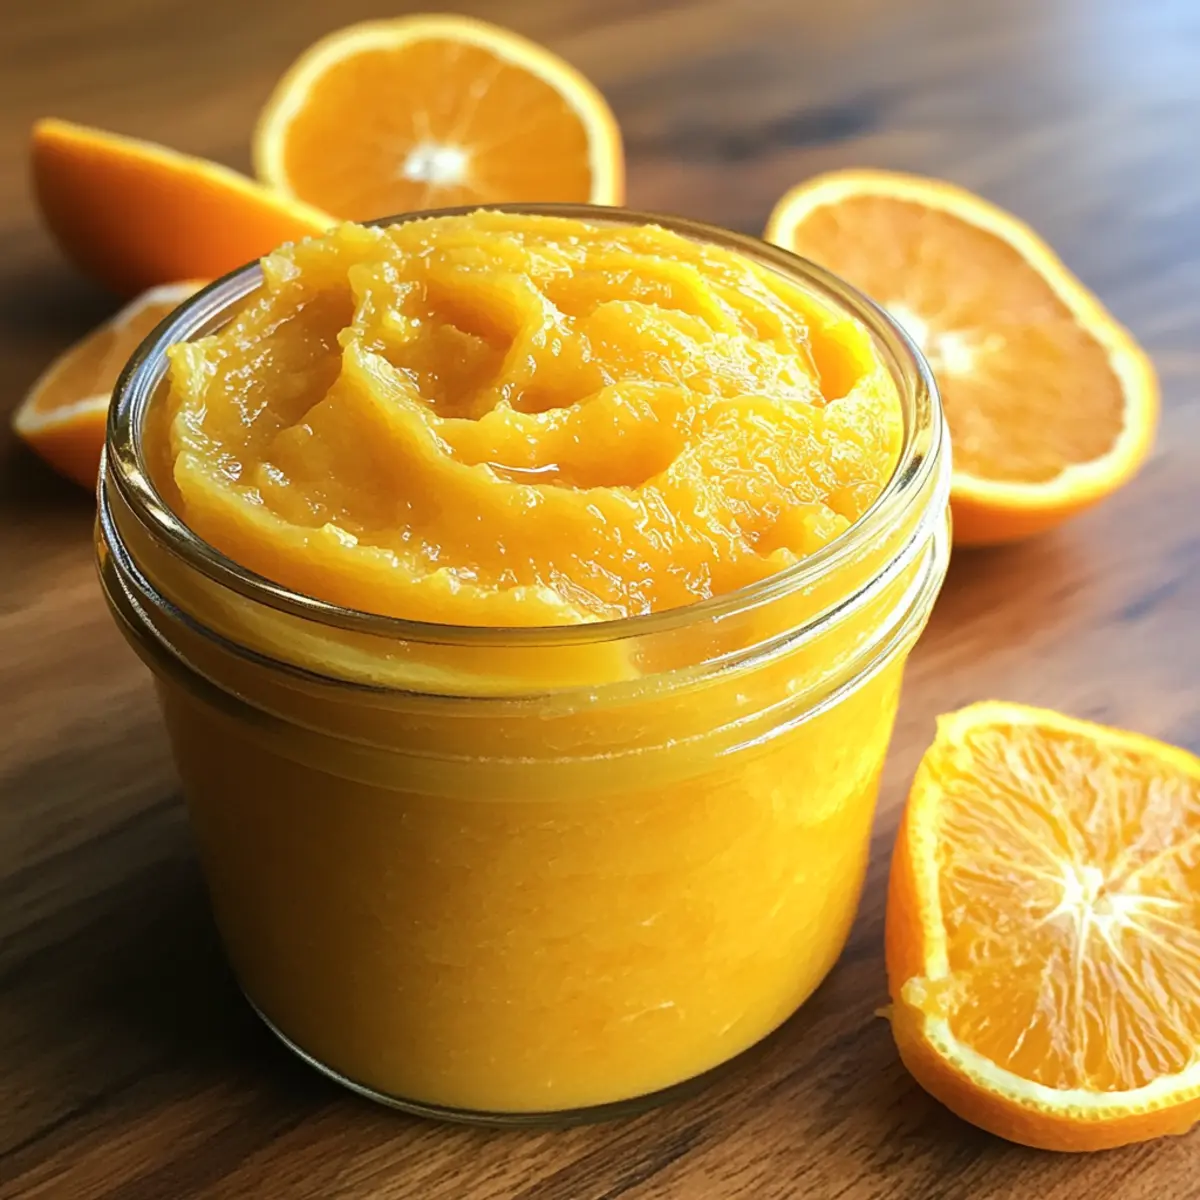
Fruit Preserves: Replace the chocolate filling with fruit preserves such as apricot or raspberry for a fruity twist.
Each sweet bite will remind you of bright, sunny days, bringing a fresh vibrancy to these pastries. -
Cinnamon Sugar: Use a mix of cinnamon and sugar as the filling for a warm, comforting flavor reminiscent of cinnamon rolls.
This twist offers an aromatic experience that fills your kitchen with delightful scents while baking! -
Spicy Kick: Introduce a pinch of cayenne or chili powder in the chocolate filling for a surprising heat that complements the richness.
This unexpected kick can elevate your rugelach to a gourmet treat that delights adventurous palates. -
Milk Chocolate: Substitute dark chocolate with milk chocolate for a sweeter, creamier filling that pleases chocolate lovers.
This variation offers a velvety experience perfect for those who prefer a less intense chocolate flavor. -
Flavored Chocolate: Experiment with flavored chocolate, like orange or mint, to create unique variations that tantalize the taste buds.
These delightful surprises make each pastry a sweet journey through different flavor landscapes. -
Gluten-Free Oat Flour: Use oat flour as a replacement for half of the gluten-free flour for a lovely nutty flavor and chewy texture.
This addition can create an appealing depth that makes them even more special for your holiday spread.
By experimenting with these variations, you can create a tray of Gluten Free Chocolate Rugelach that thrills your family and friends. Happy baking!
How to Store and Freeze Gluten Free Chocolate Rugelach
Room Temperature: Store your gluten free chocolate rugelach in an airtight container at room temperature for up to 3 days to maintain their delightful flakiness.
Fridge: If you need a bit more time, these pastries can be kept in the fridge for up to 5 days in an airtight container, but they may lose some texture.
Freezer: For longer storage, freeze the uncooked logs wrapped tightly in plastic wrap and foil for up to 2 months. Bake straight from the freezer; just add a few minutes to the baking time.
Reheating: To enjoy leftovers, reheat in a 350°F oven for about 10 minutes, allowing them to crisp up while warming the rich chocolate filling.
Make Ahead Options
These Gluten Free Chocolate Rugelach are perfect for busy home cooks looking to save time without sacrificing flavor! You can prepare the dough up to 24 hours in advance; simply follow steps 1 through 3, wrap it tightly in plastic wrap, and refrigerate. For even longer storage, the dough can be frozen for up to 2 months—just thaw in the refrigerator overnight before rolling and filling. The assembled rugelach can also be refrigerated for up to 3 days before baking. When you’re ready to bake, brush the chilled pastries with egg wash and follow the baking instructions. This way, you’ll enjoy fresh, flaky treats with minimal effort on your busy days!
Gluten Free Chocolate Rugelach Recipe FAQs
How do I choose the right gluten-free flour for this recipe?
Absolutely! I recommend using Cup4Cup gluten-free flour for the best results because it provides the right structure and flakiness. If you opt for another gluten-free blend, ensure it contains xanthan gum, as this ingredient helps mimic the elasticity of traditional flour.
How should I store leftover rugelach?
These delightful pastries can be stored at room temperature in an airtight container for up to 3 days. If you have more time, placing them in the fridge extends their freshness to about 5 days, albeit with a slight texture change. To maintain their luscious texture, have them at room temperature or warm them slightly before enjoying.
Can I freeze the dough or baked rugelach?
Absolutely! For freezing, wrap the uncooked logs tightly in plastic wrap and foil and freeze for up to 2 months. When you’re ready to bake, there’s no need to thaw; just add a few extra minutes to the baking time. If you’ve baked them, you can freeze the leftovers in an airtight container, reheating them in a 350°F oven for about 10 minutes to restore their flakiness.
What if my dough becomes too crumbly while mixing?
No worries! If your dough starts to crumble too much, you can simply add one tablespoon of cold water. This addition can help hydrate the mixture, allowing you to gather it into a cohesive dough. Just remember that the key is to keep it chilled for that perfect texture, so a little cold water may do the trick.
Are there any dietary considerations for these rugelach?
Yes, indeed! If you have dairy allergies or follow a vegan diet, substitute the cream cheese with a vegan cream cheese option for moisture and richness. For the egg wash, you can replace it with non-dairy milk to give your rugelach a lovely finish. Always double-check ingredient labels to ensure they are gluten-free and free from allergens.
Can I customize the filling to suit my tastes?
Very much so! The filling for these rugelach is wonderfully versatile. Aside from the dark chocolate, consider mixing in cinnamon sugar, chopped nuts, or fruit preserves like apricot or raspberry for a different flavor profile. Experimenting with fillings allows you to create unique twists on this classic recipe!
Gluten Free Chocolate Rugelach: Buttery Treats Everyone Loves
Ingredients
Equipment
Method
- In a food processor, combine gluten-free flour, granulated sugar, baking powder, and kosher salt. Add cold butter and cream cheese. Pulse until coarse crumbs form, about 15-20 seconds. Slowly add milk and vanilla, pulsing until dough comes together, about 10 seconds.
- Transfer the dough to a floured surface, shape into a rectangle about 1 inch thick. Wrap in plastic wrap and refrigerate for 10-15 minutes.
- Roll out the chilled dough to ¼ inch thick. Fold into thirds like a letter, wrap and refrigerate for another 10-15 minutes. Repeat rolling and folding three times.
- While the dough chills, mix chopped chocolate, cocoa powder, brown sugar, and salt in a bowl.
- Roll the laminated dough into a large circle. Brush melted butter over it, sprinkle chocolate filling mixture evenly. Roll the dough into a tight log.
- Cut the log into 1.5-inch segments and place on a parchment-lined baking sheet. Chill in the refrigerator for at least 1 hour.
- Preheat oven to 400°F. Prepare an egg wash by whisking an egg with water. Brush over the tops of chilled rugelach.
- Bake in the oven at 400°F for 10 minutes, then reduce to 375°F for an additional 20-24 minutes until golden brown.
- Remove from oven and let cool on a wire rack for about 10 minutes before serving.