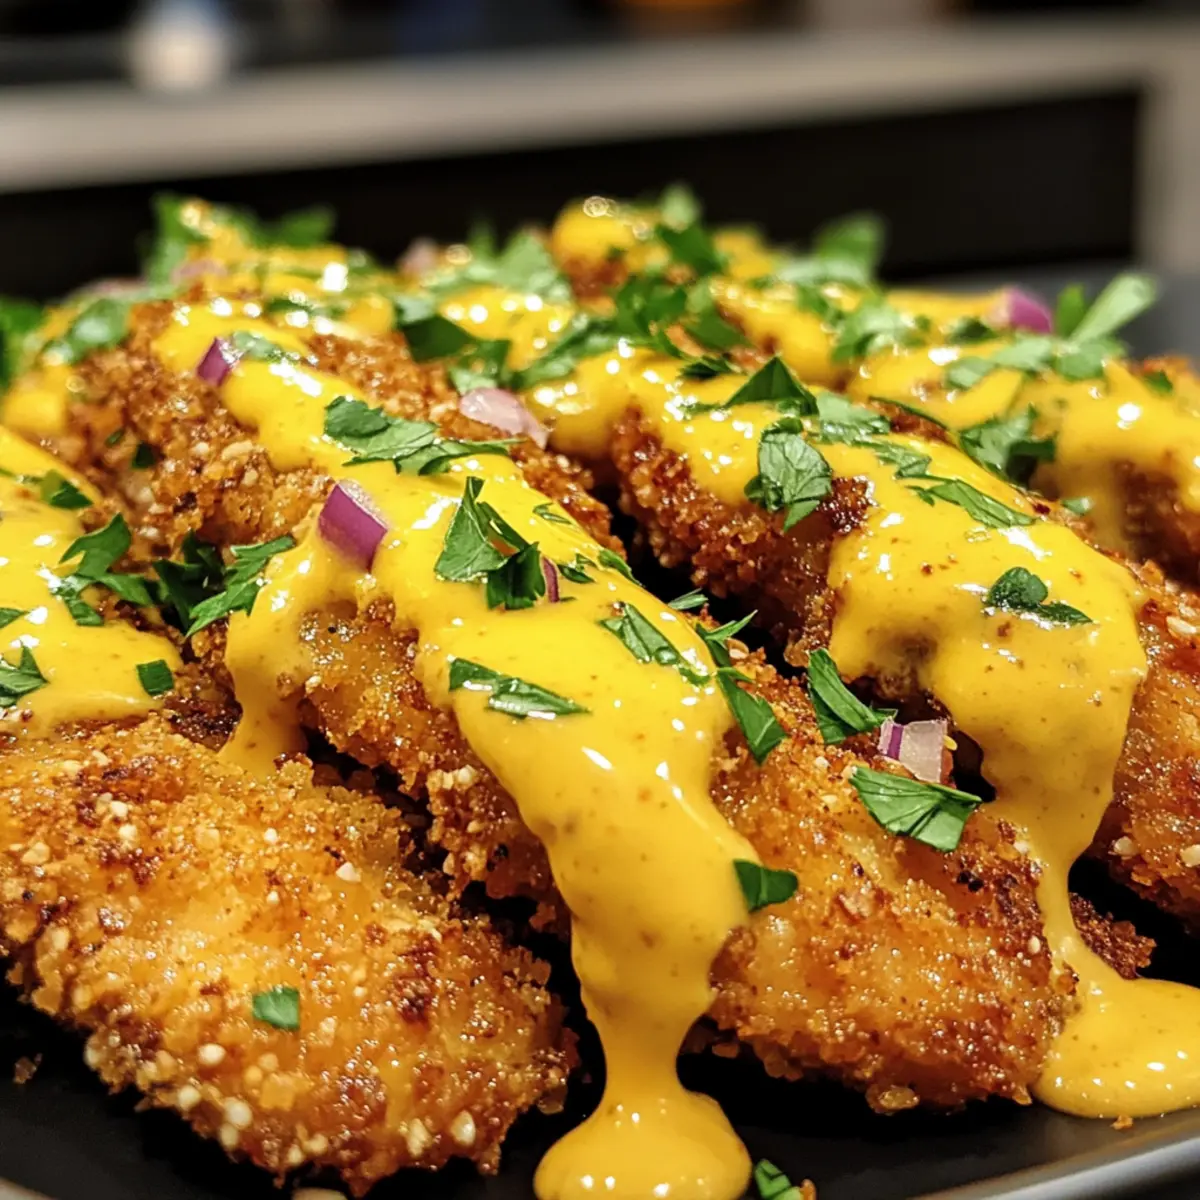
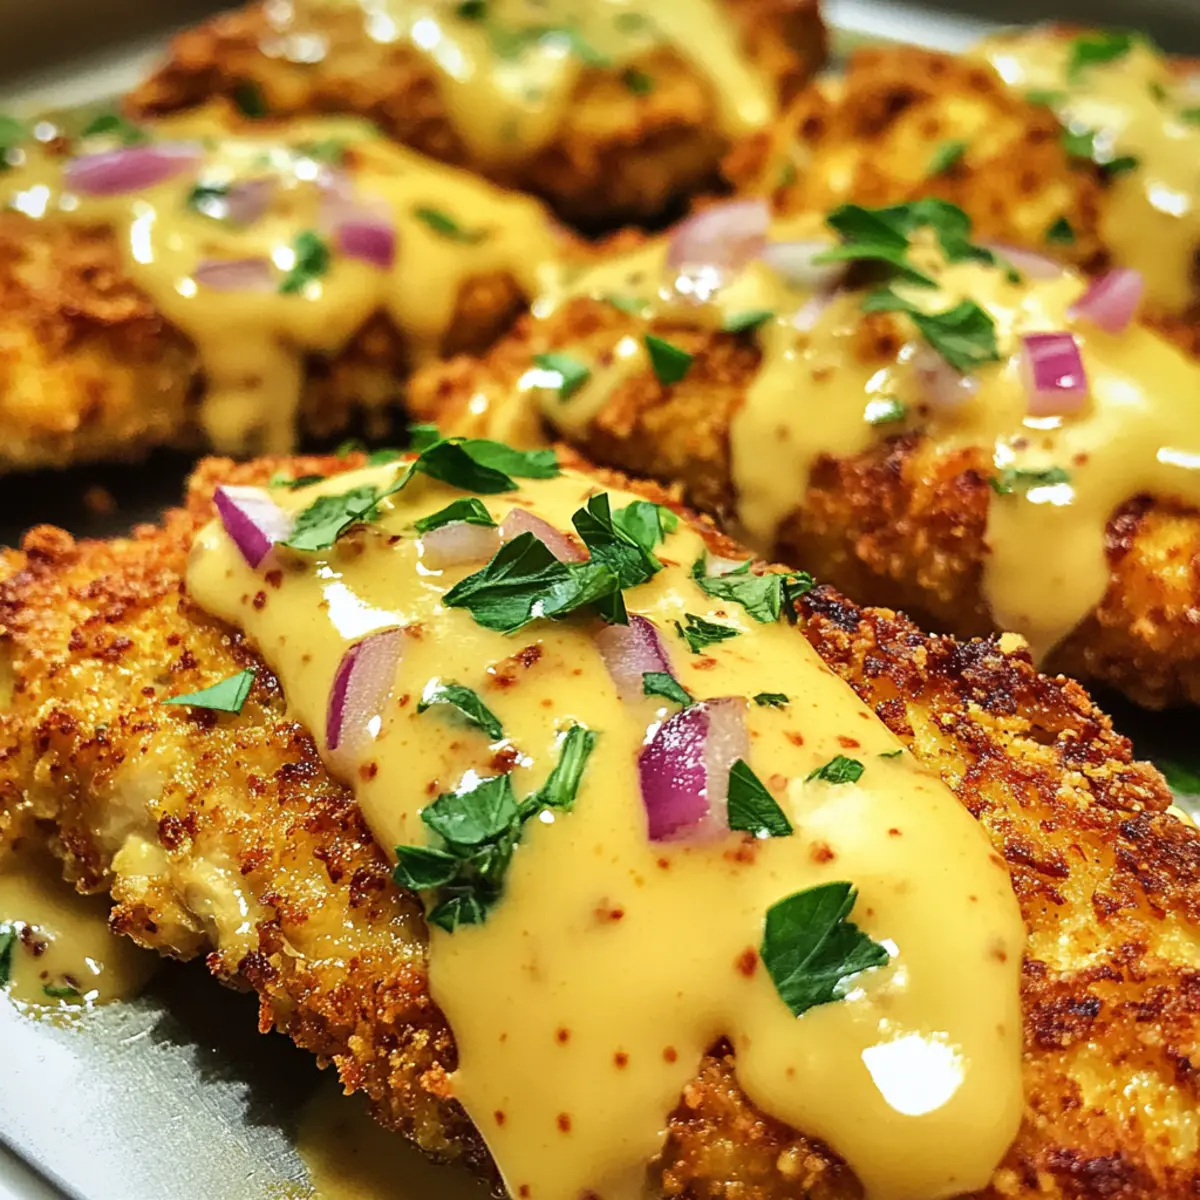
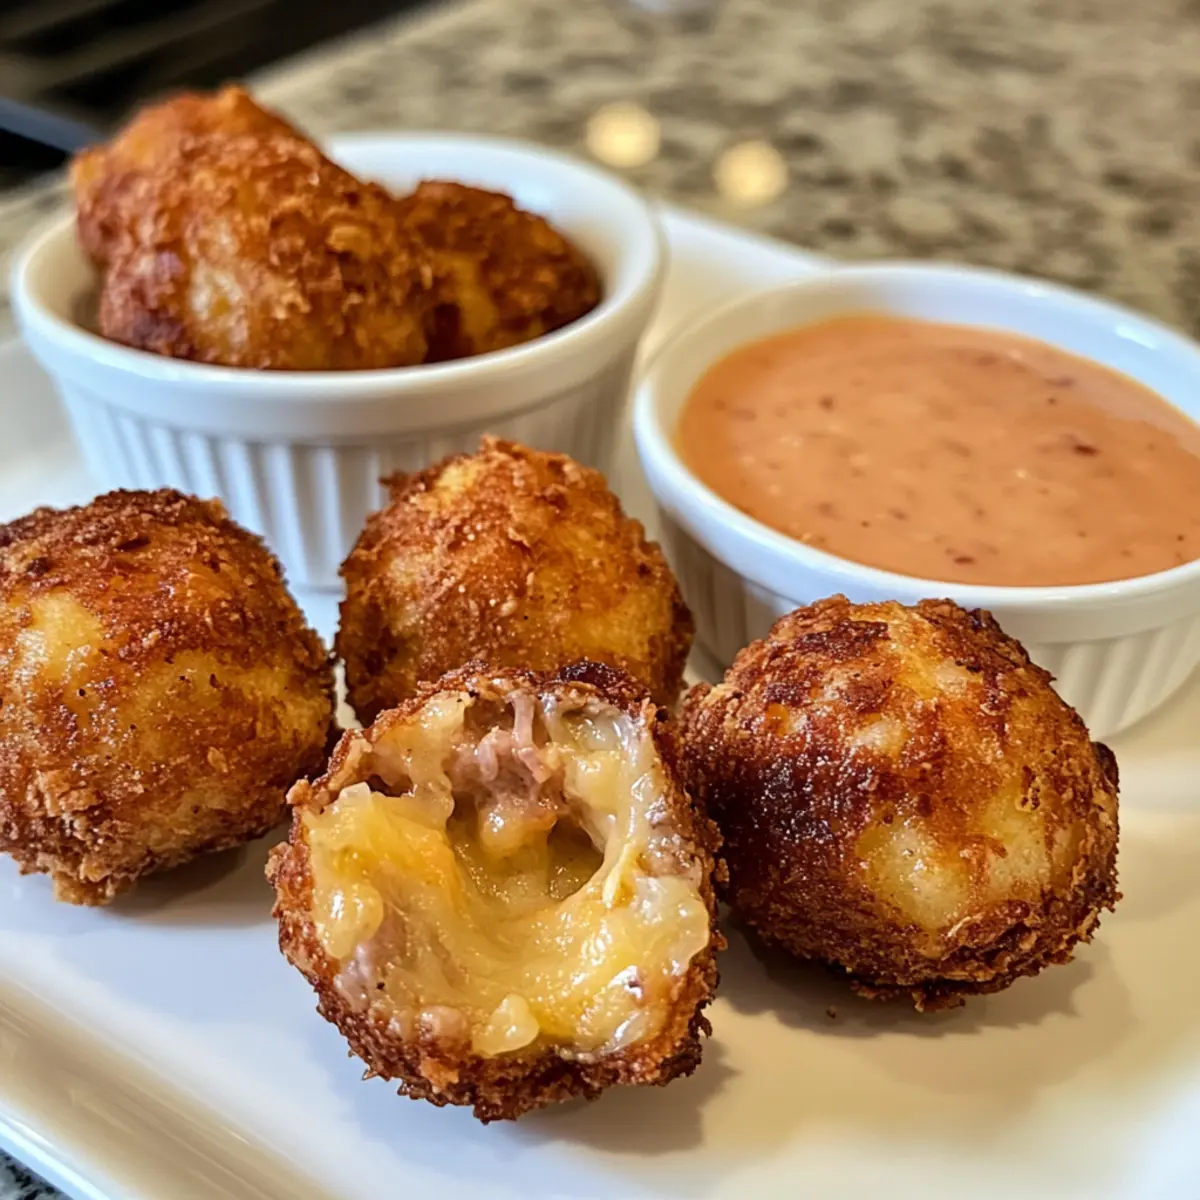
The moment I took my first bite of these crispy Reuben Balls, I felt like I had traveled back to my favorite deli, savoring all the comforting flavors of a classic Reuben sandwich—but in a delightful bite-sized form! Packed with Swiss cheese, savory corned beef, and tangy sauerkraut, these scrumptious snacks are not just easy to prepare; they’re the crowd-pleaser that everyone will be talking about long after the party ends. The perfect appetizer for game days or cozy nights in, I promise they’ll have everyone reaching for more. Plus, when served with my spicy Thousand Island dipping sauce, they become an irresistible treat that brings a zesty twist to any gathering. Curious about how to make your own batch of these delightful bites? Let’s dive into the recipe!

Why are Reuben Balls a must-try?
Irresistible Flavor: These crispy Reuben Balls deliver all the classic taste of a Reuben sandwich in a fun, bite-sized way.
Easy to Make: With just a few simple steps and ingredients, you’ll have a delicious appetizer cooked in no time.
Perfect for Any Occasion: Whether you’re hosting a party, looking for game day snacks, or just in need of comfort food, these are a guaranteed hit!
Versatile: Feel free to customize with other cheeses or dipping sauces! You might even try Homemade French Sauce for a twist!
Crowd-Pleasing Appeal: Watch as family and friends rave about these tasty morsels—they’re sure to steal the show!
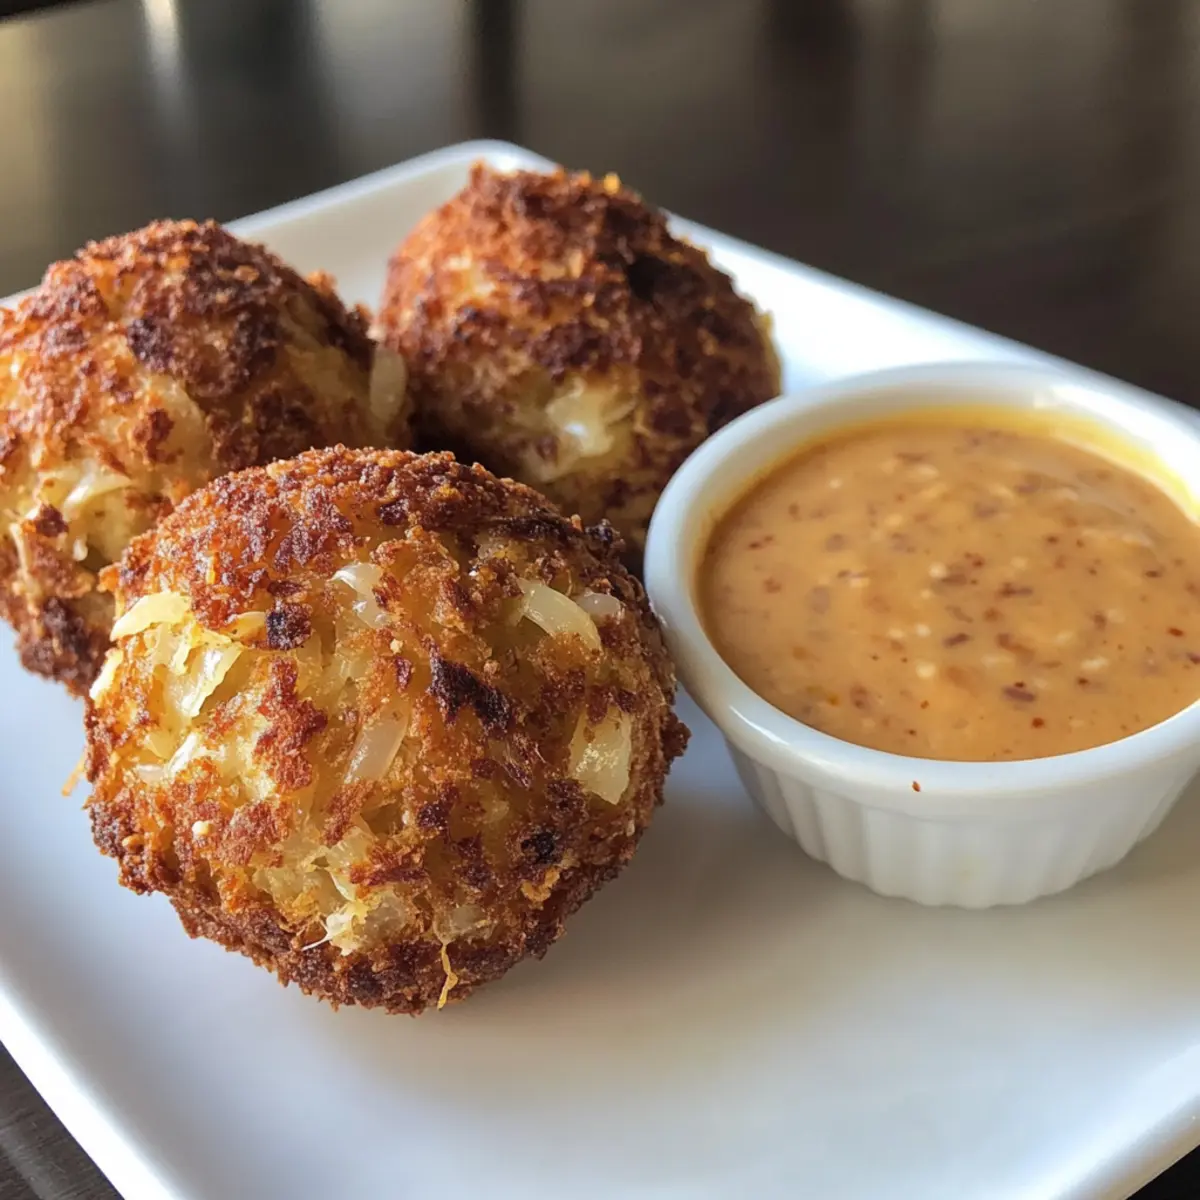
Savor every scrumptious bite, paired with a zesty dipping sauce for that extra kick!
Reuben Balls with Spicy Thousand Island Dipping Sauce Ingredients
For the Filling
• Corned Beef – Provides savory protein and rich flavor; substitute with turkey or chicken for a lighter option.
• Sauerkraut – Adds tanginess and moisture; use fresh coleslaw mix if preferred for a milder crunch.
• Shredded Swiss Cheese – Contributes creaminess and melts beautifully; Gruyere or provolone can be used as alternatives.
• Cream Cheese – Helps bind the filling and adds richness; can be swapped with ricotta for a lighter texture.
• Dijon Mustard – Adds a sharp tang to enhance flavor; regular yellow mustard can be used for a milder taste.
For Coating
• Flour – Creates a dry coating for frying; gluten-free flour can replace it for gluten-sensitive diets.
• Eggs – Acts as a binder for the breadcrumbs; aquafaba can be used as a vegan substitute.
• Breadcrumbs – Provides the crunchy outer coating; Panko breadcrumbs will yield a crunchier texture.
For Frying
• Vegetable Oil – Used for frying; can substitute with canola or peanut oil for frying at high temperatures.
For the Dipping Sauce
• Mayonnaise – Base for the Thousand Island sauce; substitute with vegan mayo for a plant-based version.
• Ketchup – Adds sweetness and depth to the sauce; can be replaced with tomato sauce or salsa for a different flavor.
• Pickle Relish – Enhances tanginess in the sauce; chopped pickles can be used in lieu of relish.
• Hot Sauce – Provides a kick to the dipping sauce; adjust the amount based on heat preference.
• Smoked Paprika – Adds a subtle smokiness; regular paprika can substitute for a milder flavor.
Step‑by‑Step Instructions for Crispy Reuben Balls with Spicy Thousand Island Dipping Sauce
Step 1: Prep & Chill Filling
In a large bowl, combine diced corned beef, drained sauerkraut, shredded Swiss cheese, cream cheese, and Dijon mustard. Mix thoroughly until all ingredients are well-blended, creating a creamy and cohesive filling. Cover your bowl with plastic wrap and place it in the refrigerator for 30 minutes to chill, making the mixture easier to handle when forming the Reuben Balls.
Step 2: Form Balls
Once the filling has chilled, remove it from the fridge. Using your hands, scoop a tablespoon of the mixture and roll it into a tight ball about 1 inch in diameter. Place each ball onto a lined baking sheet, ensuring they are spaced apart. After forming all the balls, return them to the fridge for an additional 15 minutes to help them firm up before breading.
Step 3: Setup Breading Station
Prepare your breading area by setting out three shallow bowls. Fill one with flour, the second with two beaten eggs, and the third with breadcrumbs. It’s helpful to organize these bowls in a line to create an efficient workflow. Having your setup ready will make the coating process for the Reuben Balls smooth and enjoyable.
Step 4: Coat Balls
Begin the coating process by taking one chilled ball and rolling it in the flour to create a light dusting. Next, dip it into the beaten eggs, allowing any excess to drip off before transferring it to the bowl of breadcrumbs. Coat the ball thoroughly, pressing gently to ensure the breadcrumbs adhere. Repeat until all Reuben Balls are coated for that perfect crunchy exterior.
Step 5: Fry Balls
Heat about 2 inches of vegetable oil in a heavy-bottomed skillet or deep fryer to 350°F (175°C). Carefully add the coated Reuben Balls in small batches to the hot oil, ensuring not to overcrowd the pan. Fry them for 2-3 minutes, turning occasionally, until they are golden brown and crispy. Once done, remove them with a slotted spoon and drain on paper towels to absorb excess oil.
Step 6: Make Dipping Sauce
While the Reuben Balls are frying, prepare the spicy Thousand Island dipping sauce. In a medium bowl, whisk together mayonnaise, ketchup, pickle relish, hot sauce, and smoked paprika until smooth and well combined. Taste and adjust seasoning if necessary, adding more hot sauce for extra heat or paprika for a smokier flavor.
Step 7: Serve
Arrange the crispy Reuben Balls on a large platter, making a free space in the center for your dipping sauce. Pour the zesty Thousand Island sauce into a bowl and place it in the designated space. For a refreshing touch, consider garnishing the platter with parsley. Serve these mouthwatering Reuben Balls immediately while still hot and crunchy for an unforgettable appetizer experience.
Expert Tips for Reuben Balls
-
Use a Thermometer: Always check the oil temperature before frying. Maintaining 350°F ensures your Reuben Balls cook evenly and achieve that perfect crispy texture.
-
Avoid Overcrowding: Fry in small batches to prevent temperature drops in the oil. This ensures that each batch becomes golden brown and crispy, rather than steaming.
-
Chill Before Coating: Keeping the filling cold makes it easier to form balls and helps them hold their shape during frying, resulting in perfect Reuben Balls every time.
-
Quality Breadcrumbs: Opt for panko breadcrumbs for an extra crunch. They provide a lighter, crispier coating compared to regular breadcrumbs.
-
Serve Fresh: For the best experience, enjoy your Reuben Balls with Spicy Thousand Island Dipping Sauce immediately after frying while they are still hot and crispy!
-
Experiment with Spices: Tailor your dipping sauce by adjusting the amount of hot sauce or adding spices based on your flavor preference—it makes the Reuben Balls even more satisfying!
How to Store and Freeze Reuben Balls
Fridge: Store any leftover Reuben Balls in an airtight container in the fridge for up to 3 days. Reheat in a skillet to maintain their crispiness.
Freezer: To freeze, arrange uncooked Reuben Balls on a baking sheet to freeze individually. Once solid, transfer them to freezer-safe bags or containers for up to 3 months.
Reheating: When ready to enjoy, fry the frozen Reuben Balls directly from the freezer for about 4-5 minutes at 350°F (175°C) until golden brown.
Make-Ahead: Prepare your Reuben Balls ahead of time and freeze them before frying. This way, you can fry them fresh right before serving!
Make Ahead Options
These Crispy Reuben Balls with Spicy Thousand Island Dipping Sauce are a fantastic option for meal prep, perfect for busy home cooks! You can prepare the filling (corned beef, sauerkraut, Swiss cheese, cream cheese, and Dijon mustard) and refrigerate it for up to 3 days. Simply form the mixture into balls and place them on a lined baking sheet, covering them tightly with plastic wrap before returning to the fridge. For optimal quality, fry them fresh before serving—right from the refrigerator, giving you that crispy texture and gooey interior. Alternatively, you can freeze the formed, breaded balls for up to 24 hours and fry them directly from the freezer for a delightful appetizer that saves you precious time!
What to Serve with Crispy Reuben Balls with Spicy Thousand Island Dip Delight
These crispy, savory bites are begging for a delightful spread to create a complete meal experience!
-
Creamy Coleslaw: The cool crunch of coleslaw adds balance to the rich flavors of the Reuben Balls, making every bite refreshing.
-
Garlic Breadsticks: With their buttery, garlicky goodness, these can soak up sauce perfectly, enhancing the zesty flavor profile of the dish.
-
Potato Wedges: Crispy on the outside and fluffy on the inside, potato wedges add heartiness to your meal. They work wonderfully when dipped in the Thousand Island sauce!
-
Mini Pickles: A side of mini pickles lends an extra pop of tanginess that heightens the overall taste experience of the Reuben Balls.
-
Craft Beer: A cold, crisp craft beer not only complements the savory richness but can also lighten up the meal, making it an ideal pairing.
Watch as guests mix and match flavors while enjoying the perfect ensemble alongside your irresistible Reuben Balls!
Reuben Balls Variations & Substitutions
Unleash your creativity and tailor these Reuben Balls to fit your taste and dietary needs!
- Turkey Alternative: Swap corned beef for turkey for a lighter twist while maintaining mouthwatering flavors.
- Fresh Coleslaw Mix: Opt for fresh coleslaw instead of sauerkraut for a crunchier, milder filling that even kids will enjoy!
- Cheese Blend: Combine Swiss with cheddar or gouda for an extra creamy and flavorful experience.
Adding different cheeses brings a delightful richness to each bite. You could even mix in some blue cheese for a bold flavor explosion!
- Cream Cheese Upgrade: Replace cream cheese with Greek yogurt for a tangy twist that reduces calories without sacrificing creaminess.
- Gluten-Free Coating: Use gluten-free breadcrumbs for a deliciously crispy outer layer that everyone at your party can enjoy.
Feel free to experiment with your favorite sauces too; serving these with Homemade French Sauce can be a delightful change!
- Spicier Sauce: Incorporate a dash of sriracha or chili powder into the Thousand Island sauce for an added kick! Adjust it to suit your personal preference.
- Vegetable Version: For a vegetarian take, skip the meat and add sautéed mushrooms and lentils for a hearty filling.
These swaps not only cater to various dietary preferences but also give you a chance to explore new flavor combinations! Dive into the world of culinary possibilities!
Reuben Balls with Spicy Thousand Island Dipping Sauce Recipe FAQs
What should I look for when selecting corned beef?
Absolutely! You want to choose high-quality corned beef that’s moist and well-seasoned. Look for a cut with a good balance of fat and meat. The meat should have a bright pink color without any dark spots or discoloration.
How should I store leftover Reuben Balls?
Leftover Reuben Balls can be stored in an airtight container in the refrigerator for up to 3 days. To reheat, simply place them in a skillet over medium heat until warm and crispy again, which usually takes about 5-7 minutes.
Can I freeze Reuben Balls?
Yes, you can! To freeze uncooked Reuben Balls, arrange them on a baking sheet and freeze until solid. Once solid, transfer them to a freezer-safe bag or container for up to 3 months. When you’re ready to enjoy, just fry them directly from the freezer for approximately 4-5 minutes at 350°F (175°C).
What if my Reuben Balls fall apart while frying?
If your Reuben Balls are falling apart during frying, it might be due to the filling being too warm or not chilled enough. Ensure your filling is properly chilled before forming the balls and handle them gently. If needed, you can also chill the formed balls for an additional 15 minutes before frying.
Are Reuben Balls suitable for people with dietary restrictions?
You bet! To make them gluten-free, use gluten-free flour and breadcrumbs instead. For a dairy-free option, substitute the cheese and cream cheese with a vegan alternative. Just make sure to adjust the dipping sauce ingredients accordingly with vegan mayo and other compatible ingredients.
Can I make changes to the ingredients?
Very much! Feel free to customize the filling by adding shredded cabbage or carrots for added crunch. You can also experiment with different types of cheese. If reaching for a store-bought dipping sauce like ranch or barbecue sounds easier, go right ahead! The more the merrier!

Crispy Reuben Balls with Spicy Thousand Island Dip Delight
Ingredients
Equipment
Method
- In a large bowl, combine diced corned beef, drained sauerkraut, shredded Swiss cheese, cream cheese, and Dijon mustard. Mix thoroughly, cover, and refrigerate for 30 minutes.

- Scoop a tablespoon of the filling and roll into a 1-inch ball. Place on a lined baking sheet and refrigerate for an additional 15 minutes.
- Set up a breading station with shallow bowls of flour, beaten eggs, and breadcrumbs.
- Roll each ball in flour, dip in eggs, and coat in breadcrumbs.
- Heat vegetable oil in a skillet or deep fryer to 350°F. Fry the balls in small batches for 2-3 minutes until golden brown.
- In a medium bowl, whisk together mayonnaise, ketchup, pickle relish, hot sauce, and smoked paprika until smooth to make the dipping sauce.
- Serve the crispy Reuben Balls hot with the dipping sauce.