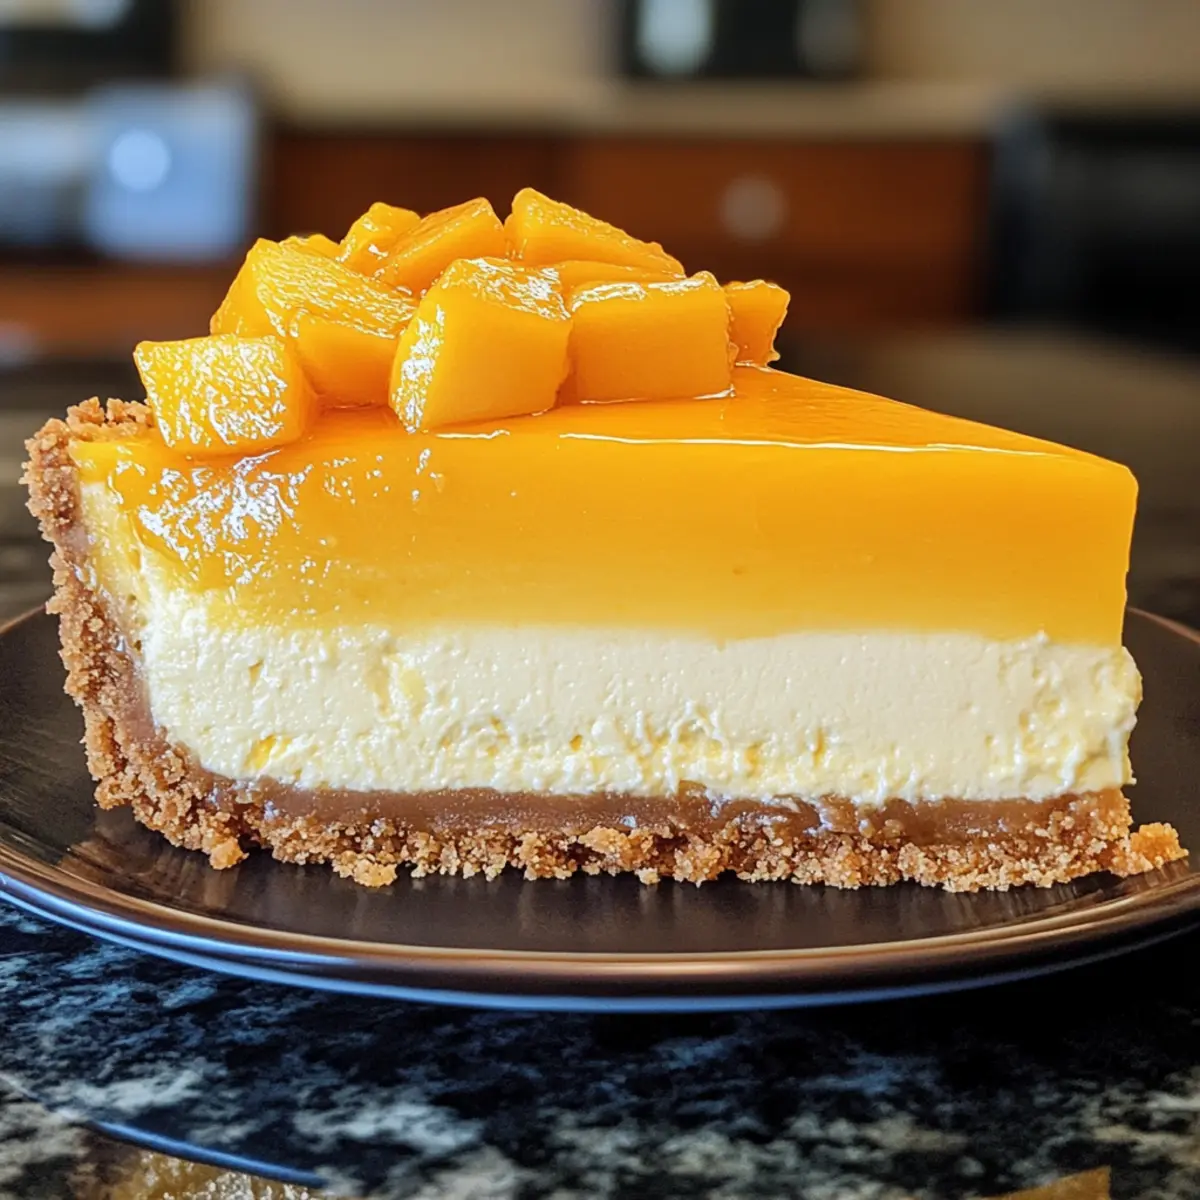
As I tasted the delicate sweetness of this Easy Mango Cheesecake for the first time, I felt transported to a sun-drenched beach, where the gentle sound of waves harmonizes with laughter. The creamy texture and vibrant tropical flavor create the perfect escape, making every bite a refreshing experience your taste buds won’t soon forget. This recipe is not just an easy way to impress your guests at summer gatherings; it also offers a delightful break from the usual desserts, requiring minimal effort for maximum impact. Plus, with the option for a gluten-free crust, everyone can indulge in this tropical delight. Ready to dive into a dessert that embodies the spirit of summer? Let’s make that magic happen!
Why is this Mango Cheesecake irresistible?
Creamy, Dreamy Texture: The perfect balance of smooth cream cheese and airy sour cream makes each slice melt-in-your-mouth delicious.
Tropical Vibes: With fresh mango puree, every bite transports you straight to a sun-kissed paradise, making it the ideal summer treat.
Effortless Elegance: Whip it up easily for any gathering; this cheesecake is a showstopper that requires minimal effort.
Customizable Crust Options: Whether you prefer a classic graham cracker base or a nutty gluten-free option, you can adapt this recipe to suit your dietary needs.
Impressive Flavor: Not only is it stunning, but the unique tropical flavor sets it apart from your standard desserts, making it a memorable addition to any occasion.
Elevate your dessert game and complement this cheesecake with a side of fruity toppings or explore other mouthwatering options like the Strawberry Cheesecake Dump for more delightful inspirations.
Mango Cheesecake Ingredients
-
For the Crust
• Graham Crackers – These form the buttery base; you can use gluten-free options for a nutty twist.
• Butter – Unsalted works best to control the sweetness and saltiness.
• Sugar – Adds sweetness to the crust; adjust based on personal preference. -
For the Cheesecake Filling
• Cream Cheese – Rich and creamy, ensure it’s softened to avoid lumps in the mango cheesecake.
• Sugar – Balances the tartness; you can modify the amount based on the mango’s natural sweetness.
• Eggs – These provide structure and lightness; beat them individually for the best result.
• Mango Puree – This is the star ingredient that brings tropical sweetness; use fresh or thawed frozen mango for optimum flavor.
• Sour Cream – Contributes to the cheesecake’s creamy texture and adds a touch of tanginess.
Enjoy making this irresistible mango cheesecake that beautifully captures the essence of summer!
Step‑by‑Step Instructions for Mango Cheesecake
Step 1: Preheat the Oven
Begin by preheating your oven to 325°F (160°C). This ensures that once your mango cheesecake is ready to bake, the temperature is just right for achieving that creamy, dreamy texture. Give your oven a few minutes to reach the desired heat while you prepare the crust.
Step 2: Prepare the Crust
In a mixing bowl, combine crushed graham crackers, melted butter, and 1/4 cup of sugar until evenly blended. This mixture should resemble wet sand. Press it firmly into a 9-inch springform pan, spreading evenly across the base and slightly up the sides. You want a solid layer to form a sturdy foundation for your delicious mango cheesecake.
Step 3: Beat the Cream Cheese
In a large bowl, beat the softened cream cheese using an electric mixer until it’s completely smooth and creamy. Gradually incorporate 1 cup of sugar along with a splash of vanilla extract. Continue mixing until the mixture is well combined and fluffy, which will create that rich texture you’re looking for in your mango cheesecake.
Step 4: Add Eggs Individually
Crack in the eggs one at a time, mixing thoroughly after each addition. This helps to aerate the batter, making your mango cheesecake light and airy. Take your time with this step; a well-mixed batter is the key to the perfect consistency and flavor in the final bake!
Step 5: Fold in Mango Puree and Sour Cream
Gently fold in the mango puree and sour cream into your cream cheese mixture, ensuring everything is just combined. Avoid over-mixing, as this can lead to a denser cheesecake. You should have a smooth, tropical filling awaiting a home on top of your crust.
Step 6: Assemble the Cheesecake
Pour the creamy cream cheese mixture over the prepared graham cracker crust in the springform pan. Use a spatula to spread it evenly across the surface. This step is essential for a beautifully even slice of mango cheesecake once baked.
Step 7: Bake the Cheesecake
Place the springform pan in your preheated oven and bake for 50–60 minutes. The center of the mango cheesecake should be set but still slightly jiggly when you gently shake the pan to indicate it’s ready. Keep an eye on it to avoid over-baking, which can alter the creamy consistency you’re after.
Step 8: Let Cool and Chill
Once baked, allow the cheesecake to cool in the pan for about an hour at room temperature. Afterward, transfer it to the refrigerator to chill for at least 4 hours, or overnight if you can wait. This chilling time is crucial for the flavors to meld and for the cheesecake to firm up properly.
Step 9: Finish with Mango Topping
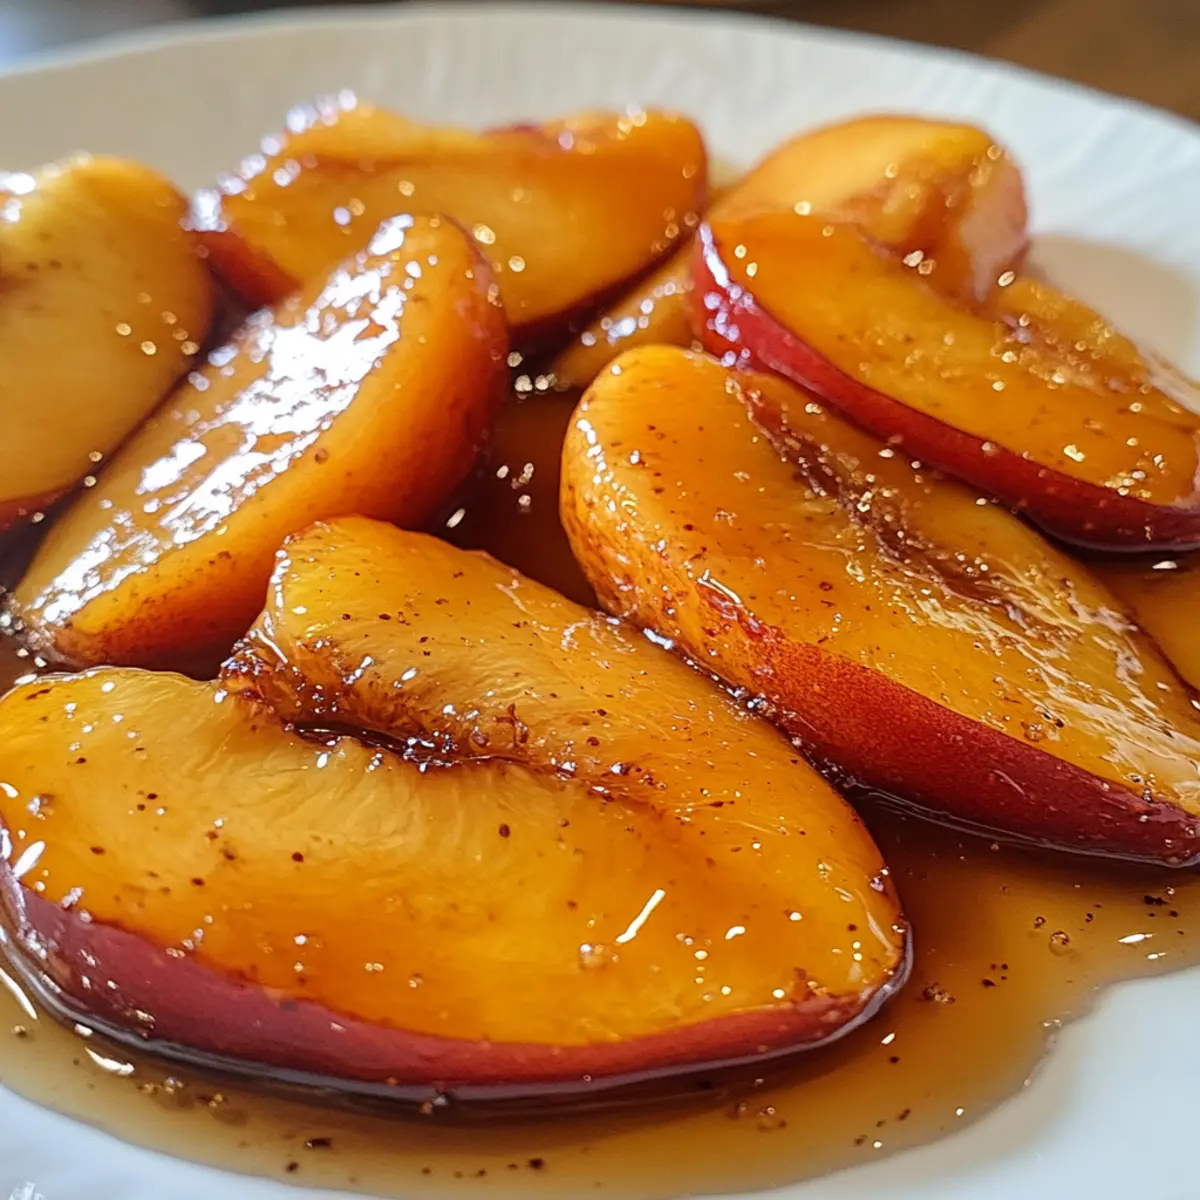
Before serving your delightful mango cheesecake, top it with freshly pureed mango for an extra splash of tropical flavor. Spread the puree evenly over the surface to create an eye-catching presentation that will wow your guests and elevate your summer gathering dessert!
Expert Tips for Mango Cheesecake
-
Room Temperature Ingredients: Ensure all dairy ingredients, especially cream cheese and eggs, are at room temperature to help create a smooth and lump-free mango cheesecake batter.
-
Correct Baking Time: Keep an eye on the cheesecake during baking; it should be set around the edges but still slightly jiggly in the center for that perfect creamy consistency.
-
Cooling is Key: Don’t skip the cooling step. Allow the mango cheesecake to cool in the pan before refrigerating to enhance the flavors and texture.
-
Sweetness Check: Taste the mango puree before adding all the sugar. Since sweetness can vary, adjust accordingly for the best balanced flavor.
-
Use Fresh Mango: For maximum flavor, opt for fresh mango puree; it’s a game changer that infuses your cheesecake with vibrant tropical essence.
Make sure to follow these tips for a stunning, delicious mango cheesecake that will brighten up any summer gathering!
Mango Cheesecake Variations & Substitutions
Inviting you to get creative, these variations will let your imagination run wild as you customize the flavors of your dessert!
-
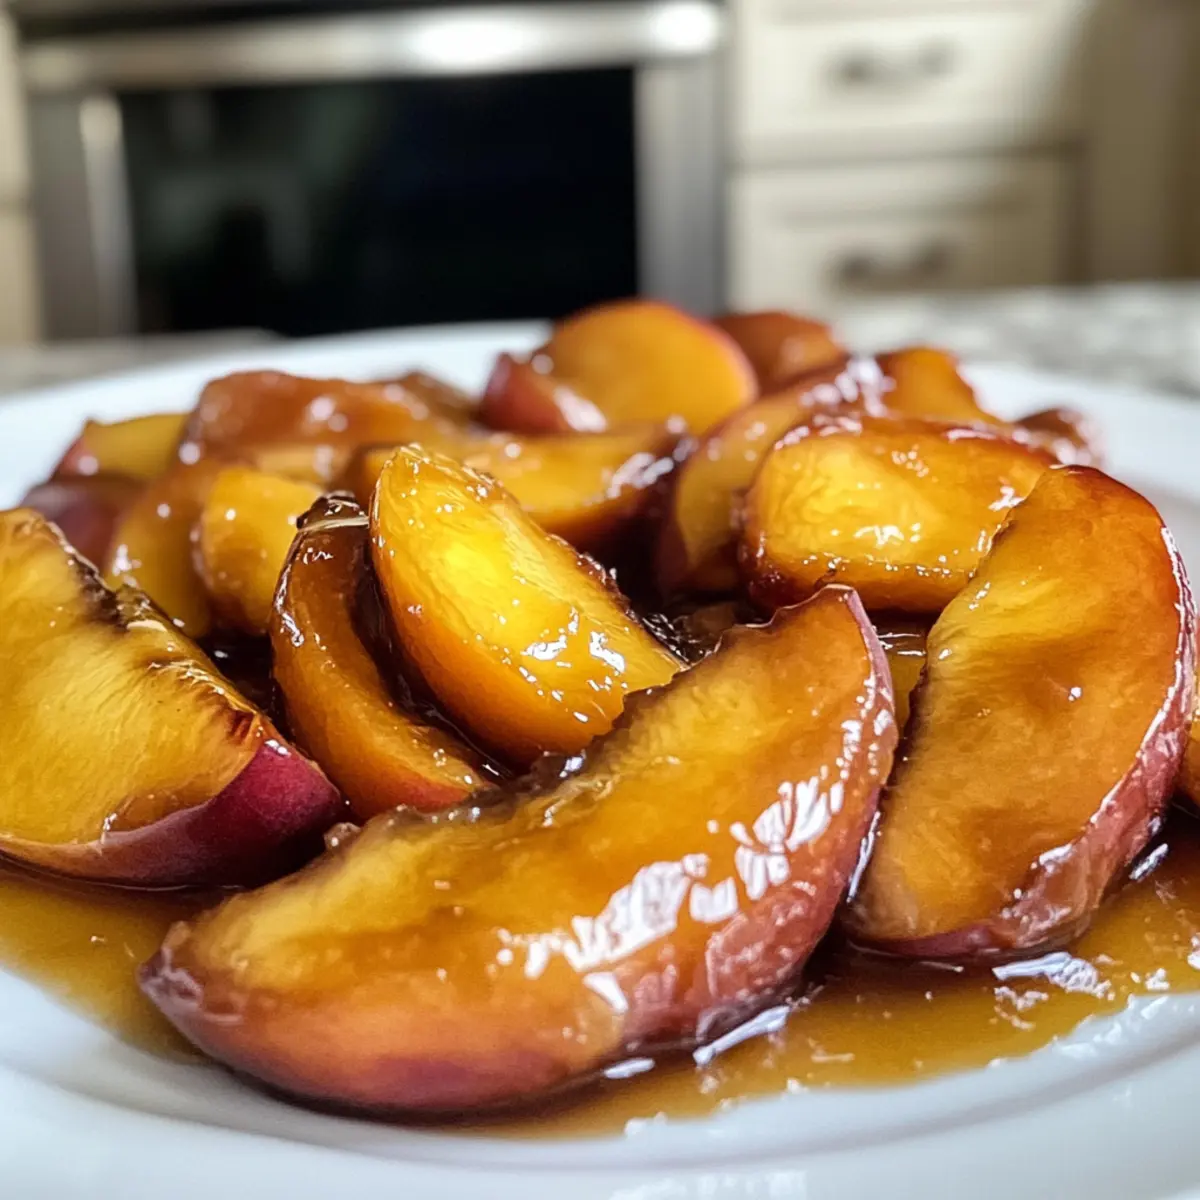
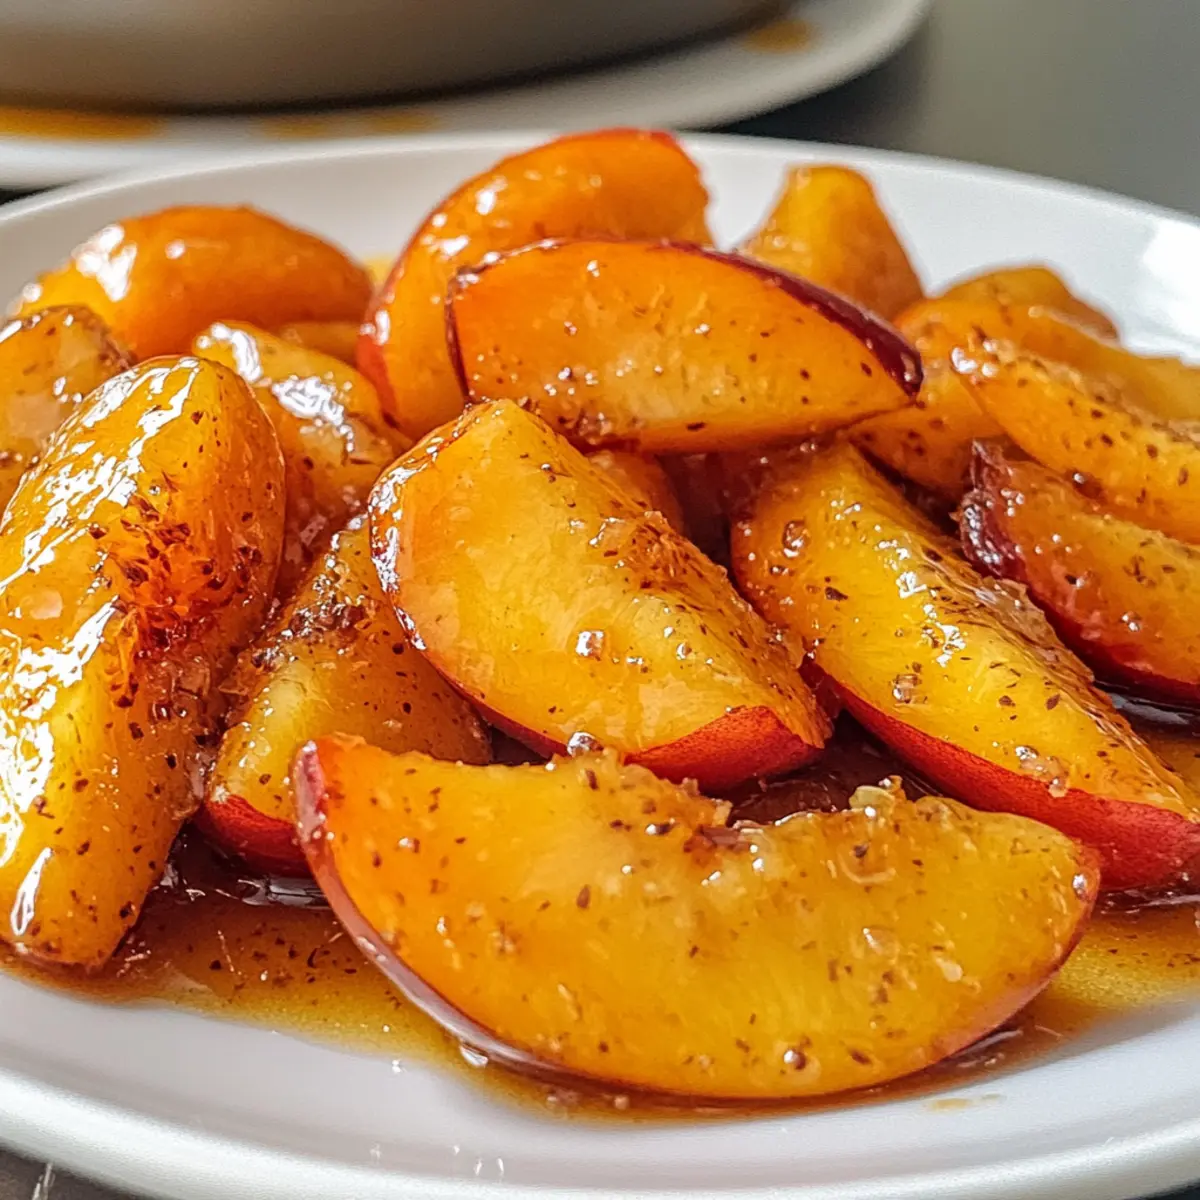
Fruit Flavors: Swap out the mango puree for strawberry, peach, or a mixture of berries to change the flavor profile dramatically. Each fruit offers its own unique sweetness and tartness, creating a delightful twist.
-
Nutty Crust: For a gluten-free option, replace graham crackers with ground almonds or hazelnuts mixed with a bit of butter and sugar. This nutty base adds a different texture and flavor that complements the cheesecake beautifully.
-
Vegan Version: Substitute cream cheese with a vegan cream cheese alternative, eggs with flax eggs, and use a dairy-free whipped cream for a plant-based version. You’ll still enjoy that creamy, dreamy texture!
-
Spice It Up: Add a sprinkle of cinnamon or nutmeg to the cream cheese mixture for a warm, spicy kick that pairs surprisingly well with the fruity sweetness.
-
Tropical Twist: Boost the tropical vibe by folding in shredded coconut along with the mango puree, giving every bite an extra layer of flavor and texture that feels like a vacation.
-
Extra Sweetness: Drizzle a sweet mango glaze over the top before serving. Simply blend additional mango puree with a bit of sugar and cornstarch, heat until thickened, and pour over the set cheesecake.
-
Mini Cheesecakes: Create individual servings by pouring the batter into muffin tins lined with paper cups. Adjust the baking time to about 20-30 minutes for perfectly portioned treats.
-
Lemon Zest: Add some freshly grated lemon zest to the filling for a bright zing that enhances the tropical flavor and balances out the sweetness of the mango.
Whichever variation you choose, you’re sure to create an unforgettable dessert. And if you’re looking for more inspiration, don’t miss our sumptuous Strawberry Cheesecake Dump or mix things up with a seasonal fruit twist!
How to Store and Freeze Mango Cheesecake
-
Fridge: Store leftover mango cheesecake tightly covered in the refrigerator for up to 5 days. This will keep it fresh while allowing the flavors to develop further.
-
Freezer: For longer storage, wrap the cheesecake tightly in plastic wrap and then in aluminum foil before placing it in the freezer. It can be frozen for up to 3 months, and when you’re ready to enjoy it, simply thaw it in the refrigerator overnight.
-
Reheating: If you prefer your cheesecake slightly warmer, you can gently heat individual slices in the microwave for about 15-20 seconds. However, it’s usually best served chilled to maintain its creamy texture.
-
Airtight Guidance: Always ensure the cheesecake is well-wrapped or stored in an airtight container to prevent odors from affecting its delightful taste.
Make Ahead Options
These Easy Mango Cheesecakes are perfect for busy home cooks seeking to save time without sacrificing flavor! You can prepare the graham cracker crust up to 3 days in advance; simply store it tightly wrapped at room temperature. The cheesecake filling can also be made ahead; just refrigerate it for up to 24 hours before pouring it over the crust. When you’re ready to bake, allow the filling to come to room temperature for about 30 minutes to ensure it bakes evenly, and then follow the baking instructions as usual. The resulting cheesecake will be just as delicious and well-set, making your dessert planning a breeze!
What to Serve with Easy Mango Cheesecake
This tropical delight pairs beautifully with a variety of flavors and textures, ensuring a memorable summer meal.
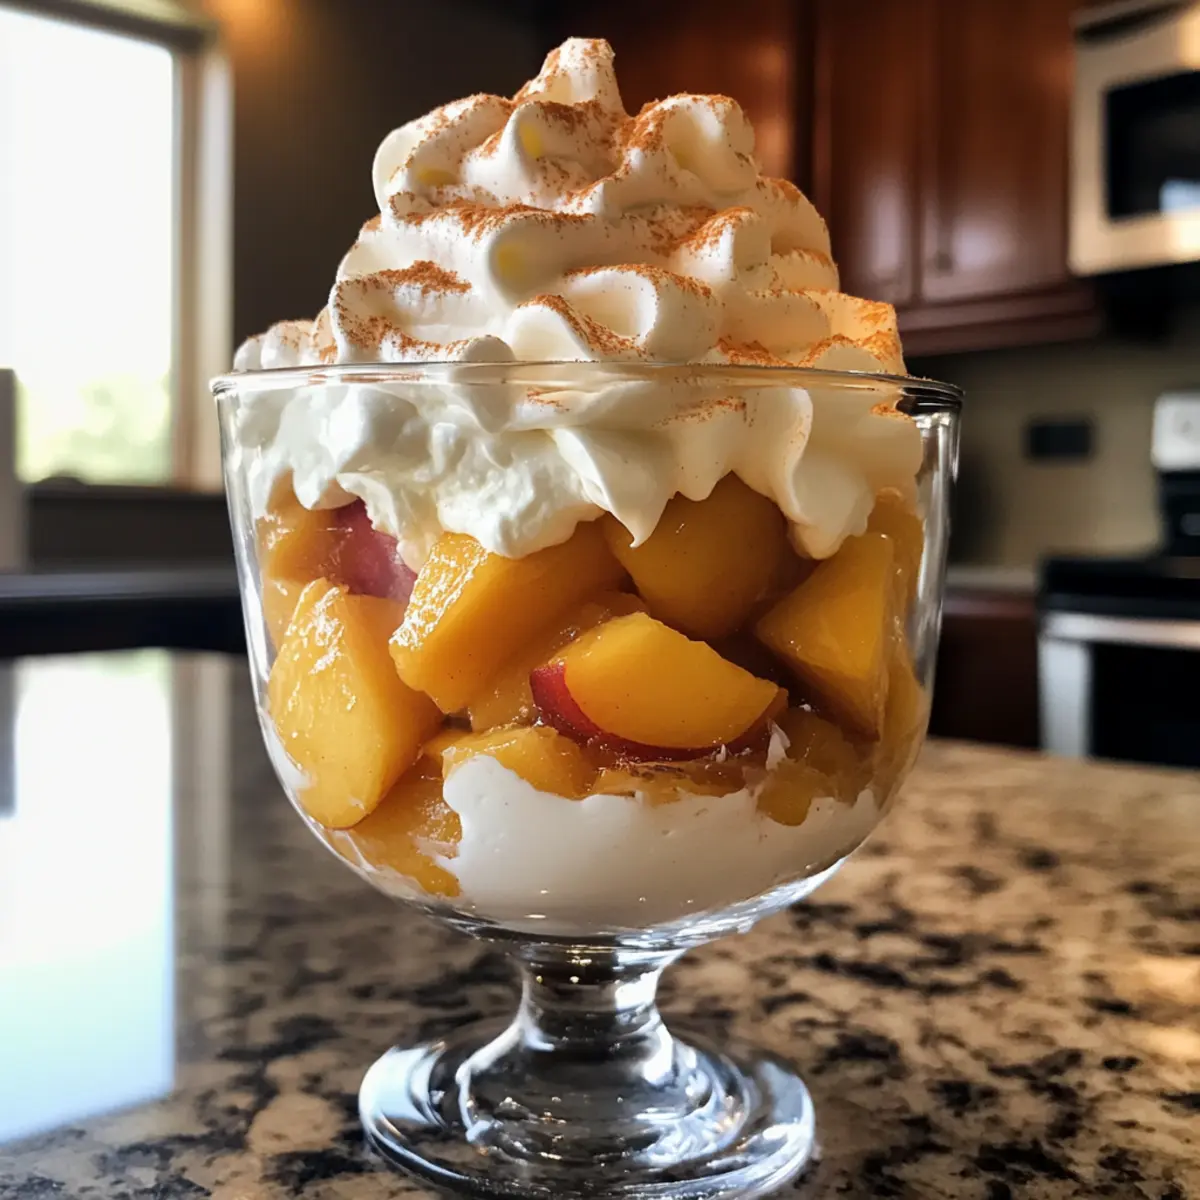
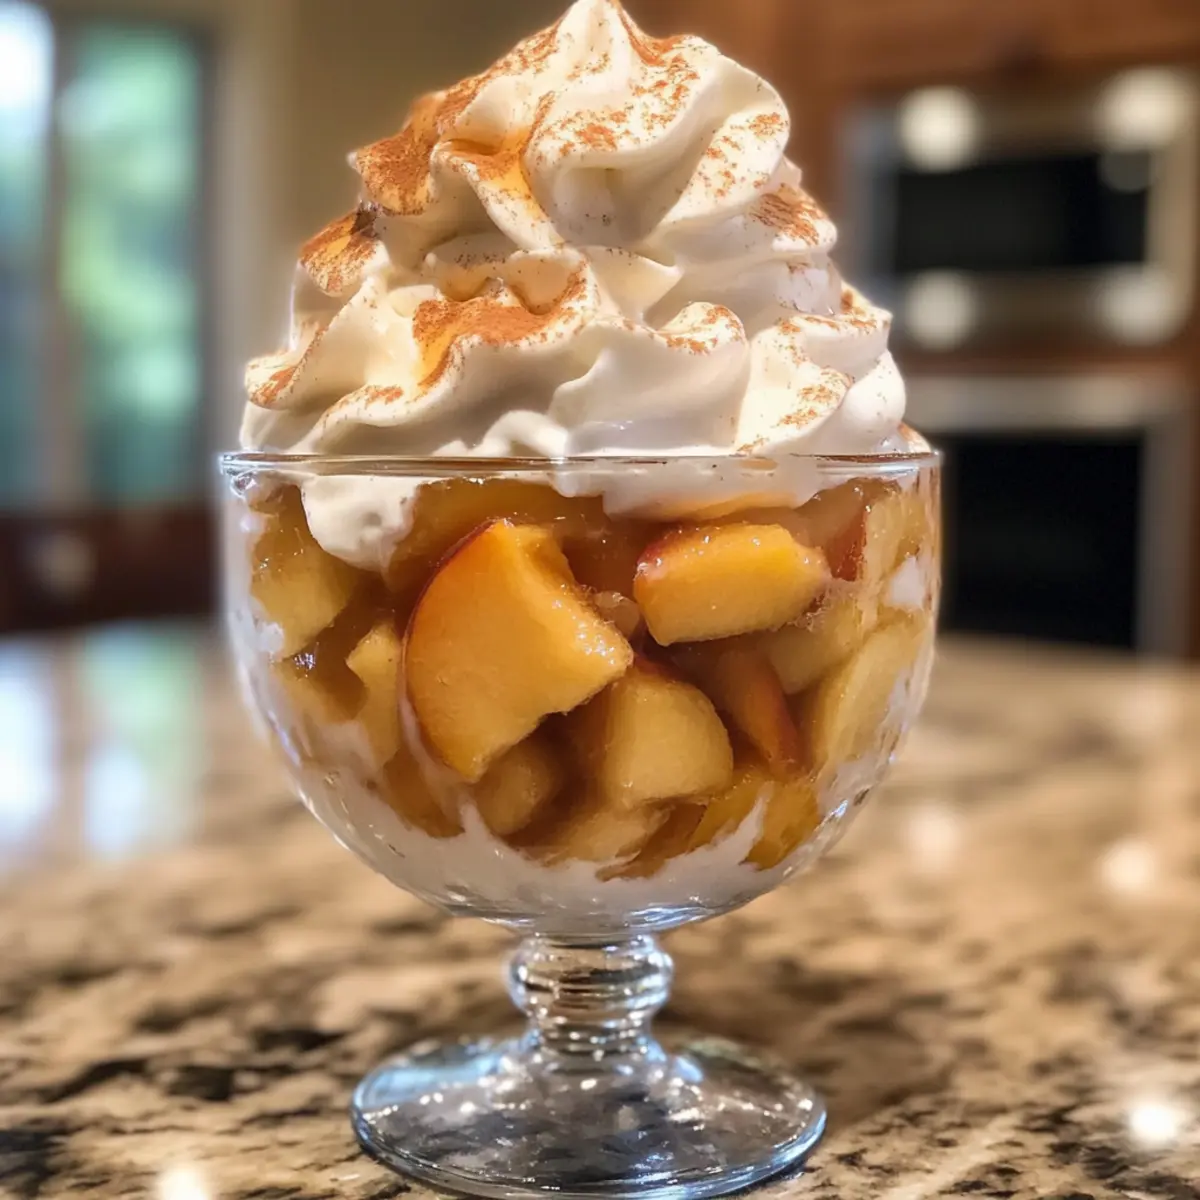
- Whipped Cream: Light and airy, a dollop of freshly whipped cream enhances the cheesecake’s creaminess while adding a touch of sweetness.
- Fresh Fruit Salad: A mix of juicy tropical fruits, like kiwi and pineapple, balances the rich mango cheesecake with a refreshing burst of flavor.
- Coconut Flakes: Toasted coconut flakes add a delightful crunch and a hint of nuttiness that complements the tropical notes of the cheesecake.
- Mint Leaves: A garnish of fresh mint not only elevates the presentation but also introduces a fragrant herbaceous note, enhancing the overall experience.
- Iced Tea or Lemonade: Serve alongside chilled iced tea or sparkling lemonade for a refreshing drink pairing that brightens every bite of the creamy dessert.
- Chocolate Drizzle: For a touch of indulgence, drizzle melted chocolate over the cheesecake to create a decadent contrast to the fruity flavors.
- Nutty Biscotti: Offer crunchy nutty biscotti as a side treat for dipping, adding a delicious contrast in texture and a hint of sweetness.
- Mango Sorbet: Complement the cheesecake’s flavors by serving a scoop of mango sorbet on the side for an extra tropical twist.
- Champagne or Prosecco: Consider pairing with a glass of bubbly, whose effervescence elevates the dessert experience, making any occasion feel special.
Mango Cheesecake Recipe FAQs
How do I select ripe mangoes for the mango puree?
Absolutely! When choosing mangoes, look for those that have a slight give when gently pressed. Avoid any that are overly soft or have dark spots all over, which may indicate overripeness. A good mango should also have a sweet aroma near the stem end, signaling it’s ready for pureeing!
What is the best way to store mango cheesecake?
After making your delicious mango cheesecake, store it tightly covered in the refrigerator for up to 5 days. This way, the flavors will continue to develop, and it stays perfectly fresh for your enjoyment. Just make sure to use plastic wrap or an airtight container to keep it from drying out.
Can I freeze mango cheesecake?
Very! To freeze your mango cheesecake, first allow it to cool completely after baking. Then, wrap it tightly in plastic wrap, followed by aluminum foil. It can be safely stored in the freezer for up to 3 months. When you’re ready to enjoy it, simply transfer to the refrigerator overnight to thaw. It’s a fantastic way to save a slice of summer!
What should I do if the cheesecake cracks on the surface?
Don’t worry; cracks happen! If your cheesecake cracks while baking, it’s often due to the oven temperature being too high or overmixing the filling. To avoid this, make sure to bake it at a consistent 325°F (160°C) and mix gently. When it cools, you can cover the cracks with your mango puree topping, which will not only hide the imperfections but also add an extra layer of flavor!
Is this recipe safe for people with dairy allergies?
Not quite! Traditional mango cheesecake contains dairy products like cream cheese and sour cream, which aren’t suitable for those with dairy allergies. However, you can experiment with non-dairy cream cheese and alternative creams to create a similar texture. Just remember to check the labels to ensure they are free from allergens.
Can I use other fruits instead of mango?
Absolutely! Try substituting the mango puree with other fruit purees such as strawberry, peach, or berry blends. Just be mindful that the sweetness of these fruits can vary, so you may need to adjust the sugar levels in your recipe accordingly for a balanced flavor!

Mango Cheesecake That Transports You to Tropical Bliss
Ingredients
Equipment
Method
- Preheat your oven to 325°F (160°C).
- In a mixing bowl, combine crushed graham crackers, melted butter, and 1/4 cup of sugar until the mixture resembles wet sand. Press into a 9-inch springform pan.
- Beat softened cream cheese until smooth. Gradually incorporate 1 cup of sugar and mix until fluffy.
- Add eggs one at a time, mixing thoroughly after each addition.
- Gently fold in mango puree and sour cream into the cream cheese mixture.
- Pour the cream cheese mixture over the crust and spread evenly.
- Bake for 50-60 minutes, until the center is set but slightly jiggly.
- Allow to cool at room temperature for an hour, then refrigerate for at least 4 hours.
- Before serving, top with pureed mango.