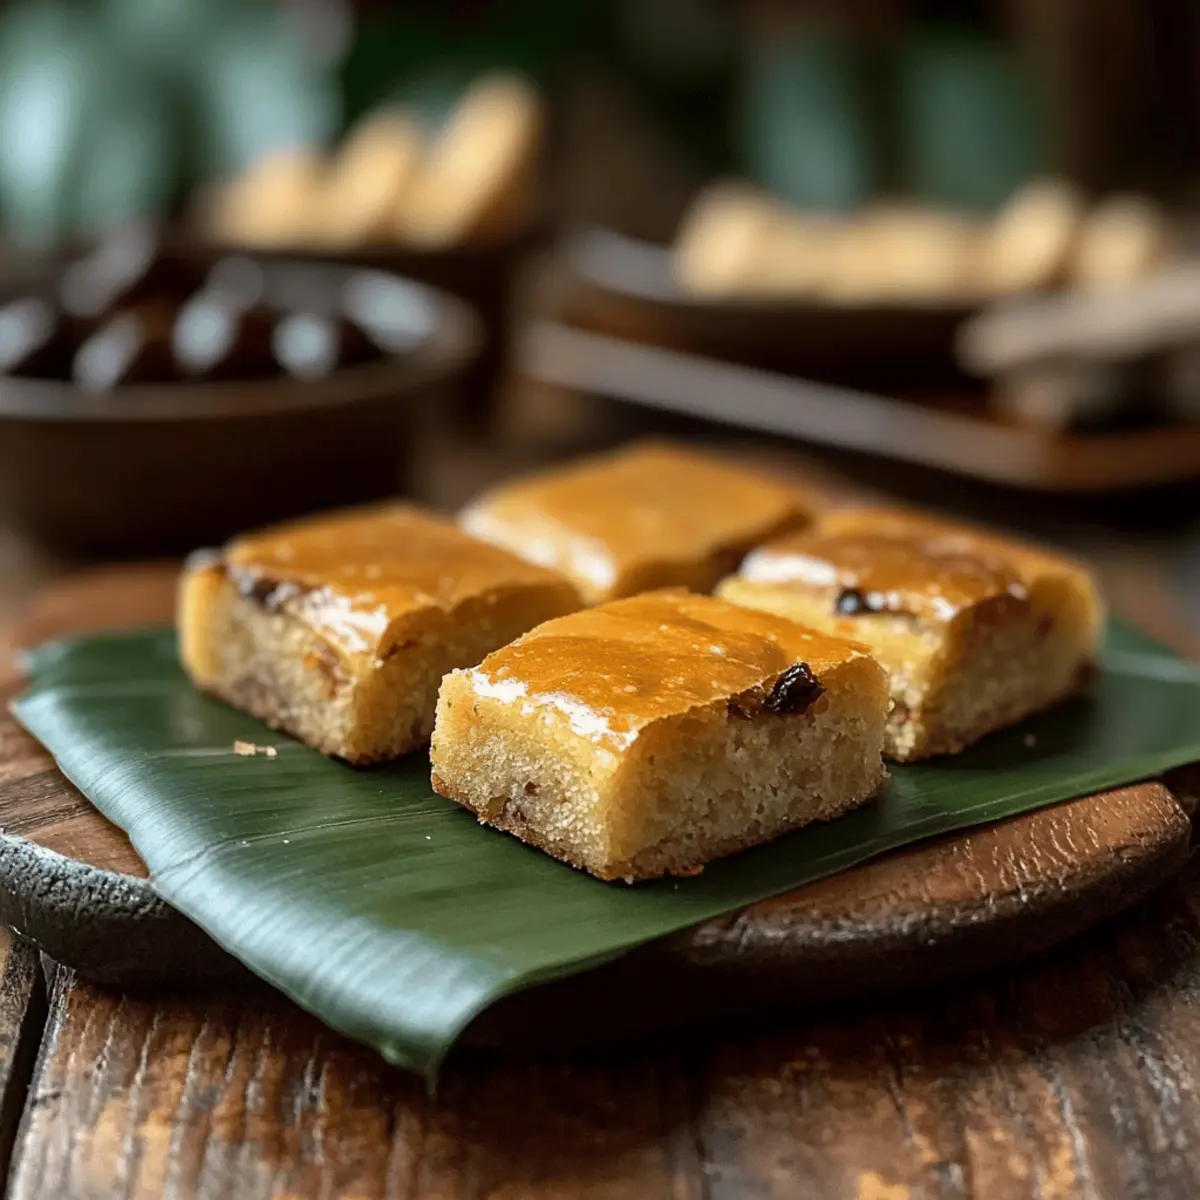
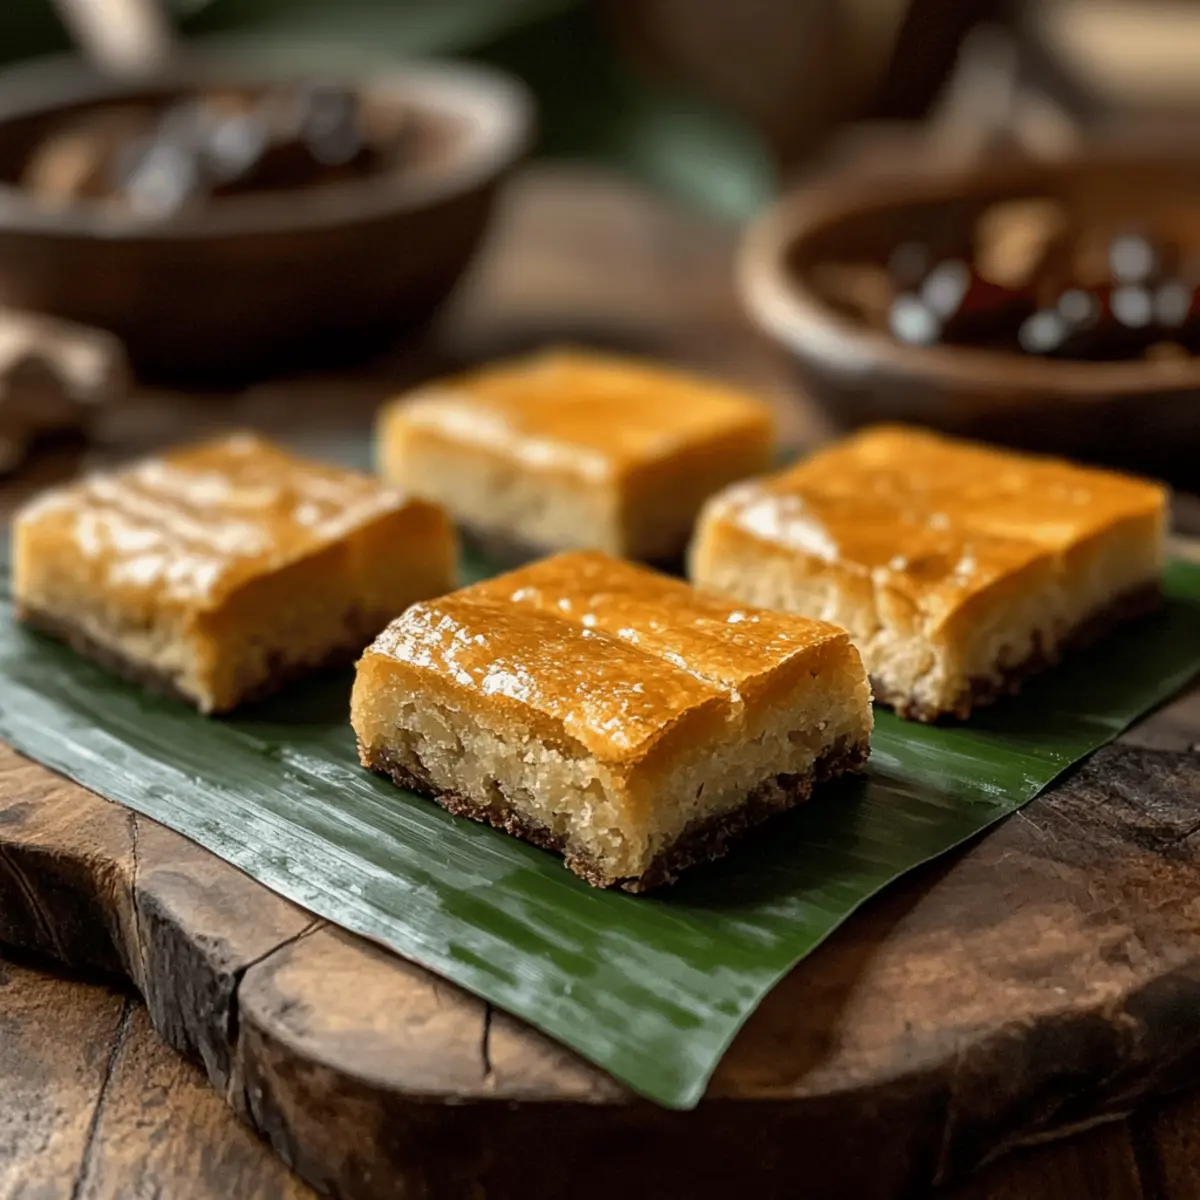
As I rummaged through my pantry, an unexpected craving hit me—something wholesome yet enchanting. That’s when the idea of making Lord of the Rings Lembas Bread Bars sparked my imagination! These delectable bars not only transport you to Middle-earth, but they also deliver a nutritious punch as a satisfying snack. Packed with wholesome ingredients like oats and warm cinnamon, they’re a delightful energy boost for any adventure—be it a long hike or a busy day at work. Plus, they’re easily adaptable for both gluten-free and vegan diets, ensuring everyone can enjoy this magical treat. Curious how to create this Elven-inspired treasure right in your kitchen? Let’s dive in!
Why Choose These Lembas Bread Bars?
Wholesome Goodness: Each bite bursts with nutrient-rich ingredients that fuel your body, making them perfect for anyone seeking a nutritious snack to power through their day.
Customizable Delight: Whether you prefer gluten-free or vegan options, this recipe can easily cater to your dietary needs without sacrificing flavor.
Easy to Make: You’ll love the simple preparation process, giving you more time to enjoy life’s adventures rather than spending hours in the kitchen.
Epic Flavor Profile: The warm notes of cinnamon and a touch of sweetness from honey blend perfectly to create a taste that’s both comforting and energizing.
Perfect for Sharing: These bars are a crowd-pleaser at gatherings, movie nights, or even as a mid-afternoon snack. Pair them with a cup of tea, and you have a delightful treat that’s sure to impress!
For more delightful and easy recipes, check out Savory Chicken Bread or explore other baked goodies like Banana Bread Brownies.
Rings Lembas Bread Bars Ingredients
For the Dough
• All-purpose Flour – Provides structure; substitute with a 1:1 gluten-free baking blend for gluten-free options.
• Rolled Oats – Adds texture and heartiness, integral for a nutritious snack.
• Cinnamon – Offers a warm spice flavor; adjust to taste for added sweetness.
• Salt – Enhances overall flavor balance, ensuring a well-rounded taste.
For the Binding
• Butter – Adds richness and moisture; can be replaced with coconut oil for a vegan version.
• Honey – Provides natural sweetness and binds ingredients together; maple syrup is a great alternative but alters the flavor profile.
• Brown Sugar – Adds moisture and extra sweetness; adjust according to your sweetness preference.
Optional Add-ins
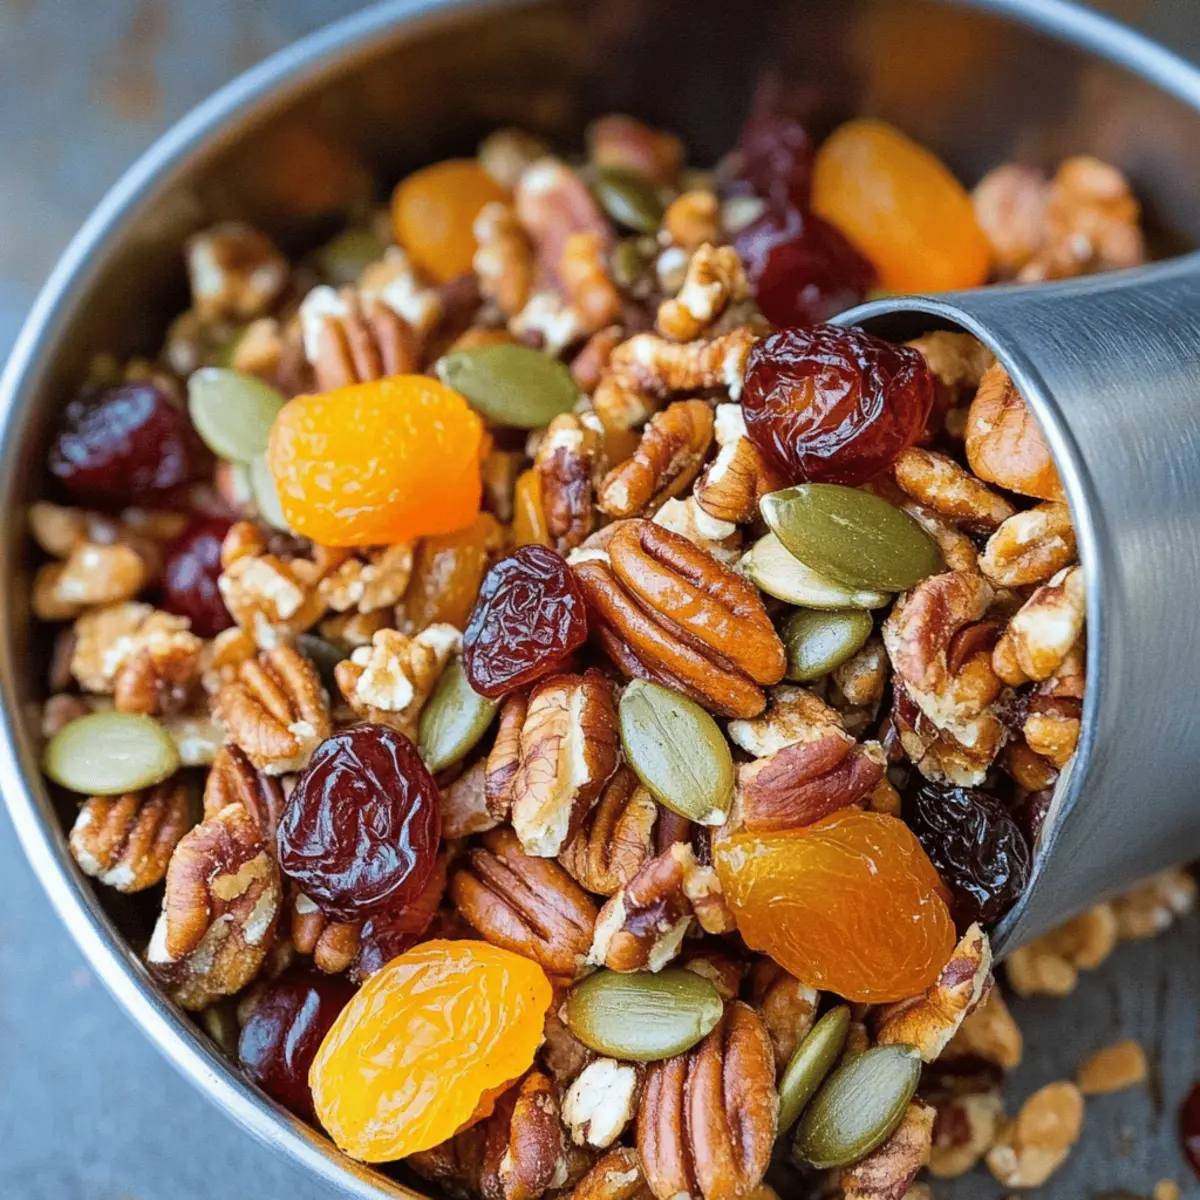
• Dried Cranberries or Nuts – Boost flavor and texture; customize to your taste for a delightful crunch.
These Rings Lembas Bread Bars are not only an energizing snack but also a fantastic way to delve into the magic of Middle-earth right in your kitchen!
Step‑by‑Step Instructions for Rings Lembas Bread Bars
Step 1: Prepare Ingredients
Begin by measuring out all your ingredients for the Rings Lembas Bread Bars, ensuring everything is within reach. Preheat your oven to 350°F (175°C) while you arrange your workspace. This step, known as mise en place, helps streamline the process, making it easier to create these delightful bars. Gather mixing bowls, a whisk, and a lined baking sheet for the next steps.
Step 2: Mix Dry Ingredients
In a large mixing bowl, whisk together the all-purpose flour, rolled oats, cinnamon, and salt until evenly blended. This creates a homogeneous dry mixture that will provide structure and flavor to your Lembas Bread Bars. Aim for a light and airy consistency that ensures even baking once combined with wet ingredients. Set aside your dry mix and prepare for the next phase.
Step 3: Combine Wet Ingredients
In a separate bowl, mix the melted butter, honey, and brown sugar until fully combined and smooth. As you stir these ingredients together, look for a thick, glossy mixture that gives off a rich aroma. Gradually pour this wet mixture into your dry ingredients while stirring consistently, ensuring the dough comes together in a uniform, thick consistency. If you desire added texture, fold in dried cranberries or nuts at this stage.
Step 4: Shape Dough
Smooth the mixture into a rectangular shape on a clean surface and roll it into bars approximately 3 inches by 1 inch. Use a spatula or your hands to ensure the bars maintain their shape. For an extra touch, score the tops with a knife to create decorative patterns that will make your Rings Lembas Bread Bars visually enchanting post-bake.
Step 5: Bake
Transfer the shaped bars to your lined baking sheet, spacing them slightly apart. Bake in the preheated oven for 15-20 minutes, or until the bars turn a delightful golden brown and emit a warm, inviting aroma. Monitor closely to ensure they don’t overbake, as you want that perfect soft and chewy texture characteristic of Lembas.
Step 6: Cool
Once baked, remove the bars from the oven and let them cool on the baking sheet for about 10 minutes before transferring to a wire rack. Allow them to cool completely before slicing to ensure they hold their shape. The cooling process is crucial for achieving that satisfying chewy texture, so exercise a bit of patience before enjoying these delicious Rings Lembas Bread Bars.
Rings Lembas Bread Bars Variations
Feel free to let your creativity shine and make these Lembas Bread Bars your own delightful masterpiece!
-
Gluten-Free: Substitute all-purpose flour with a 1:1 gluten-free baking blend for a flour-free experience. These bars will still maintain their delightful texture and flavor!
-
Vegan Delight: Replace butter with coconut oil and honey with maple syrup to create a fully plant-based version that everyone can enjoy. Indulging in these bars just got a little more magical!
-
Nutty Twist: Swap in almonds or hazelnuts for walnuts, adding a unique crunch that will elevate the flavor profile and keep your palate excited.
-
Croquant Option: For extra texture, fold in chocolate chips or crunchy granola into the dough. These additions offer a delicious surprise in every bite!
-
Fruity Flavor: Experiment with different dried fruits! Use apricots or figs instead of cranberries for a lovely seasonal twist that balances sweetness with a chewy texture.
-
Zesty Infusion: Add a teaspoon of vanilla extract or a dash of citrus zest for a burst of brightness, enhancing the warm flavors of cinnamon and honey.
-
Spicy Kick: For those who love a little heat, incorporate a pinch of cayenne or a sprinkle of ginger to the dry mix. It adds unexpected warmth that pairs beautifully with sweet notes.
-
Savory Spin: Try adding herbs like rosemary or thyme to create a unique savory treat that’s perfect for serving with cheese or as an appetizer.
For more delicious ideas, you may love making Soft Milk Bread or adding a sweet touch to your day with Berry Banana Bread.
Make Ahead Options
These Rings Lembas Bread Bars are perfect for meal prep enthusiasts looking to save time during busy weeknights! You can prepare the dry ingredients (flour, oats, cinnamon, and salt) up to 3 days in advance; just store them in an airtight container to maintain freshness. Additionally, you could mix the wet ingredients (butter, honey, and brown sugar) and refrigerate them (up to 24 hours) separately, to enhance flavor. When you’re ready to bake, simply combine the prepped mixtures into a dough, shape into bars, and bake as directed. This way, you’ll enjoy homemade snacks that taste just as delicious with minimal effort!
Expert Tips for Rings Lembas Bread Bars
Don’t Overmix: Mixing the dough too much can lead to tough bars. Stir just until all ingredients are combined for the perfect chewy texture.
Adjust Sweetness: Taste your dough before baking. You can easily tweak honey and brown sugar to customize the sweetness of your Lembas Bread Bars.
Check Consistency: If your dough feels sticky, add a bit more flour; if it’s too dry, add a splash of milk. Aim for a thick, manageable consistency.
Cooling Time Matters: Be patient and allow the bars to cool completely; this step ensures they set correctly and maintain their shape.
Sealing in Freshness: Store your Rings Lembas Bread Bars in an airtight container to keep them fresh. They last up to a week at room temperature!
What to Serve with Rings Lembas Bread Bars?
Immerse yourself in the experience of a delightful meal that complements the enchanting flavors of these chewy treats.
-
Creamy Hummus: A smooth and nutty spread that pairs beautifully, offering a savory contrast to the sweetness of the bars.
-
Fresh Fruit Salad: Bright, juicy fruits bring a refreshing crunch, enhancing the wholesome vibe of the Lembas Bread Bars while adding a burst of color.
-
Herbal Tea: A warm cup of chamomile or mint tea complements the cinnamon notes in the bars, creating a cozy atmosphere for any occasion.
-
Nutty Granola: A sprinkle of crunchy granola on top of yogurt makes for an energizing breakfast, providing a delightful textural contrast to the chewy bars.
-
Dark Chocolate Drizzle: For a touch of indulgence, drizzle melted dark chocolate over the bars for a sublime combination of sweetness and richness.
-
Trail Mix: A mix of nuts and seeds adds a satisfying crunch, making it an excellent companion for a quick snack on your outdoor adventures.
-
Chia Seed Pudding: Creamy and nutritious, this pudding can balance the sweetness of the bars and add a delightful texture to your dessert spread.
-
Coconut Milk Shake: A chilled shake brings a tropical twist that pairs perfectly, enhancing the overall flavor profile and offering a refreshing treat.
How to Store and Freeze Rings Lembas Bread Bars
Room Temperature: Keep cooled bars in an airtight container for up to 1 week. They’ll stay fresh and delicious, perfect for snacking on-the-go.
Freezer: For longer storage, wrap individual bars tightly in plastic wrap or foil and freeze for up to 3 months. Thaw in the fridge when ready to enjoy.
Reheating: If you prefer warm bars, pop them in the microwave for about 15-20 seconds or warm them in the oven at 350°F (175°C) for a few minutes.
By following these storage tips, you can savor your Rings Lembas Bread Bars whenever the craving strikes!
Rings Lembas Bread Bars Recipe FAQs
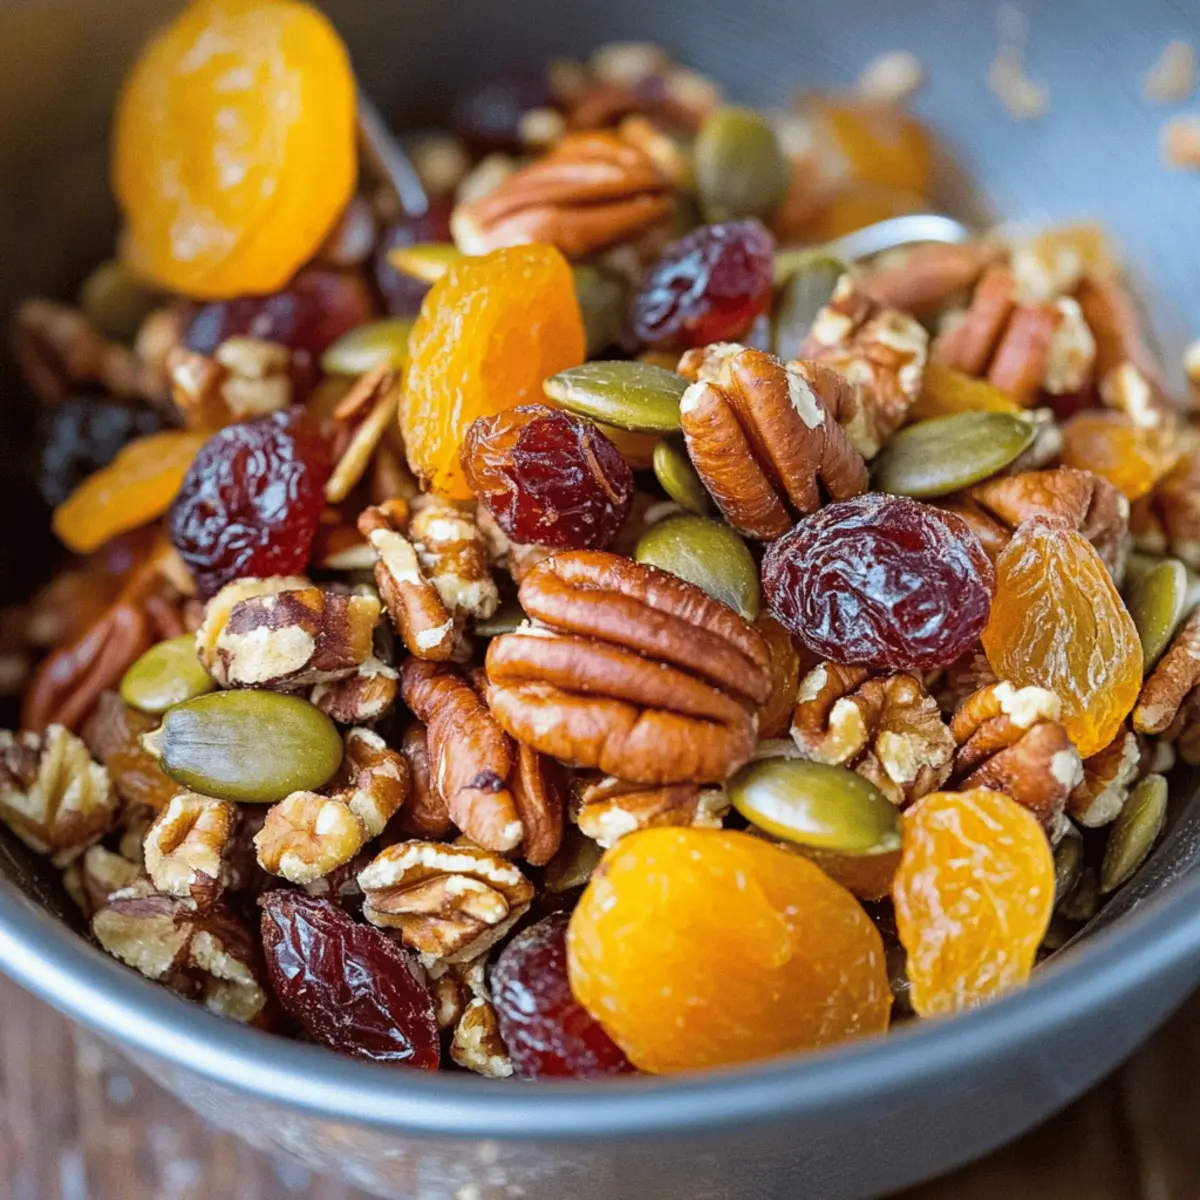
How do I choose the best dried fruits or nuts for my Lembas Bars?
Absolutely! When selecting dried fruits, look for options that are plump and free from dark spots or excessive sugars—these can indicate age or improper storage. For nuts, choose whole or roughly chopped varieties without added salt or oils. I often recommend cranberries for their tartness, but feel free to experiment with apricots or almonds based on your preferences!
How should I store my Lembas Bread Bars to keep them fresh?
Very simple! Once cooled, store your Rings Lembas Bread Bars in an airtight container at room temperature for up to 1 week. This keeps them fresh and chewy, perfect for a quick snack. If you want to store them longer, wrap each bar individually in plastic wrap or foil and freeze for up to 3 months, ensuring they’re a delightful treat any time!
Can I freeze my Lembas Bread Bars, and if so, how?
Yes, indeed! To freeze your Rings Lembas Bread Bars, first allow them to cool completely. Then, wrap each bar tightly in plastic wrap or aluminum foil, making sure there are no air pockets to prevent freezer burn. Place the wrapped bars in a freezer-safe bag and label with the date. When you’re ready to enjoy, simply thaw in the refrigerator overnight or warm them in the oven at 350°F (175°C) for a few minutes.
What should I do if the dough is too sticky while making the Lembas Bars?
No worries at all! If your dough for the Rings Lembas Bread Bars feels too sticky, try adding a little more flour, a tablespoon at a time, until it reaches a workable consistency. Alternatively, if it’s too dry, a splash of milk can help bring it together. Aim for a thick dough that holds its shape without being gooey—this ensures your bars will bake to chewy perfection!
Are there any dietary considerations I should keep in mind for my Lembas Bread Bars?
Absolutely! If you’re making these Rings Lembas Bread Bars for someone with allergies, be sure to check for gluten in your flour and oats if anyone is sensitive. For vegan options, substitute butter with coconut oil and honey with maple syrup or agave nectar. As always, double-check ingredients to ensure a safe and delicious experience for everyone!
Heavenly Rings Lembas Bread Bars for Epic Snack Adventures
Ingredients
Equipment
Method
- Prepare Ingredients: Measure out all your ingredients and preheat your oven to 350°F (175°C).
- Mix Dry Ingredients: Whisk together the all-purpose flour, rolled oats, cinnamon, and salt until evenly blended.
- Combine Wet Ingredients: Mix the melted butter, honey, and brown sugar until fully combined, then gradually pour into dry ingredients.
- Shape Dough: Smooth the mixture into a rectangular shape and roll it into bars approximately 3 inches by 1 inch.
- Bake: Transfer bars to a lined baking sheet and bake for 15-20 minutes until golden brown.
- Cool: Let the bars cool on the baking sheet for about 10 minutes before transferring to a wire rack.