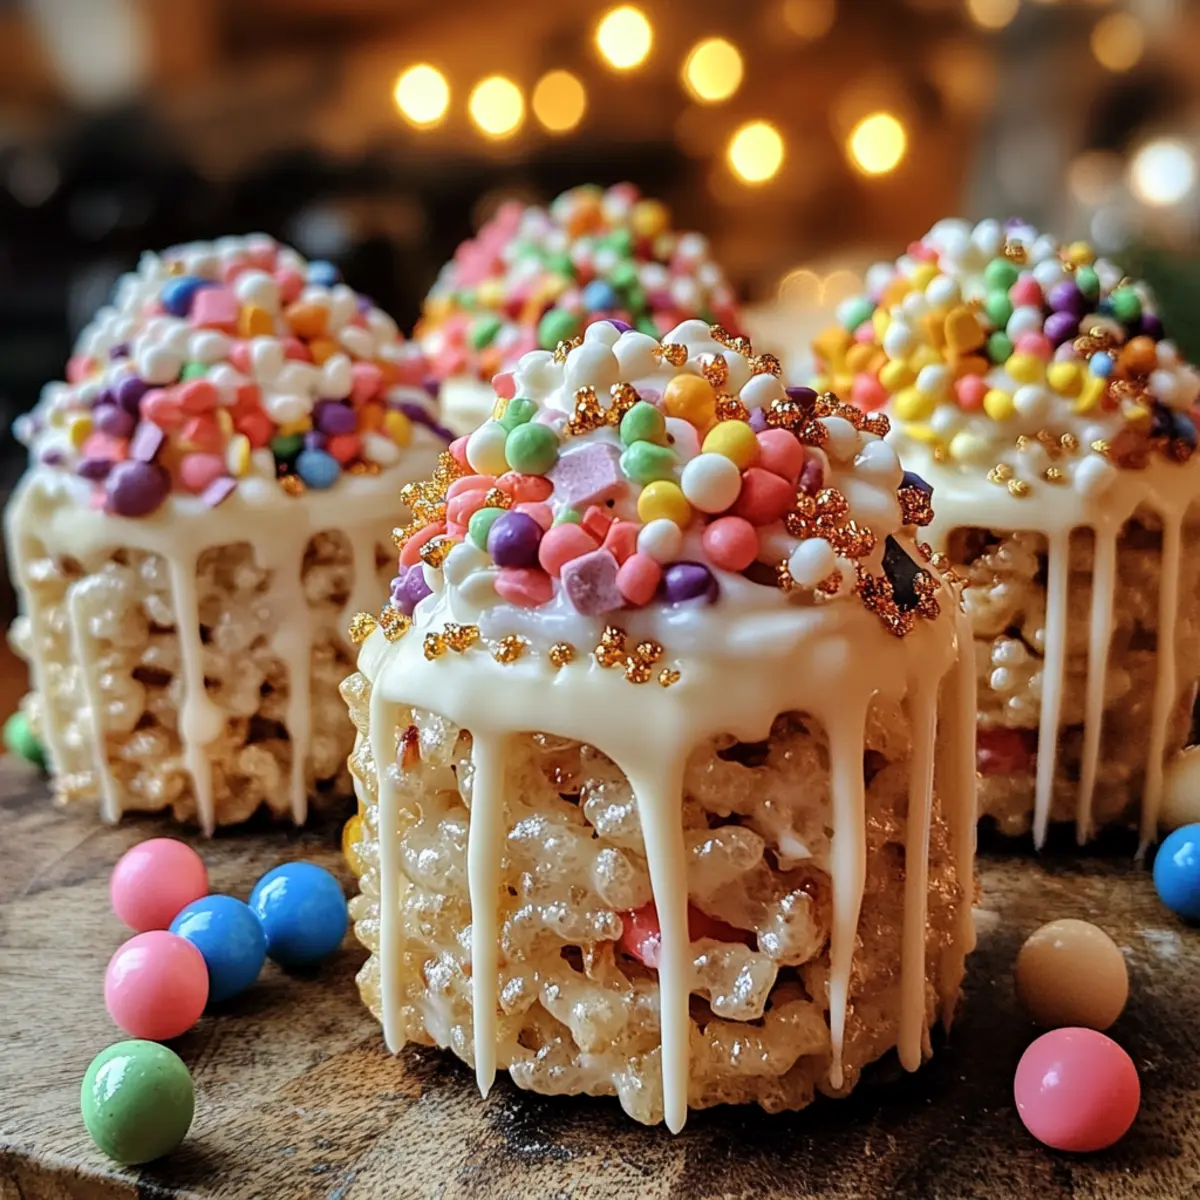
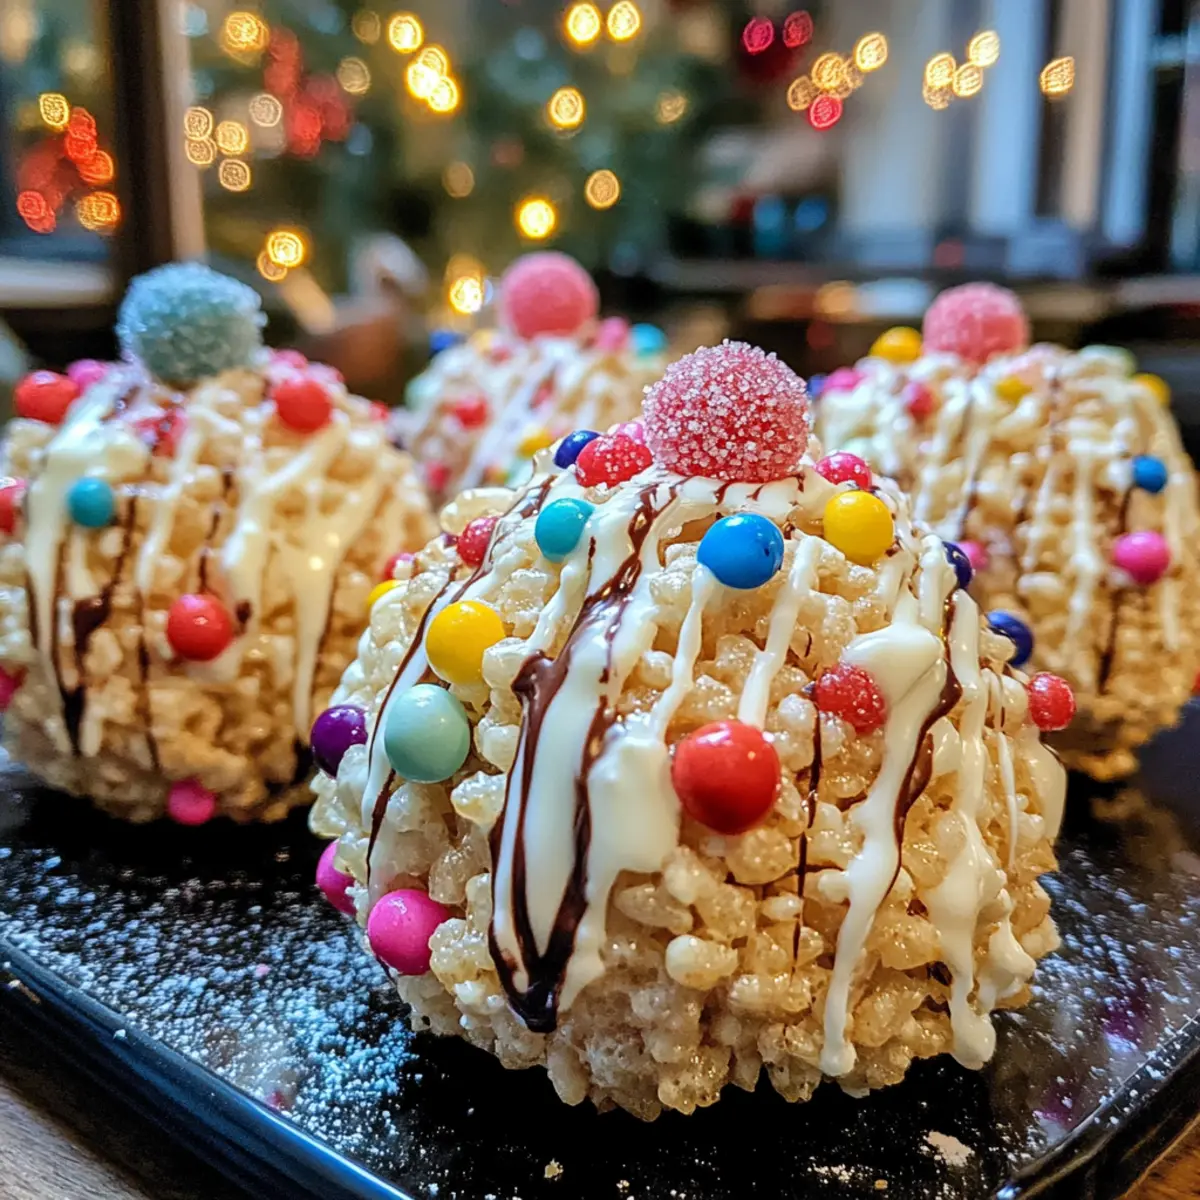
As I was setting the table for our annual holiday gathering, I thought about how important it is to have festive treats that everyone can enjoy, especially those who are watching their waistlines. Enter my Slimming-Friendly Rice Krispie Christmas Puds! These delightful sweets are not only fun to make, but at only 28 calories each, they won’t derail your diet or your family’s merriment. With their charming appearance and a satisfying crunch, you’ll gain plenty of “oohs” and “ahhs” at your next Christmas party. Plus, they’re quick to whip up, giving you more time to enjoy the spirit of the season! So, why not add a festive twist to your dessert spread this year? Curious about how to create these eye-catching treats that play nice with your health goals? Let’s dive in!
Why Make Rice Krispie Christmas Puds?
Delightful Treat: These Rice Krispie Christmas Puds are not just fun to eat; they’re also a festive centerpiece! Guilt-Free Indulgence: At just 28 calories per serving, they align beautifully with Weight Watchers and other slimming plans. Simple Preparation: With a straightforward process and easy ingredients, even novice bakers will shine. Versatile Options: Feel free to swap in your favorite chocolate or seasonal decorations to make these puds uniquely yours. Crowd-Pleasing Appeal: Their charming presentation and delightful crunch are sure to earn plenty of compliments! You might also enjoy pairing them with other festive snacks like these Sizzling Rice Wrapped hotdogs for a complete holiday spread.
Rice Krispie Christmas Puds Ingredients
Here’s everything you need to create your delicious Rice Krispie Christmas Puds!
For the Base
- Coco Pops – Provides a crunchy texture and sweet taste; substitute with regular Rice Krispies for a less sweet option.
- Mars Bars – Essential for that rich chocolate flavor; about 78g or 4 fun size bars will do. Feel free to use similar chocolate bars if Mars Bars aren’t available.
- Reduced Fat Spread – Binds the mixture together; light margarine or butter can serve as a suitable alternative.
For the Drizzle
- White Chocolate – Adds a sweet topping and festive touch; regular chocolate can be used if preferred.
For Decorations
- Sugar Balls, Edible Holly, or Themed Sprinkles – Enhance the visual appeal; consider using festive edible decorations that reflect the Christmas spirit.
Bring joy to your festive gatherings with these delightful Rice Krispie Christmas Puds, beautifully crafted to dazzle and delight!
Step‑by‑Step Instructions for Rice Krispie Christmas Puds
Step 1: Melt the Chocolate
Start by halving the Mars Bars and placing them in a microwave-safe bowl along with the reduced-fat spread. Microwave in short bursts of 20 seconds, stirring in between, until the mixture is smooth and melted, resembling a rich chocolate sauce. Be careful not to overheat; you want a glossy, well-combined texture for your Rice Krispie Christmas Puds.
Step 2: Combine the Ingredients
Once the chocolate mixture is ready, gently fold in the Coco Pops. Make sure each piece is evenly coated with the chocolate for a delightful sweetness. This step should take about 2-3 minutes; you’ll notice the mixture transforms into a luscious, crunchy blend that’s ready for shaping.
Step 3: Chill the Mixture
Scoop small heaps of the chocolate-coated Coco Pops mixture onto a tray lined with parchment paper. Spread them out to allow air circulation. Refrigerate for 15 minutes to firm up the mixture; you’ll know it’s ready when it’s no longer sticky and holds its shape well, making it easier to form into puds.
Step 4: Shape the Puds
After chilling, remove the tray from the refrigerator. Using your hands, shape the mixture into small balls, resembling traditional Christmas puddings. Aim for uniform size for even presentation. This step is fun and creative—don’t worry about perfection! Just enjoy making your Rice Krispie Christmas Puds unique.
Step 5: Drizzle with Chocolate
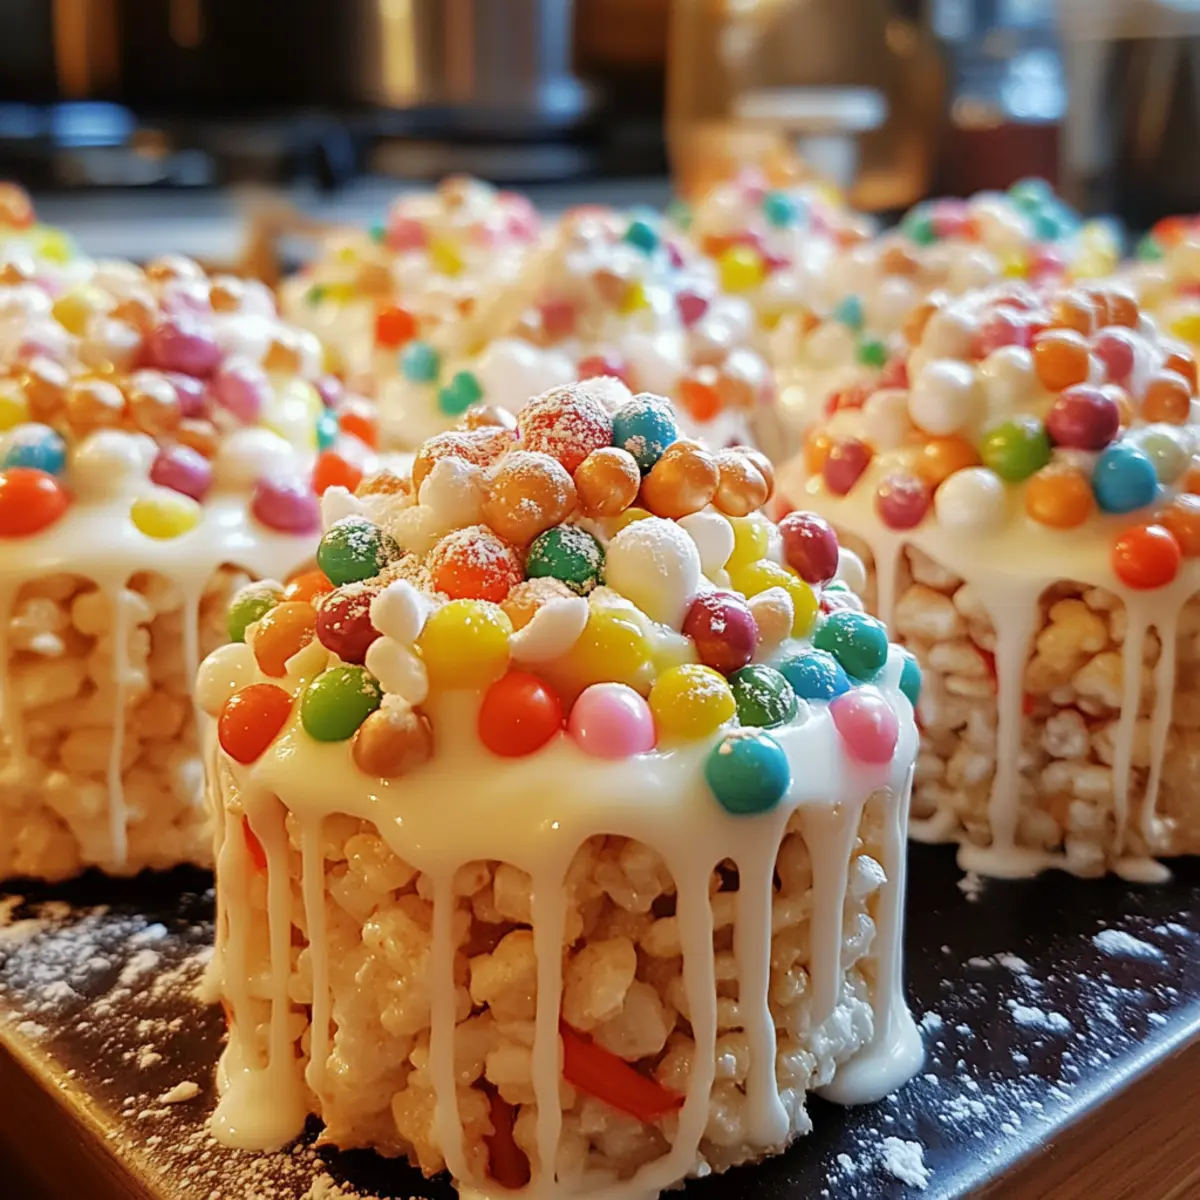
Melt the white chocolate in a microwave-safe bowl, stirring every 30 seconds until smooth. Using a spoon or piping bag, drizzle the melted white chocolate artfully over each shaped pud, creating a lovely topping. The white chocolate adds a festive touch that enhances the visual appeal of your Rice Krispie Christmas Puds.
Step 6: Add Festive Decorations
While the white chocolate is still warm, sprinkle sugar balls or the edible decorations of your choice over the tops of the puds. This is the moment to get creative! Let your Rice Krispie Christmas Puds shine with colorful accents, reminiscent of traditional Christmas desserts.
Step 7: Final Chill and Serve
Return the decorated puds to the refrigerator for another 15-20 minutes so the chocolate can set completely. Once they’re firm, they’re ready to enjoy! Serve these charming Rice Krispie Christmas Puds on a festive platter at your next holiday gathering for a delightful treat that’s guilt-free and full of seasonal spirit.

What to Serve with Rice Krispie Christmas Puds
These delightful treats can shine even brighter within a festive meal filled with flavors and textures that complement their charm.
- Mini Cheesecakes: Creamy and indulgent, they add a rich contrast to the crispness of the puds while bringing in seasonal flavors.
- Spiced Biscuits: Their warm spices and crunchy texture create a delightful balance, making them an ideal companion on any holiday platter.
- Fruit Platter: Fresh fruits like strawberries and kiwis not only brighten your table but also provide a refreshing contrast to the sweet, rich flavors of the puds.
- Mulled Wine: The warm, spiced notes of this classic holiday drink pair beautifully with the sweet, crunchy treats, enhancing your festive atmosphere.
- Hot Chocolate: A cozy pairing, rich chocolate flavors will harmonize perfectly, making your dessert table inviting and indulgent.
- Gingerbread Cookies: Their spiced sweetness and soft texture complement the puds, creating a nostalgic taste of the holidays that everyone will love!
- Marshmallow Fluff Dip: This sweet creamy dip adds an extra layer of fun and flavor. Serve it alongside for dipping those crispy bites!
- Eggnog: A classic holiday beverage that brings warmth and creaminess, perfectly balancing the sugary crunch of your Rice Krispie Christmas Puds.
- Pecan Pie Bars: With their chewy filling and nutty crunch, they present a delectable contrast to the lightness of the puds, making for a well-rounded dessert experience.
Storage Tips for Rice Krispie Christmas Puds
Airtight Container: Store your Rice Krispie Christmas Puds in an airtight container to maintain freshness for up to 3-4 days. This will help keep them crunchy and delightful!
Avoid Freezing: Do not freeze the puds, as the texture may become gummy once thawed. Enjoy them fresh for the best taste experience during the festive season.
Refrigeration: If you plan to make them ahead of time, refrigeration is key. Ensure they’re chilled well before serving, as this will enhance their shape and flavor.
Serving: For the best enjoyment, serve the puds at room temperature. If they’ve been in the fridge, let them sit out for a few minutes before indulging!
Expert Tips for Rice Krispie Christmas Puds
Perfect Mixing: Make sure to fold the Coco Pops gently into the chocolate mixture for even coating without crushing them.
Chill Thoroughly: Allow the mixture to set for at least 15 minutes before shaping. This prevents stickiness and makes handling easier when forming your Rice Krispie Christmas Puds.
Uniform Sizing: For a polished look, aim for consistency in size while shaping the balls. This not only helps in serving but also ensures even decoration.
Decorate Creatively: Get imaginative with your toppings! Themed sprinkles or colored sugar can make your puds festive and visually appealing, perfect for impressing guests.
Check for Allergens: Always verify your ingredients for allergens, especially if you’re serving a crowd. You want everyone to enjoy your delicious Rice Krispie Christmas Puds without worry!
Make Ahead Options
These Rice Krispie Christmas Puds are perfect for busy home cooks looking to save time during the festive rush! You can prepare the chocolate-coated mixture and chill it up to 24 hours in advance, allowing you to shape the balls the day before serving. Simply follow the first three steps, refrigerate the mixture, and then mold into balls when ready. To maintain their delightful crunch, store the shaped puds in an airtight container in the fridge; they’ll stay fresh for up to 3 days. When it’s time to impress your guests, drizzle with melted white chocolate and decorative toppings right before serving, ensuring they look just as festive and delicious!
Rice Krispie Christmas Puds Variations
Feel free to get creative with your Rice Krispie Christmas Puds and make them truly your own!
-
Dairy-Free: Swap out the white chocolate for a dairy-free alternative to keep these puds suitable for a vegan diet.
-
Nutty Delight: Add chopped nuts, like almonds or hazelnuts, to the Coco Pops for an extra crunchy texture and flavor boost. Their nuttiness complements the chocolate beautifully, giving a delightful surprise in every bite.
-
Flavor Infusion: Mix in some peppermint extract before adding the Coco Pops for a refreshing holiday twist. The cool mint will elevate the festive spirit of your treats.
-
Crunchy Sprinkles: Instead of traditional decorations, try topping with crushed candy canes for a striking color contrast and extra crunch. Their festive red-and-white appearance mimics the joyful spirit of the season.
-
Spiced Up: Incorporate a pinch of cinnamon or nutmeg into the melted chocolate for a warm, spiced flavor profile. This twist adds a delightful complexity that guests will love.
-
Fruit-Infused: Dried fruits like cranberries or cherries can be mixed into the base for a splash of color and natural sweetness. They provide a chewy contrast to the crunchy nuts and chocolate.
-
Holiday Shapes: Use cookie cutters to shape the puds into festive forms instead of balls. This delightful change makes them even more fun for holiday gatherings.
-
Chocolate Swap: Switch Mars Bars for a dark chocolate substitute to give your Rice Krispie Puds a deeper, more intense flavor. The richness of dark chocolate adds a sophisticated touch to these playful treats.
Explore these variations, and don’t hesitate to mix and match your favorites! You could even turn these into a fun selection for a festive dessert table, complementing other goodies like Sizzling Rice Wrapped hotdogs or mini cheesecakes. Your holiday creativity will shine with these delectable treats!
Rice Krispie Christmas Puds Recipe FAQs
How do I know if my Coco Pops or Rice Krispies are fresh enough?
Absolutely! Look for the package date; if they’re opened and have been stored in a cool, dry place, they should last several months. However, if you notice they lack their characteristic crunch or have any dark spots all over, it’s best to skip them.
What’s the best way to store leftovers of Rice Krispie Christmas Puds?
After delighting in your puds, make sure to keep them in an airtight container. They’ll stay fresh for up to 3-4 days at room temperature, assuming it’s not too hot. Just be sure to avoid any moisture to keep their crunchiness.
Can I freeze Rice Krispie Christmas Puds?
Unfortunately, I do not recommend freezing these puds as they may lose their delightful texture. However, you might consider making the chocolate mixture ahead of time and storing it in the fridge for up to a week. Simply mix in the Coco Pops when you’re ready to shape and decorate!
What should I do if the mixture is too sticky to form into balls?
Very! If your mixture feels sticky, don’t worry! If you’ve chilled it for 15 minutes and it’s still not shaping well, consider placing it back in the fridge for another 10-15 minutes. Alternatively, you can use lightly greased hands or mini pastry cases to help mold the puds.
Can I make these Rice Krispie Christmas Puds vegetarian-friendly?
Yes, indeed! This recipe is vegetarian-friendly already, as it does not contain any meat. However, if you or your guests have specific dietary restrictions, just make sure to check the labels on your chocolate bars and fat spreads, as some brands may contain added ingredients that aren’t vegetarian.
Are there any allergens in the ingredients I should be aware of?
Very! Always check for allergens, particularly if you’re serving these to a crowd. Common allergens in this recipe include chocolate (which might contain milk or nuts), and be cautious if you’re using alternative spreads as they can include soy or dairy. If you need alternatives, go for allergen-free chocolate and spreads to ensure everyone can indulge safely!
Delicious Rice Krispie Christmas Puds for Guilt-Free Joy
Ingredients
Equipment
Method
- Melt the Mars Bars and reduced-fat spread in a microwave-safe bowl, microwave in short bursts until smooth.
- Gently fold in the Coco Pops until evenly coated with the chocolate mixture.
- Scoop onto a tray lined with parchment paper and refrigerate for 15 minutes.
- Shape the mixture into small balls.
- Melt the white chocolate and drizzle over each shaped pud.
- While warm, sprinkle decorations over the chocolate.
- Refrigerate for another 15-20 minutes, then serve.