The scent of fresh-baked cookies wafts through my kitchen, instantly lifting my spirits and igniting the festive cheer that only the holidays can bring. Today, I’m thrilled to share my recipe for Twisted Christmas Cookies, featuring a delightful blend of almond and zesty orange that will leave your taste buds dancing. These cookies aren’t just easy to make—they’re also completely customizable, allowing you to unleash your inner artist with colorful icing and festive toppings. Whether you’re gifting them to loved ones or setting them as the centerpiece of your holiday table, these cookies will sure to be a hit. So, are you ready to create some edible memories together? Let’s dive into this delicious holiday adventure!
Why Are Twisted Christmas Cookies a Must-Try?
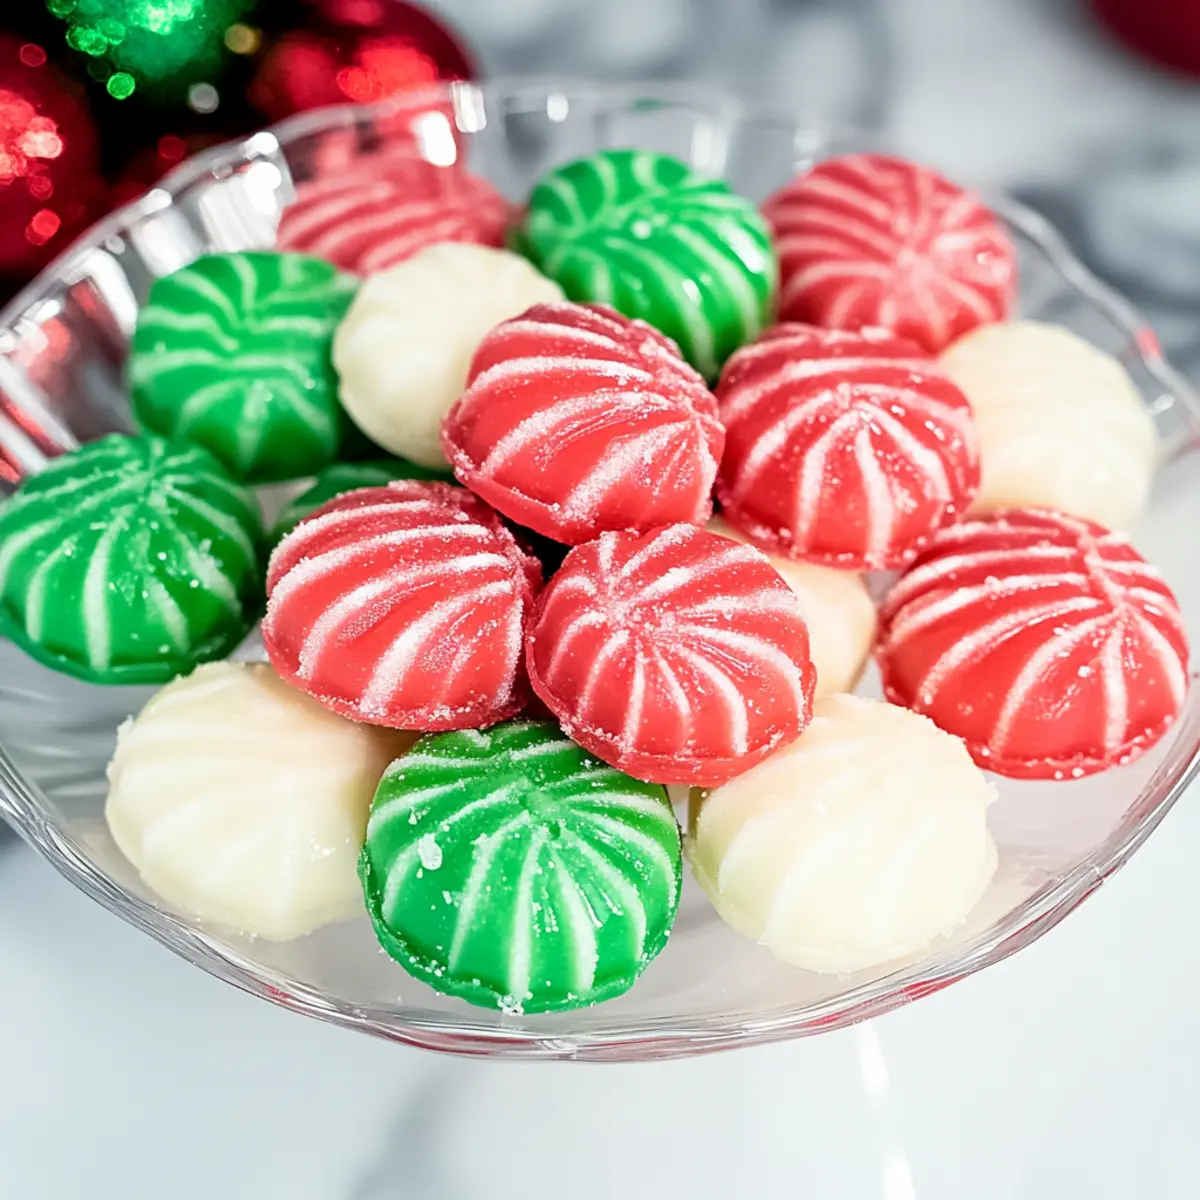
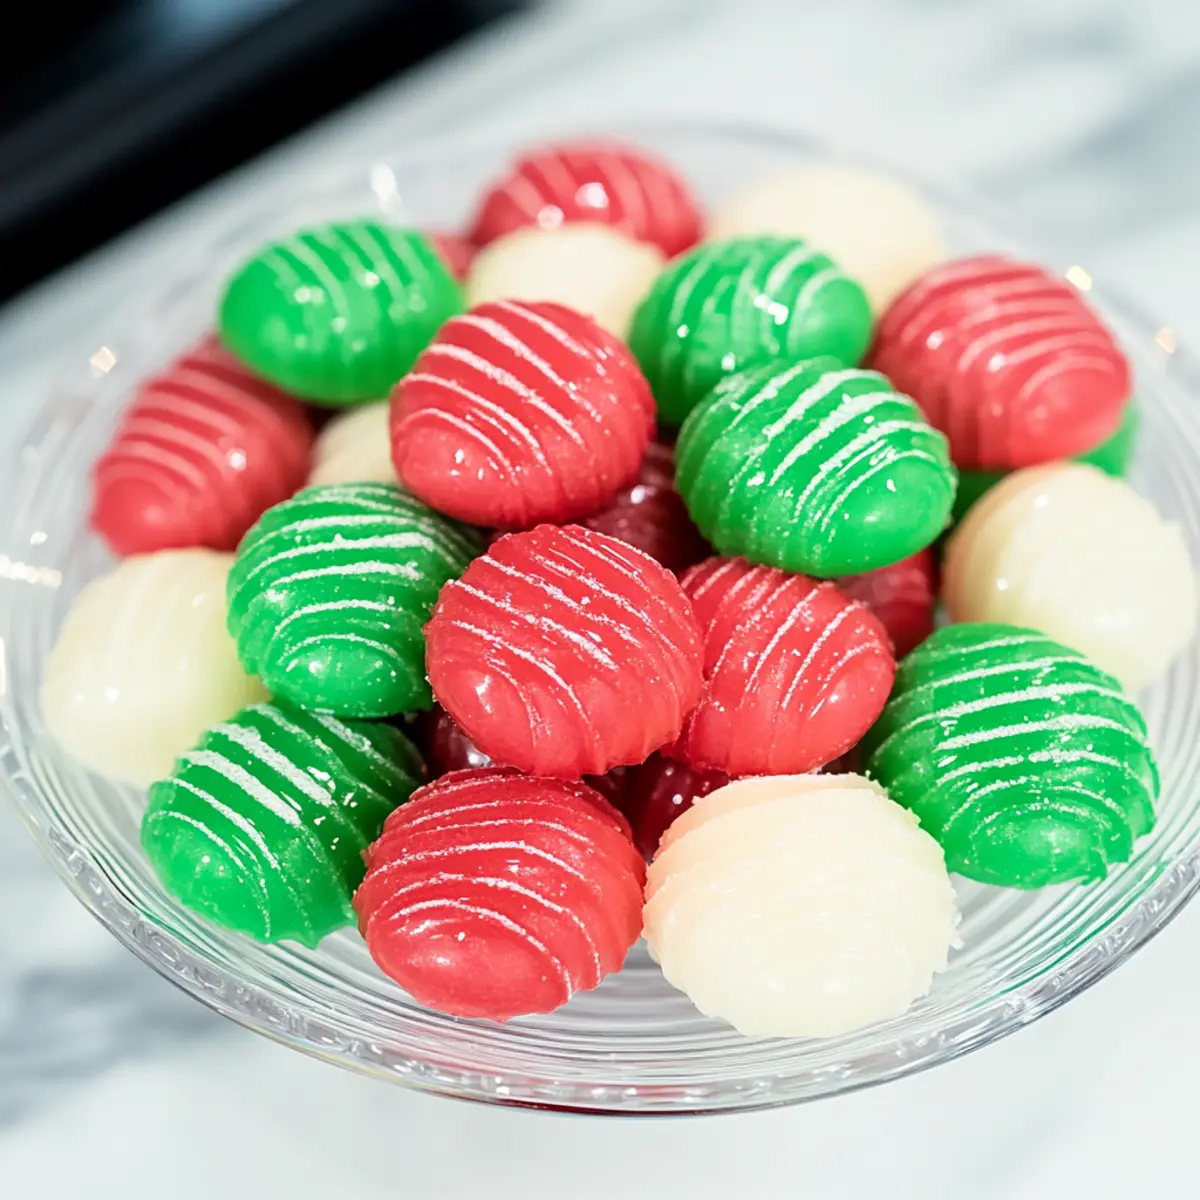
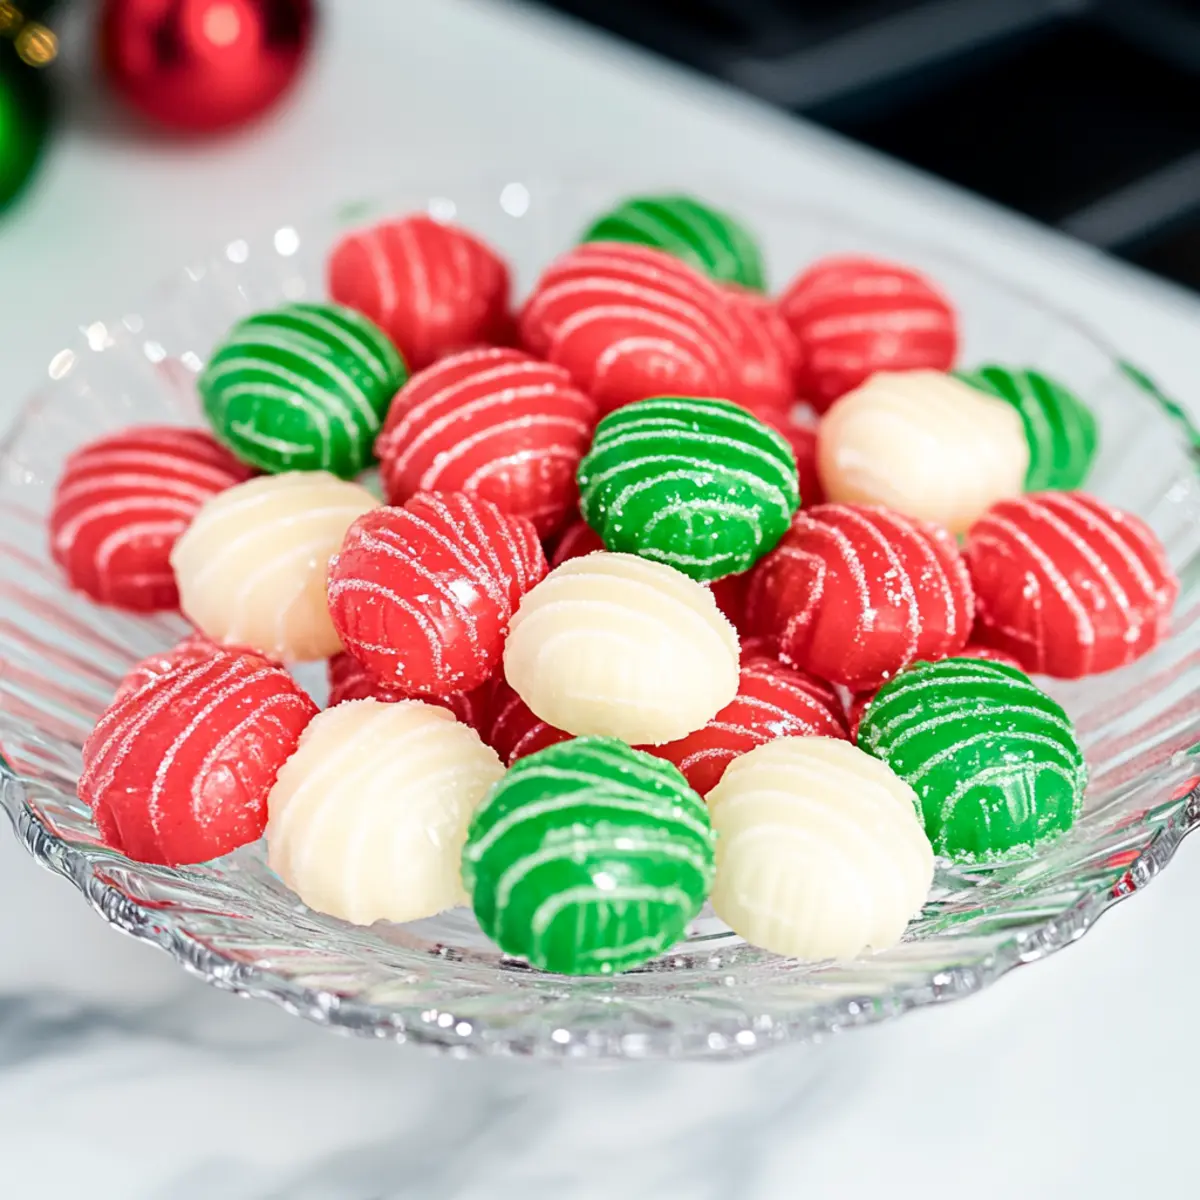
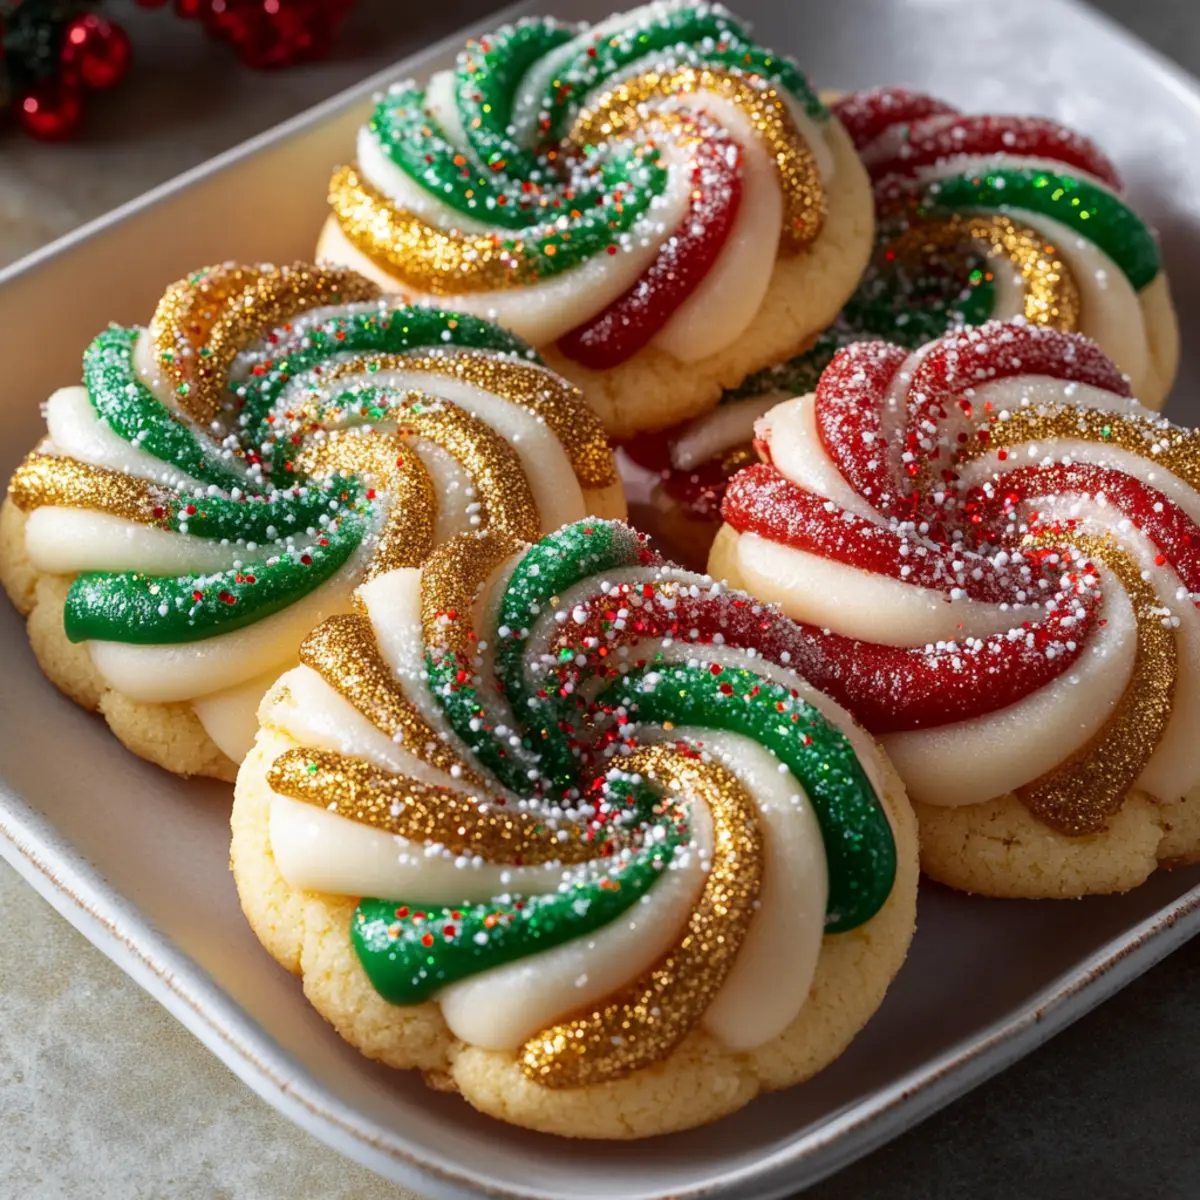
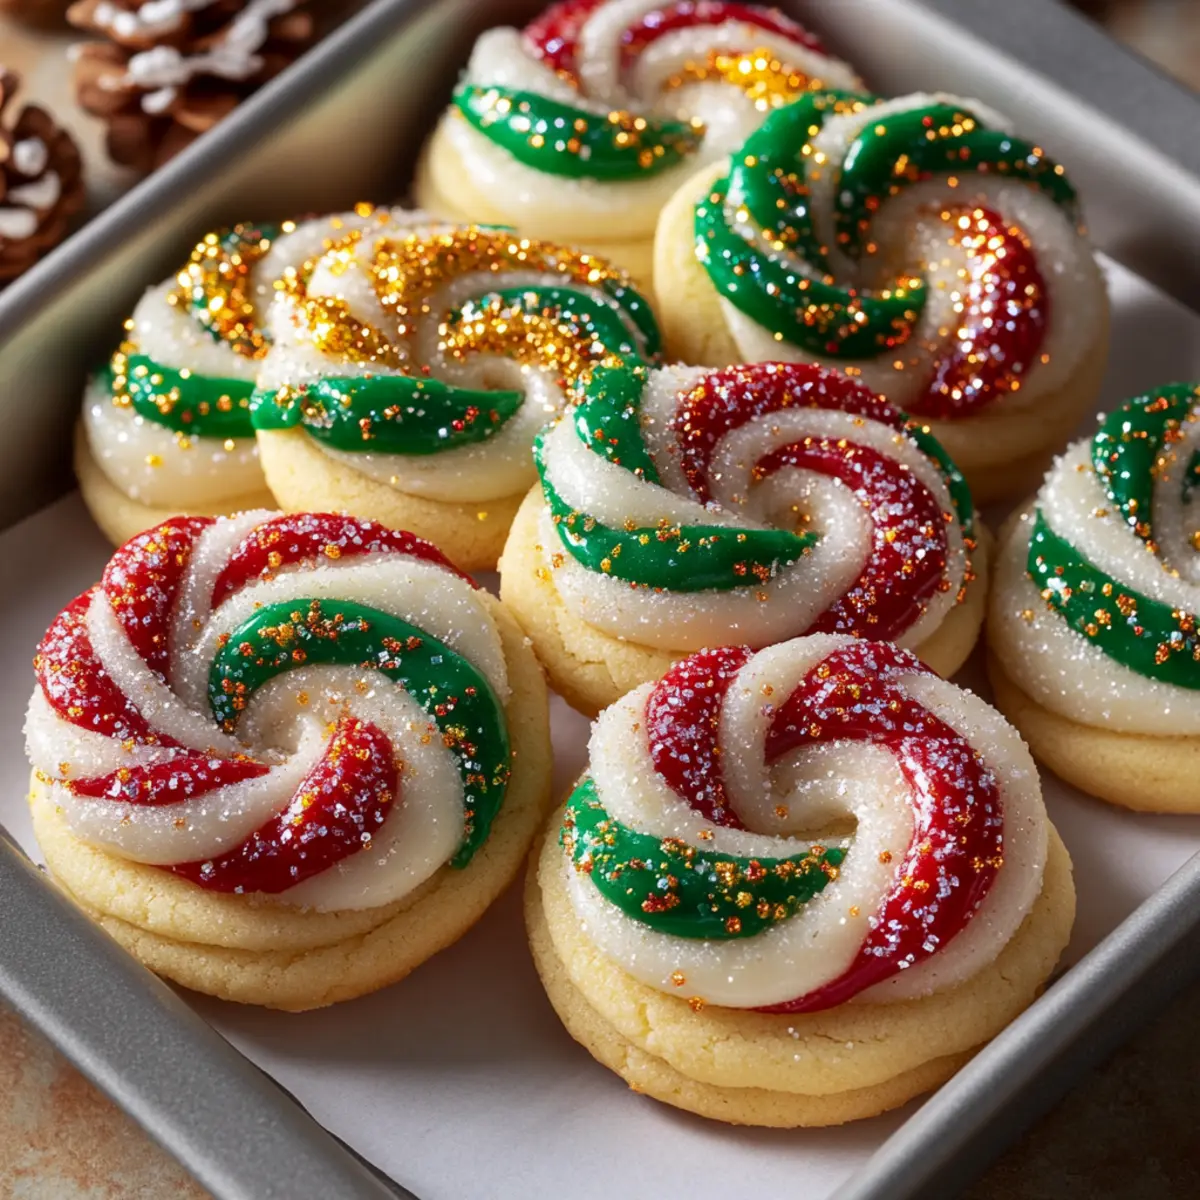
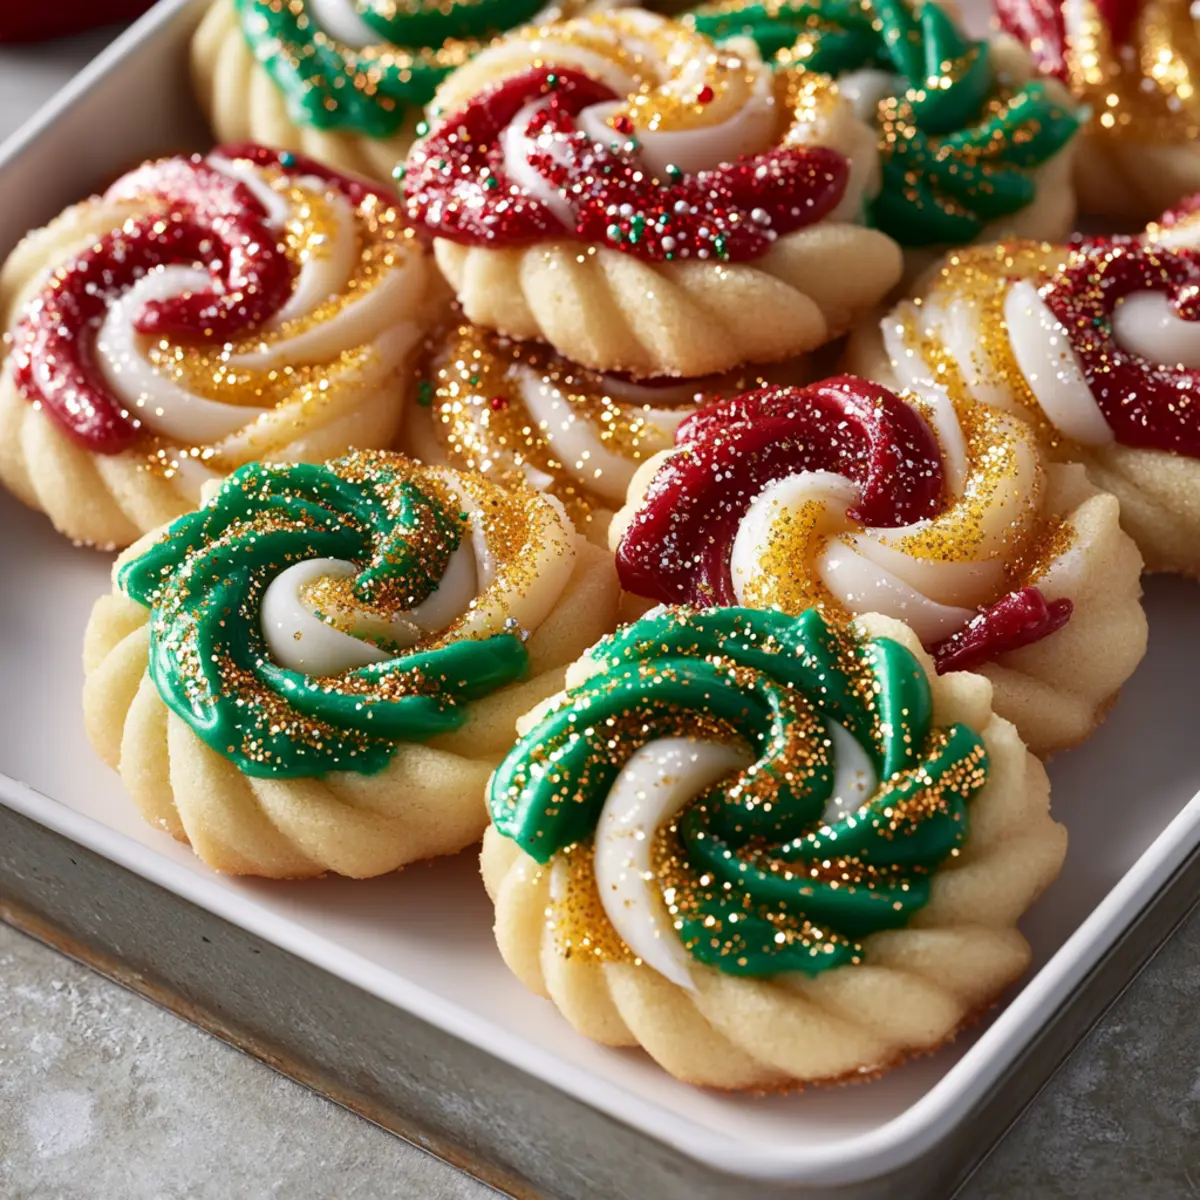
Festive Charm: These cookies bring holiday joy to every occasion with their vibrant icing and playful shapes.
Endless Customization: Feel free to swap out flavors like almond and orange and get creative with your icing decorations—match your personal style!
Melt-in-Your-Mouth Texture: Soft, buttery cookies that practically dissolve in your mouth are guaranteed to impress.
Perfect for Gifting: Pack them in a festive tin or display on a decorative platter, and watch everyone’s faces light up with delight!
Time-Saving Delight: The dough can be prepared in advance, letting you focus on other holiday fun—like enjoying a cup of hot cocoa while you decorate!
As you embark on this baking adventure, consider trying out some of my other beloved recipes, such as Nutty Apricot Cookies or Chocolate Date Cookies, for a delightful array of treats to share this season!
Twisted Christmas Cookies Ingredients
• Are you ready to bake a holiday masterpiece?
For the Dough
- White Sugar – Adds sweetness; try using brown sugar for a richer flavor.
- Butter (14 oz / 400g, softened) – Provides structure and richness; make sure it’s softened but not melted.
- Eggs (2) – Acts as a binding agent for structure; for a vegan option, substitute with flax eggs.
- Vanilla Extract (2 tsp) – Enhances the flavor; opt for pure vanilla for the best results.
- Almond Extract (1 tsp) – Contributes festive warmth; replace with hazelnut extract for a different twist.
- Zest of 1 Orange (optional) – Brightens the flavor profile; lemon zest works well as an alternative.
- Plain Flour (6 cups) – Provides structure and stability; for gluten-free options, use almond flour or a gluten-free blend.
For the Icing
- Meringue Powder (6 tbsp) – Stabilizes the icing; can be replaced with egg white powder if necessary.
- Water (8 tbsp) – Hydrates meringue powder for the icing consistency.
- Lemon Juice (2 tsp) – Adds acidity for flavor; citrus juice can be substituted.
- Powdered Sugar (7 cups, sifted) – Sweetness for icing; ensure it’s sifted for a smooth finish.
- Gel Food Coloring (red, green, gold, white) – For festive decoration to make your cookies pop!
For Decoration
- Toppings (sprinkles, edible glitter, crushed candy canes) – Create delightful decorative elements to enhance your Twisted Christmas Cookies.
These Twisted Christmas Cookies are not just a treat, they’re an experience—perfect for making cherished memories this holiday season!
Step‑by‑Step Instructions for Twisted Christmas Cookies
Step 1: Preheat Your Oven
Begin by preheating your oven to 350°F (175°C). While it heats, line several baking sheets with parchment paper to prevent sticking. This step is crucial to ensure that your Twisted Christmas Cookies bake evenly and achieve that perfect golden edge.
Step 2: Cream the Butter and Sugar
In a large mixing bowl, combine the softened butter and white sugar. Using an electric mixer, cream them together on medium speed until the mixture is fluffy and light in color, about 3–5 minutes. This step infuses your cookies with delightful sweetness and a soft texture, laying the foundation for your holiday treat.
Step 3: Incorporate Eggs and Flavorings
Add the eggs one at a time, followed by the vanilla extract, almond extract, and optional orange zest. Beat the mixture well until everything is smooth and well-combined, about 2–3 minutes. The fragrant blend of these flavors will start to fill your kitchen, truly embodying the essence of Twisted Christmas Cookies.
Step 4: Mix in the Flour
Slowly add the plain flour to the wet mixture, mixing until a dough forms. If the dough feels too sticky, you can incorporate a splash of milk to help combine everything smoothly. This step is vital for achieving the right consistency—make sure the dough doesn’t become overly dry or too wet.
Step 5: Roll Out and Shape the Dough
On a floured surface, roll out the dough to a ¼-inch thickness. Use cookie cutters to cut into your desired festive shapes. Once shaped, chill the cookies in the refrigerator for 10–15 minutes to firm them up, which helps them maintain their shape during baking.
Step 6: Bake to Perfection
Place the chilled cookies on the prepared baking sheets, spacing them apart. Bake in the preheated oven for 10–12 minutes, or until the edges turn golden brown. Keep an eye on them; you want a soft center with a slight crisp edge—a hallmark of well-baked Twisted Christmas Cookies.
Step 7: Cool Completely
Once baked, remove the cookies from the oven and let them rest on the baking sheet for 5 minutes. Then transfer them to a wire rack to cool completely. This cooling step is essential before decorating, ensuring the cookies are firm enough to support the icing.
Step 8: Whisk the Icing
For the icing, whisk together the meringue powder, lemon juice, and water in a separate bowl. Gradually add the sifted powdered sugar while mixing until the icing is glossy and holds peaks. This smooth consistency allows for beautiful decoration on your Twisted Christmas Cookies.
Step 9: Color and Decorate
Divide the icing into portions to tint with gel food coloring of your choice. Use piping bags to carefully decorate each cookie, adding sprinkles or edible glitter as desired. Let the decorated cookies set fully, which might take about 30 minutes before they’re ready to be enjoyed or gifted.
How to Store and Freeze Twisted Christmas Cookies
-
Room Temperature: Store cooled Twisted Christmas Cookies in an airtight container at room temperature for up to 1 week to maintain their soft and buttery texture.
-
Fridge: If you’d like to preserve them a bit longer, you can refrigerate the cookies, where they’ll stay fresh for up to 2 weeks. Be sure they are well-wrapped!
-
Freezer: To freeze, wrap the cookies tightly in plastic wrap or foil, then place them in a zip-top freezer bag. They will maintain their quality for up to 3 months.
-
Reheating: When ready to enjoy frozen cookies, simply let them thaw at room temperature for about 30 minutes, or warm them briefly in the microwave for a soft, fresh-baked feel.
Make Ahead Options
These Twisted Christmas Cookies are perfect for busy home cooks looking to streamline their holiday baking! You can prepare the cookie dough up to 3 days in advance; simply wrap it tightly in plastic wrap and refrigerate. If you want an even longer option, freeze the dough for up to 3 months—just thaw it in the refrigerator overnight before rolling and cutting. To maintain their delightful texture, chill the dough after shaping for 10-15 minutes before baking. Once baked, let the cookies cool completely before decorating; they can be stored in an airtight container for about a week, ensuring they stay just as delicious as the day they were made.
Twisted Christmas Cookies Variations & Substitutions
Feel free to get creative with these cookies and make them your own with these delightful variations!
- Nut-Free: Substitute almond extract with vanilla extract for a nut-free version that still packs a flavorful punch.
- Vegan Option: Replace the eggs with flax eggs (1 tablespoon flaxseed meal + 2.5 tablespoons water per egg) for a plant-based delight.
- Gluten-Free: Use almond flour or a gluten-free flour blend instead of plain flour to accommodate gluten sensitivities.
- Citrus Shift: Try using lime zest instead of orange for a unique twist that adds a refreshing zing to your cookies.
- Chocolate Drizzle: Melt dark or white chocolate to drizzle over the cookies for a decadent, sweet addition.
- Spiced Variation: Add a teaspoon of cinnamon or nutmeg to the dough for a warm, spicy flavor that complements the holidays beautifully.
- Darker Flavor: Swap white sugar for brown sugar to introduce a touch of molasses, which deepens the flavor profile tremendously.
- Fruity Flair: Incorporate chopped dried fruits like cranberries or apricots into the dough for a splash of color and extra texture.
With these variations, your Twisted Christmas Cookies will always remain festive and exciting! For more delicious twists, consider trying out my Banana Seed Cookies or German Style Cookies that are sure to impress your family and friends. Happy baking!
Expert Tips for Twisted Christmas Cookies
-
Dough Consistency: If your dough is sticky, lightly dust with flour until manageable. Avoid adding too much, as this can alter texture.
-
Cookie Shapes: Use a variety of cookie cutters for fun shapes, ensuring they’re chilled before baking to maintain form.
-
Icing Texture: Gradually adjust icing thickness as needed—add powdered sugar to thicken or water to thin. Aim for a glossy, spreadable consistency.
-
Chilling Time: Don’t skip chilling the dough; it helps prevent spread during baking, resulting in beautifully shaped Twisted Christmas Cookies.
-
Decorating Ideas: Experiment with different food coloring combinations to create themed cookies—think red and green for Christmas or snowy whites.
What to Serve with Twisted Christmas Cookies
Delightful accompaniments can elevate your holiday cookie experience and bring festive joy to your gatherings.
-
Spiced Hot Cocoa: A warm cup pairs perfectly, enhancing the rich flavors of almond and orange while adding cozy warmth.
-
Fruity Iced Tea: The refreshing notes of iced tea with cranberry or pomegranate balance the sweetness of the cookies. This vibrant drink is a crowd-pleaser that adds a splash of color and refreshing taste to your dessert table.
-
Creamy Cheesecake: A slice of cheesecake offers a rich and creamy contrast, making for a delightful dessert duo that keeps guests coming back for more.
-
Festive Fruit Salad: Bright, fresh fruits like oranges and berries provide a refreshing burst of flavor, complementing the cookies’ richness while creating a beautiful, healthy platter.
-
Holiday Eggnog: A classic creamy drink that adds a touch of nostalgia. The festive spices in eggnog pair warmly with the cookies’ sweet notes, creating a truly indulgent experience.
-
Gingerbread Teacakes: These soft pastries echo holiday flavors and bring extra texture, allowing for an experience that dances on your palate with each bite.
-
Chocolate-Dipped Pretzels: For a delightful salty-sweet twist, these crunchy snacks enhance the festive theme and provide another treat that excites the taste buds.
-
Sugar Plum Tart: This gorgeous tart adds elegance and flavor, resembling a traditional holiday dessert that beautifully contrasts the cookies’ soft textures.
-
Mulled Wine: A warm glass of spiced mulled wine adds a cozy factor and pairs beautifully with the warm spices of the cookies, creating a warm and festive atmosphere.
As you gather with loved ones this season, each pairing offers a unique way to savor your Twisted Christmas Cookies, crafting memories that will last well beyond the holidays!
Twisted Christmas Cookies Recipe FAQs
What should I look for when selecting almonds?
Absolutely! When selecting almonds, look for whole, raw almonds that are firm and have a light, even color. Avoid any almonds with dark spots or a musty smell, as these can indicate spoilage. For a festive twist, I recommend using blanched almonds for a smoother texture or slivered almonds for added crunch in your cookies!
How should I store my Twisted Christmas Cookies, and how long will they last?
You can store cooled Twisted Christmas Cookies in an airtight container at room temperature for up to 1 week. For longer freshness, refrigerate them, where they will stay good for up to 2 weeks. Just be sure to wrap them well to prevent them from drying out or absorbing odors from the fridge.
Can I freeze Twisted Christmas Cookies for later?
Absolutely! To freeze your Twisted Christmas Cookies, first let them cool completely. Then, wrap each cookie tightly in plastic wrap or foil, and place them in a zip-top freezer bag. They will keep their quality for up to 3 months in the freezer. When you’re ready to enjoy them, simply thaw them at room temperature for about 30 minutes or warm them for a few seconds in the microwave.
What if my cookie dough is too sticky?
If your cookie dough is too sticky to work with, just add flour gradually, about a tablespoon at a time, until it reaches a manageable consistency. You want the dough to be soft but not tacky. Chilling the dough for 10-15 minutes can also help firm it up, making it easier to roll and cut into shapes.
Are there any dietary considerations I should be aware of?
When making Twisted Christmas Cookies, consider any allergies your guests might have. The recipe includes common allergens such as nuts (from almond extract) and gluten (from flour). You can easily adjust for dietary needs by replacing almond extract with vanilla extract for nut sensitivities, and using gluten-free flour alternatives like almond flour or a gluten-free blend if needed. Just remember to check the labels to ensure all ingredients meet your dietary requirements.
How do I ensure my icing sets properly?
To ensure your icing sets properly on your Twisted Christmas Cookies, make sure you achieve the right consistency—glossy but not runny. After decorating, allow the cookies to sit at room temperature for about 30 minutes to an hour until the icing hardens. Avoid covering them during this time, as this can trap moisture and prevent the icing from firming up. If you live in a humid climate, a fan can help speed up the drying process.

Delightful Twisted Christmas Cookies for Festive Cheer
Ingredients
Equipment
Method
- Preheat your oven to 350°F (175°C) and line several baking sheets with parchment paper.
- Cream the softened butter and white sugar together until fluffy and light in color, about 3-5 minutes.
- Incorporate eggs one at a time, followed by vanilla extract, almond extract, and orange zest until smooth.
- Slowly mix in the plain flour until a dough forms, adding milk if necessary for consistency.
- Roll out the dough to ¼-inch thickness and cut into festive shapes; chill for 10-15 minutes.
- Place cookies on prepared baking sheets and bake for 10-12 minutes until edges are golden brown.
- Cool cookies on baking sheets for 5 minutes before transferring to a wire rack to cool completely.
- Whisk together meringue powder, lemon juice, and water; gradually add sifted powdered sugar until glossy.
- Divide icing and tint with gel food coloring; decorate cookies with piping bags and add toppings as desired.