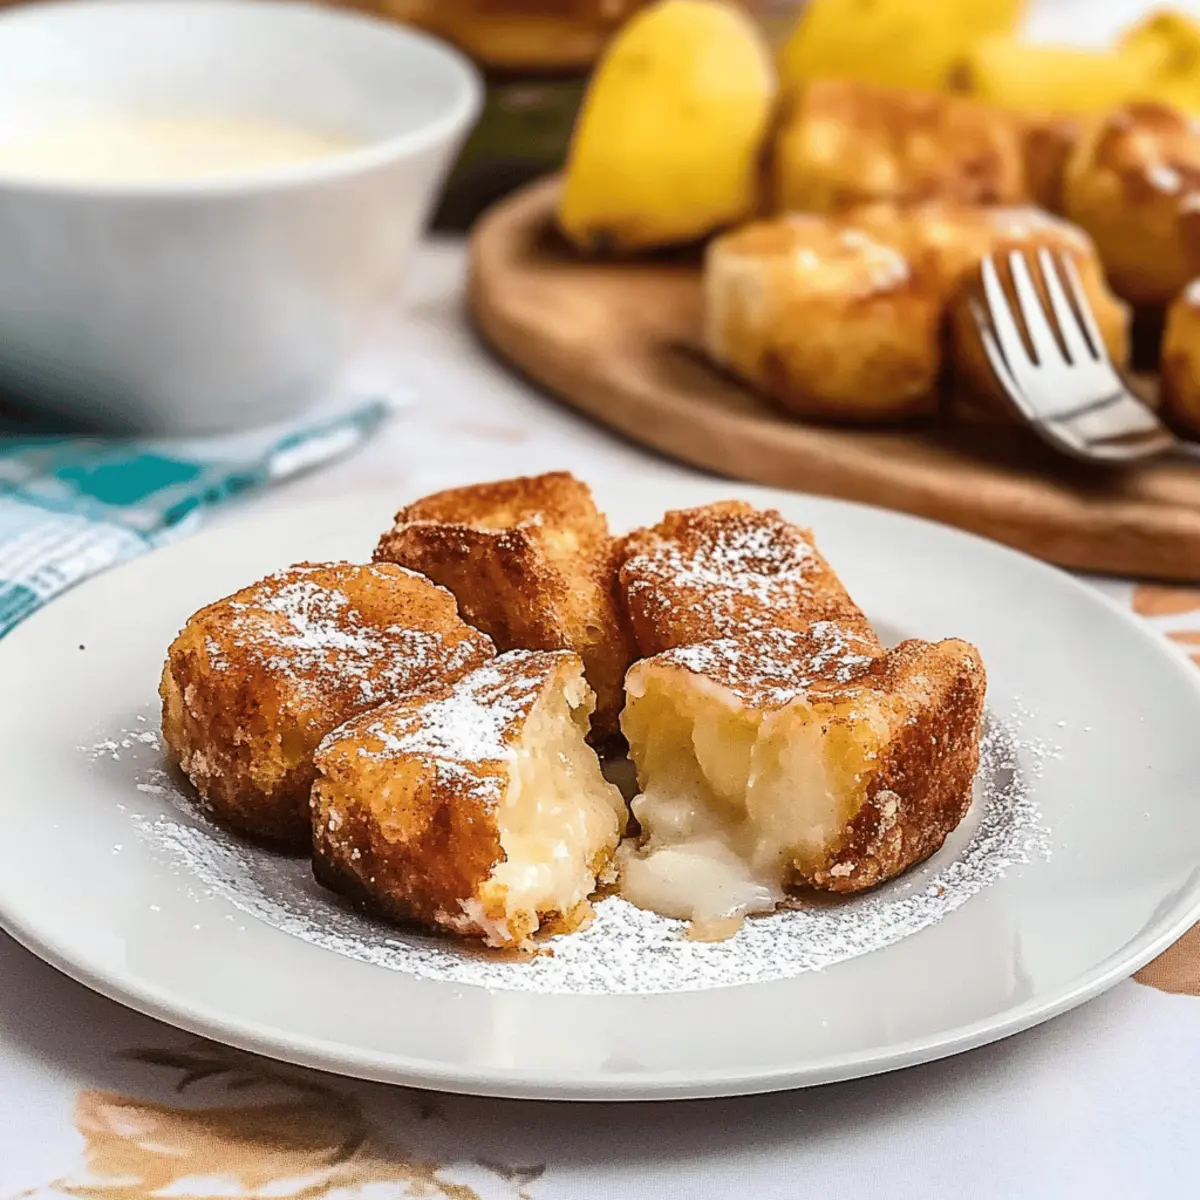
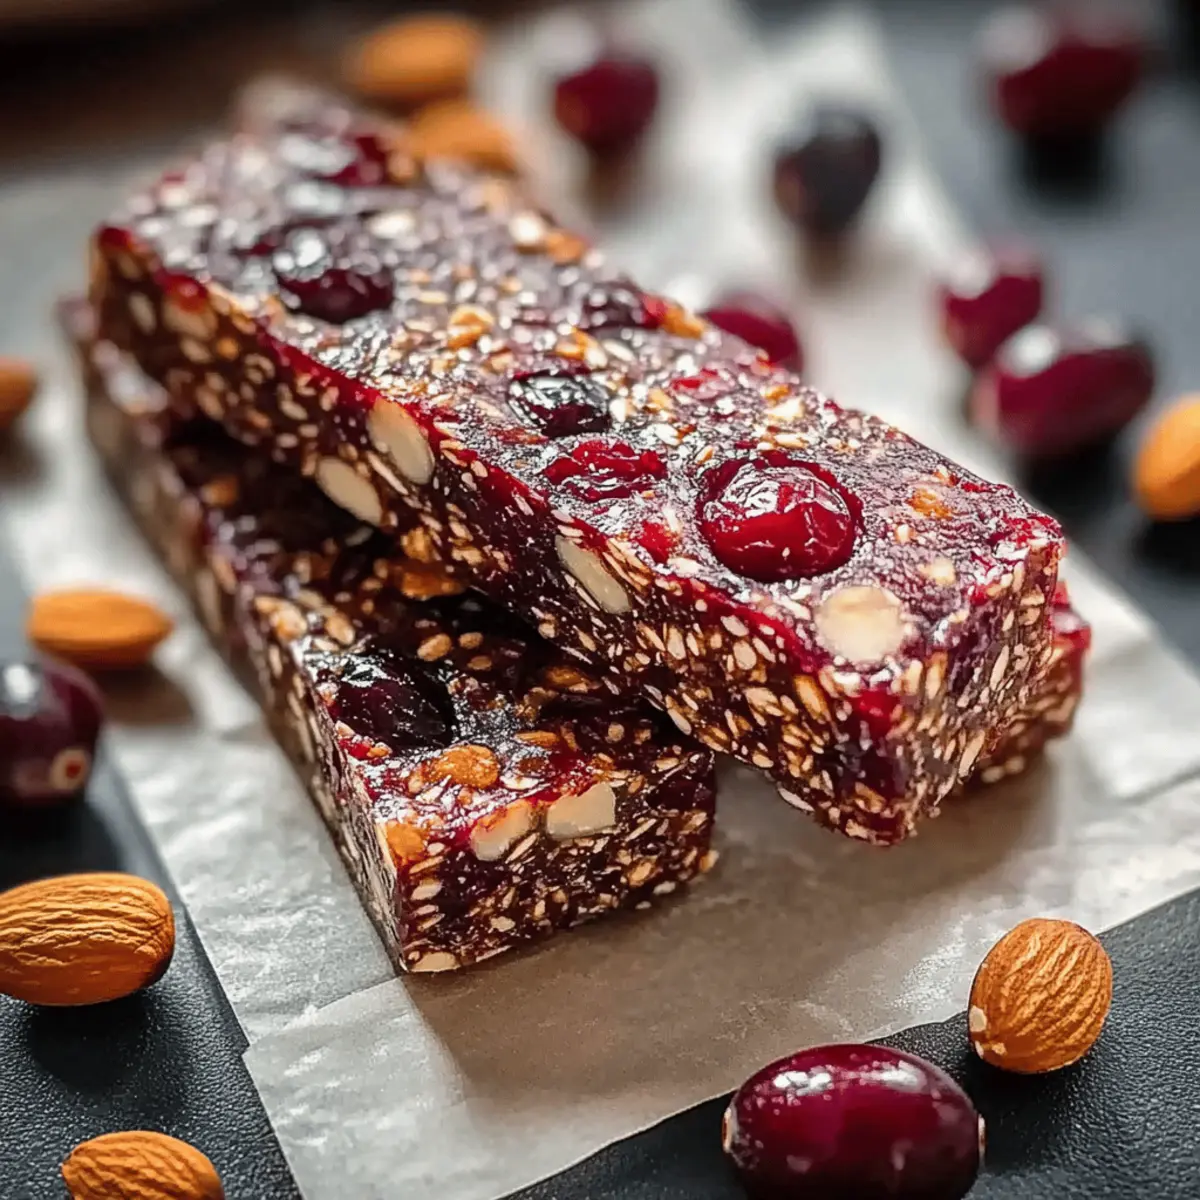
Picture this: the sun peeks through the window as I unwrap a chewy Raw Cranberry Nut Energy Bar, its bright red cranberries glistening in the light. I can’t help but smile knowing I’ve created a snack that’s not only deliciously satisfying but also incredibly good for me. These irresistibly healthy no-bake bars are the perfect blend of tart cranberries, crunchy almonds, and naturally sweet medjool dates, making them a guilt-free indulgence for busy mornings or a post-workout boost. With easy prep and wholesome ingredients, it’s no wonder these energy bars have become a staple in my kitchen. They come together in a flash and are both vegan and gluten-free, making them a versatile choice for anyone looking to make healthier snacking choices. Ready to add this nutritious delight to your routine? Let’s dive into the recipe!
Why You’ll Crave These Energy Bars?
Simplicity in Preparation: With just a few minutes of blending and pressing, you’re on your way to delicious homemade snacks.
Nutritious and Wholesome: Packed with the goodness of nuts and fruits, these bars provide a perfect energy boost without any refined sugars.
Versatile for Everyone: Whether you’re vegan, gluten-free, or simply looking for a healthy treat, these bars cater to all dietary needs.
Perfect for On-the-Go: Ideal for busy schedules, they make excellent breakfast options or post-workout fuel—grab one and go!
Crowd-Pleasing Flavor: The combination of tart cranberries and crunchy nuts offers a delightful taste that your family and friends will adore. Add a bit of variety by checking out our Energizing Nut Seed for another guilt-free treat!
Irresistibly Healthy Raw Cranberry Nut Ingredients
For the Base
• 150g Medjool Dates – Provides natural sweetness and acts as a binder; for best results, choose fresh, sticky dates.
• 75g Dried Cranberries – Adds a tart flavor and chewy texture; consider using unsweetened varieties for lower sugar options.
• 75g Roasted Almonds – Contributes crunch and nutty flavor; feel free to substitute with other nuts or seeds for a twist.
• 75g Roasted Cashews – Adds creaminess and sweetness; swap for sunflower or pumpkin seeds to make it nut-free.
• 50g Desiccated Coconut – Gives the bars texture and moisture; you can use coconut flakes if you prefer.
For Binding
• 1 tablespoon Coconut Oil (melted) – Helps bind the ingredients together and adds richness; almond butter can also be used for a different flavor profile.
• Pinch of Sea Salt – Enhances flavor and balances sweetness, bringing all the ingredients together beautifully.
Now you’re all set with the ingredients for your irresistibly healthy raw cranberry nut energy bars!
Step‑by‑Step Instructions for Irresistibly Healthy Raw Cranberry Nut Energy Bars
Step 1: Prep the Tin
Begin by lining an 8×8 inch baking tin with parchment paper, ensuring it extends over the edges for easy removal later. This step is crucial to prevent sticking, allowing your irresistibly healthy raw cranberry nut energy bars to come out neatly once set.
Step 2: Blend the Base Ingredients
In a food processor, combine the freshly pitted medjool dates, dried cranberries, roasted almonds, roasted cashews, and desiccated coconut. Pulse the mixture for about 1-2 minutes until it’s finely chopped and well mixed. You want a uniform consistency, so keep blending until the nuts are chopped but not overly processed, leaving some texture for your bars.
Step 3: Add the Binding Ingredients
Next, pour in the melted coconut oil and add a pinch of sea salt to enhance the flavors. Pulse the mixture again for about 30 seconds, ensuring that everything combines into a sticky, cohesive dough. The mixture should easily hold together when pressed; if it’s too crumbly, you may need to add a touch more coconut oil.
Step 4: Press into the Tin
Transfer the mixture into the prepared tin, using a spatula or the back of a spoon to press it down firmly and evenly. Make sure to compact the mixture well to prevent your bars from crumbling when cut. Aim for an even thickness of about 1 inch across the tin for uniform energy bars.
Step 5: Chill to Set
Cover the tin with plastic wrap or foil and place it in the refrigerator for a minimum of 2 hours. This chilling time allows the ingredients to firm up, making the texture perfect for slicing and giving your irresistibly healthy raw cranberry nut energy bars their shape.
Step 6: Cut and Store
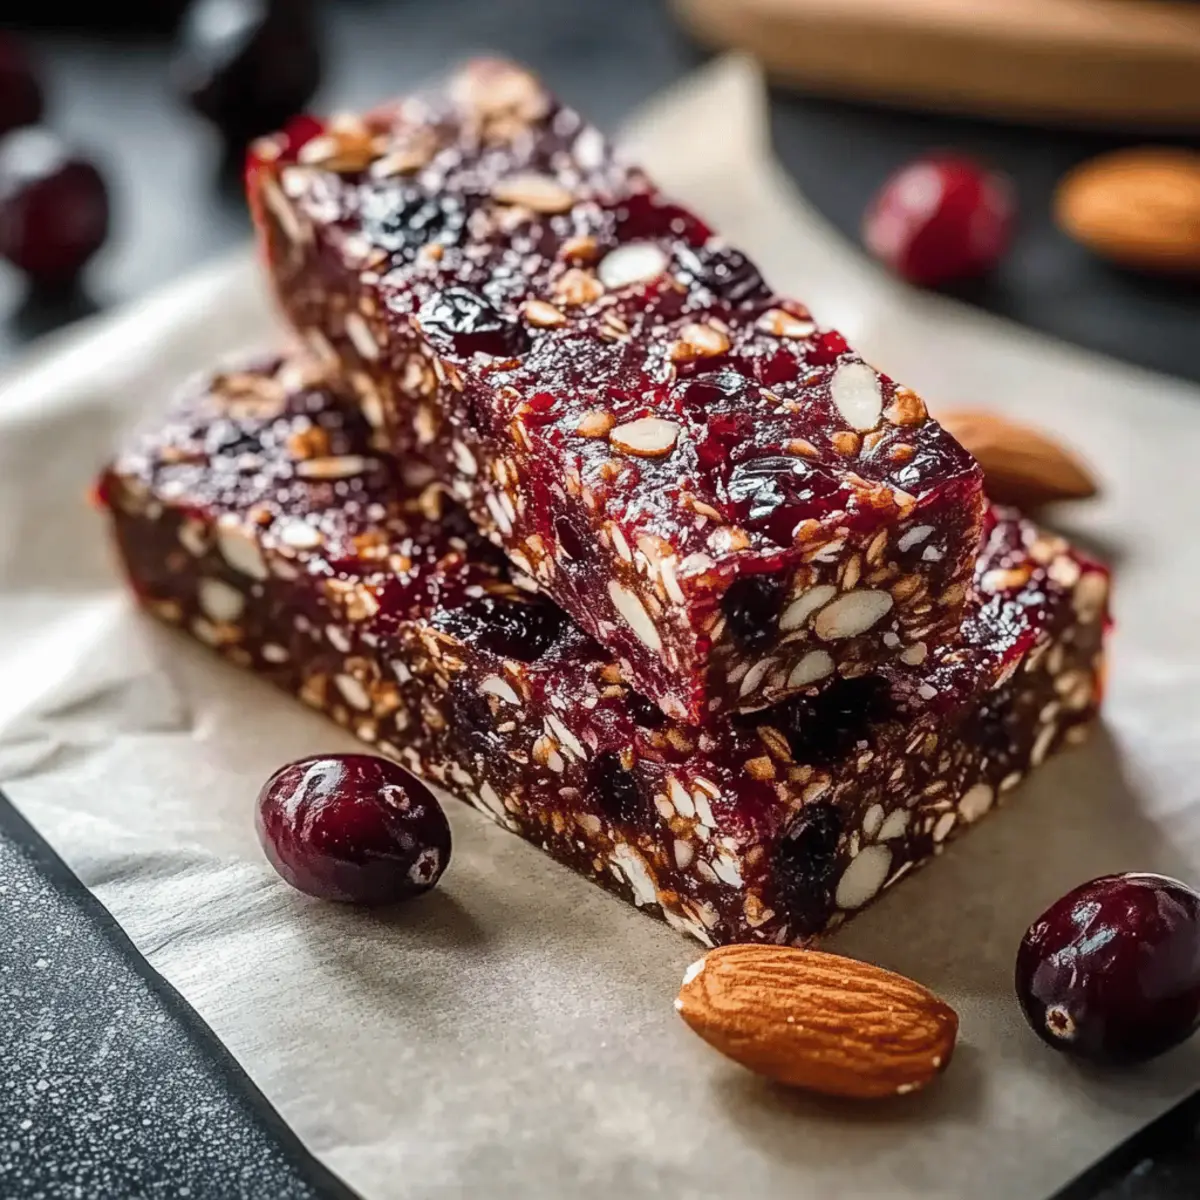
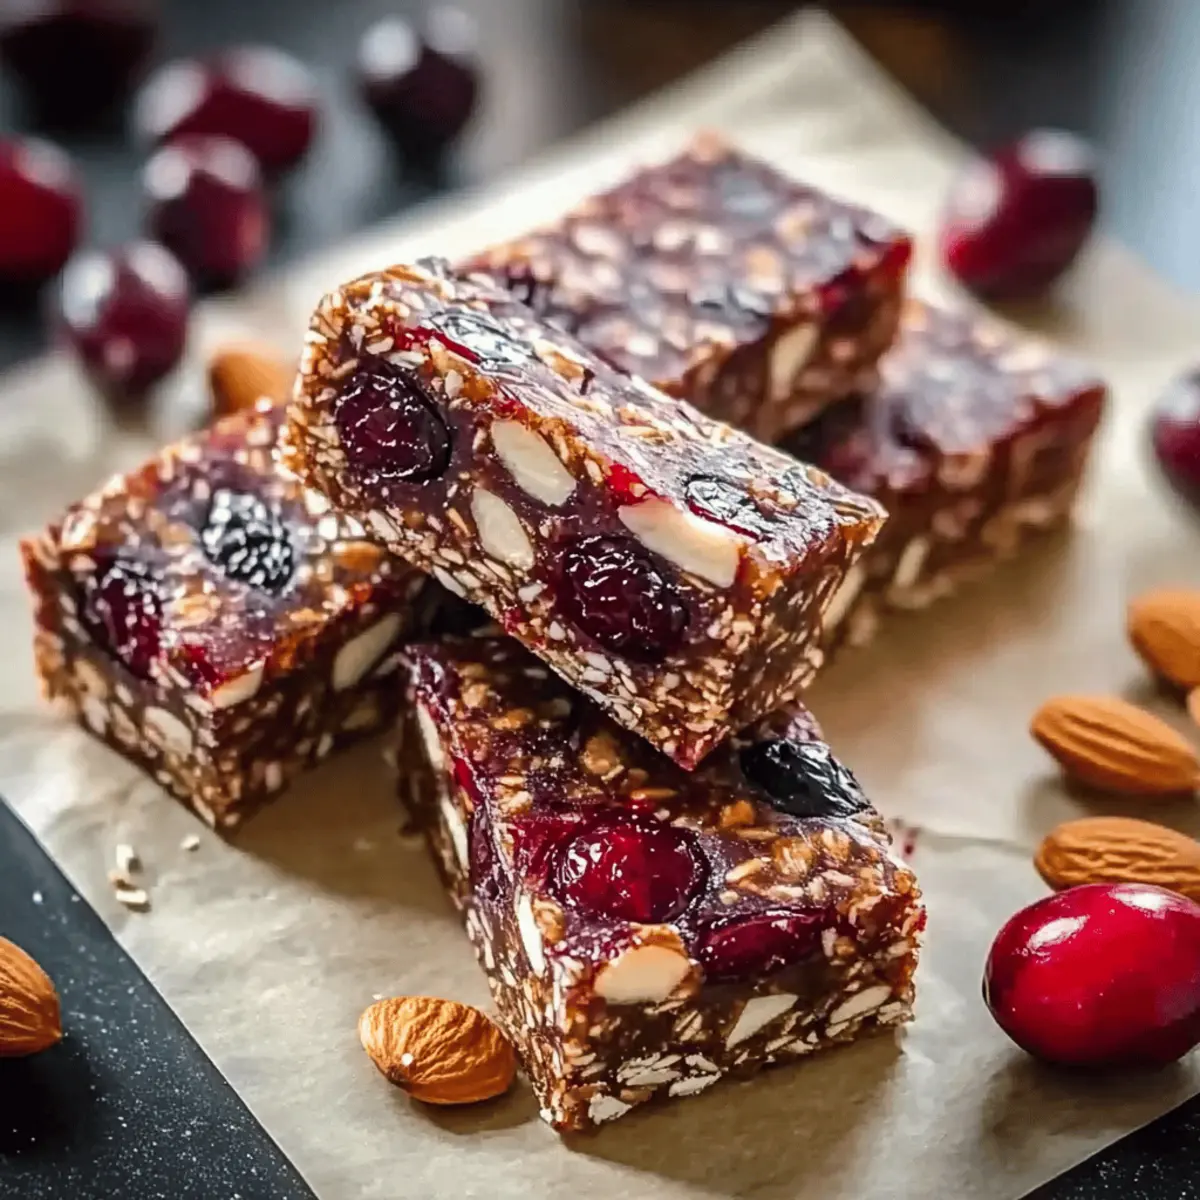
Once the mixture is set and firm, remove the bars from the tin using the overhanging parchment paper. Place onto a cutting board and slice into 12 equal bars. Store these nutritious delights in an airtight container in the refrigerator for up to one week, or freeze for longer-lasting freshness. Enjoy them as a delicious snack anytime!
How to Store and Freeze Irresistibly Healthy Raw Cranberry Nut Energy Bars
Fridge: Store your energy bars in an airtight container in the refrigerator for up to one week. This keeps them fresh and ready for quick snacking!
Freezer: For longer storage, freeze the bars in an airtight container for up to three months. Wrap them individually for easy grab-and-go moments.
Thawing: When you’re ready to enjoy a frozen bar, simply thaw them at room temperature for 10–15 minutes. This will restore their chewy texture perfectly!
Portioning: Consider cutting the bars beforehand and separating them with parchment paper in the container to make it easy to grab a snack on busy days.
What to Serve with Irresistibly Healthy Raw Cranberry Nut Energy Bars
Treat your taste buds to a delightful array of complementary flavors and textures that elevate your snacking experience!
- Creamy Greek Yogurt: A dollop of creamy Greek yogurt provides a tangy contrast, making for a satisfying dip for your energy bars.
- Fresh Apple Slices: Crisp and juicy, fresh apple slices add a refreshing crunch that pairs well with the chewy texture of the bars.
- Nutty Granola: A sprinkle of nutty granola on the side gives an extra crunch and a boost of flavor, enhancing your snack even further.
- Herbal Tea: Enjoy a warm cup of herbal tea alongside your bars; the light, floral flavors will balance the sweetness beautifully.
- Smoothie Bowl: Serve your energy bars with a smoothie bowl for a nourishing breakfast—mix in your favorite fruits for added sweetness and nutrition.
- Dark Chocolate: Pair with a few squares of dark chocolate for a decadent yet healthy treat; the bitterness complements the sweetness perfectly.
- Raw Veggie Sticks: Fresh carrot or cucumber sticks offer a crunchy, clean contrast that balances the energy bars’ richness while adding fiber.
- Coconut Water: Quench your thirst with refreshing coconut water; its natural sweetness is a wonderful match for the tart cranberries.
- Trail Mix: Create a mini trail mix with dried fruits and nuts and serve alongside your bars for an extra boost of nutrition and fun textures.
- Fruit Salad: A bowl of vibrant fruit salad will lighten the experience, bringing fresh, seasonal flavors that harmonize with your energy bars.
Expert Tips for Irresistibly Healthy Bars
- Choose Fresh Dates: Use fresh medjool dates for better binding; soak dry dates if necessary to enhance texture and moisture.
- Chop Nuts First: Pre-chop the roasted almonds and cashews to avoid over-processing, ensuring your energy bars retain some delightful crunch.
- Press Firmly: Compact the mixture firmly in the tin to prevent crumbling when cutting, giving you perfect slices of your irresistibly healthy raw cranberry nut bars.
- Cool Down: Don’t skip the chilling phase; this is crucial for helping the bars hold their shape and ensuring they are easy to cut.
- Experiment with Add-Ins: Feel free to incorporate extras like chia seeds, protein powder, or a sprinkle of cinnamon to enhance flavor and nutrition.
Make Ahead Options
These irresistibly healthy raw cranberry nut energy bars are perfect for meal prep, saving you valuable time during your busy week! You can blend and press the mixture into the tin up to 24 hours in advance; simply store it in the refrigerator until you’re ready to chill it for at least 2 hours. If you prefer, you can also slice the bars ahead of time and store them in an airtight container, keeping them fresh in the fridge for up to 7 days or freeze them for up to 3 months. To ensure the bars maintain their chewy and crunchy texture, it’s best to wrap them individually if you’re freezing them. When you’re ready to enjoy, just take out the desired number of bars and let them thaw at room temperature for 10–15 minutes before serving—just as delicious as if freshly made!
Irresistibly Healthy Raw Cranberry Nut Variations
Feel free to play with these energy bars and create your own perfect snack experience!
-
Nut-Free Option: Substitute almonds and cashews with sunflower or pumpkin seeds. This makes for a deliciously crunchy and nut-free treat!
-
Extra Protein Boost: Add a tablespoon of protein powder to the mix. Adjust the coconut oil slightly to maintain texture; the added boost will keep you fueled for longer!
-
Flavorful Chia Seeds: Mix in some chia seeds for an added nutritional kick. They bring a subtle crunch and are excellent for heart health.
-
Tropical Twist: Replace dried cranberries with dried mango or pineapple for a tropical vibe. This will give your bars a sweet and chewy fruity explosion!
-
Cocoa Lovers Delight: Incorporate a tablespoon of cocoa powder into the mix. The chocolatey flavor will complement the sweetness of the dates beautifully.
-
Warm Spice: Add a sprinkle of cinnamon or nutmeg for a warm flavor profile. This cozy touch makes these bars perfect for chilly evenings.
-
Coconut Lovers Dream: Try swapping out desiccated coconut for shredded coconut and toasting it lightly for extra richness. It brings an irresistible flavor that makes eating these bars even more enjoyable.
If you’re interested in exploring more creative energy bites, check out our Energizing Nut Seed recipe or whip up some Milky Coconut Cheese for a delightful addition to your healthy snacking repertoire!

Irresistibly Healthy Raw Cranberry Nut Energy Bars Recipe FAQs
How do I select ripe medjool dates?
Absolutely! When choosing medjool dates, look for ones that are plump, shiny, and slightly sticky to the touch. Avoid those that have dark spots all over or feel dry, as they may not bind well. Fresh dates are key to achieving that perfect chewy texture in your bars.
What’s the best way to store these energy bars?
I recommend storing your energy bars in an airtight container in the refrigerator, where they will stay fresh for up to one week. If you want to keep them longer, you can freeze them for up to three months. Just remember to thaw them at room temperature for about 10–15 minutes before enjoying for the best texture!
Can I freeze the raw cranberry nut energy bars, and how should I do it?
Yes, you can definitely freeze them! To do this, slice the energy bars into individual pieces after they’ve set in the fridge. Wrap each bar in plastic wrap or place them in a freezer-safe container with parchment paper between layers. This prevents them from sticking together, and they’ll stay fresh for up to three months. When you’re ready to snack, just let them thaw for 10–15 minutes at room temperature.
What can I do if my mixture is too crumbly?
Very! If your energy bar mixture feels too crumbly and doesn’t stick together, try adding a little more melted coconut oil or a splash of water. Mix it in a tiny bit at a time until the texture becomes sticky and cohesive enough to hold together. Remember, it should hold its shape when pressed but shouldn’t be soggy.
Are these energy bars suitable for people with nut allergies?
Certainly! If you or someone you’re serving has nut allergies, simply swap the almonds and cashews for seeds like sunflower or pumpkin seeds. This will create a nut-free version while still offering that satisfying crunch and flavor. Plus, feel free to get creative with different dried fruits to suit your taste!
How long do these energy bars last, and can I see visual cues for freshness?
These delicious bars will last in the fridge for about one week and up to three months in the freezer. For freshness, keep an eye out for any signs of dryness or changes in color. If they start to look dull or develop weird textures, it’s a good idea to discard them for safety. Enjoy your healthy snacking!
Irresistibly Healthy Raw Cranberry Nut Energy Bars You’ll Love
Ingredients
Equipment
Method
- Begin by lining an 8×8 inch baking tin with parchment paper, ensuring it extends over the edges for easy removal later.
- In a food processor, combine the freshly pitted medjool dates, dried cranberries, roasted almonds, roasted cashews, and desiccated coconut. Pulse for about 1-2 minutes until finely chopped and well mixed.
- Pour in the melted coconut oil and add a pinch of sea salt. Pulse again for about 30 seconds until everything combines into a sticky, cohesive dough.
- Transfer the mixture into the prepared tin, using a spatula or the back of a spoon to press it down firmly and evenly.
- Cover the tin with plastic wrap or foil and place it in the refrigerator for a minimum of 2 hours to firm up.
- Once set, remove the bars from the tin using the overhanging parchment paper, place onto a cutting board, and slice into 12 equal bars.
- Store these bars in an airtight container in the refrigerator for up to one week, or freeze for longer-lasting freshness.