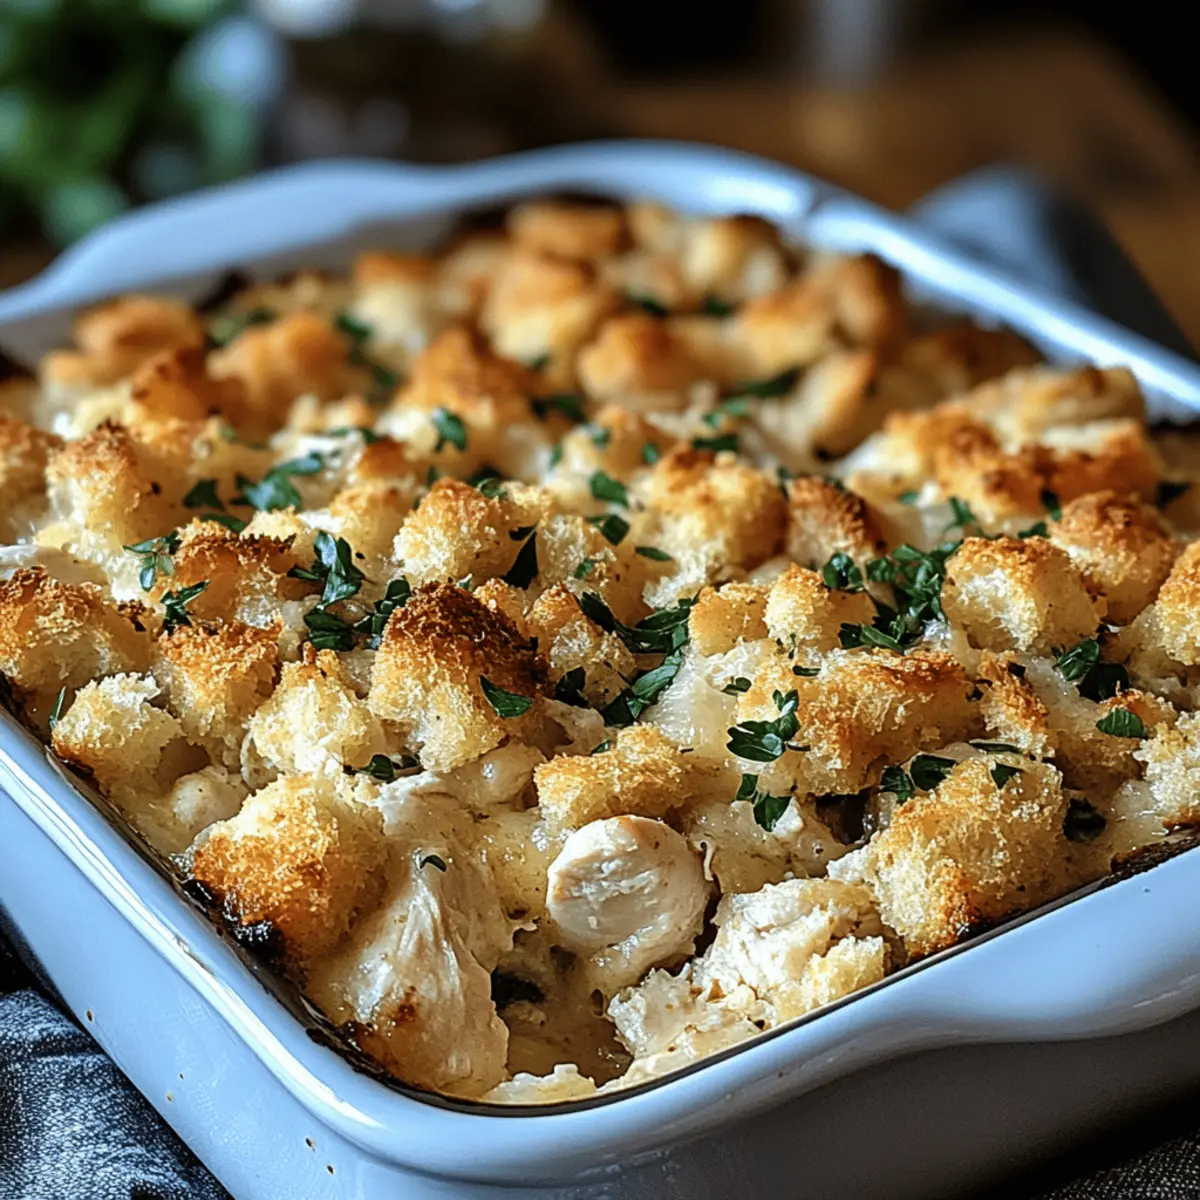
As I opened the oven door, a wave of comforting aroma enveloped me, instantly transporting me to cherished family gatherings. Dolly’s Chicken and Stuffing Casserole is more than just a meal; it’s a warm embrace on a plate, rich with the tastes of tender chicken nestled beneath a crispy stuffing layer. This recipe is not only a breeze to whip up but also makes for an effortless make-ahead option, perfect for those hectic weeknights when you’d rather savor home-cooked goodness than resort to takeout. With its potential for gluten-free variations and the ability to use leftover turkey, this dish is versatile enough to please everyone at your table. Curious about how to bring a taste of Southern comfort to your home? Let’s dive into this delicious recipe!
Why is This Casserole a Must-Try?
Comforting, timeless flavors: Dolly’s Chicken and Stuffing Casserole brings a touch of Southern nostalgia to your dinner table, perfect for making memories.
Effortless preparation: With simple ingredients and minimal prep time, this dish is ideal for any home cook looking to savor a homemade meal without the hassle.
Versatile options: Whether you prefer turkey or need gluten-free solutions, this recipe adapts to fit your needs while ensuring delicious results every time.
Make-ahead convenience: Prepare it up to a day in advance, making weeknight dinners seamless and stress-free.
Crowd-pleaser appeal: Perfect for family gatherings or weekday dinners, everyone will love the combination of creamy chicken and crunchy stuffing.
Dolly’s Chicken and Stuffing Casserole Ingredients
For the Casserole Base
• Cooked Chicken – Use rotisserie chicken for convenience or pre-cooked chicken for added flavor.
• Cream of Chicken Soup – Adds creaminess and binds the casserole together; Greek yogurt offers a healthier alternative.
• Sour Cream – Contributes tanginess and richness; swap with Greek yogurt for a lighter version.
For the Stuffing Layer
• Stuffing Mix – Provides texture and flavor, and can be substituted with cornbread stuffing for a sweeter taste.
• Chicken Broth – Moistens the stuffing and enhances flavor; opt for low-sodium broth for a healthier choice.
• Butter – Enhances flavor and promotes a crispy topping; can be omitted but adds to browning.
Seasonings
• Garlic Powder – Adds depth of flavor; adjust to suit personal taste preferences.
• Onion Powder – Complements the dish beautifully; feel free to modify according to your liking.
Embrace the comfort of home cooking with Dolly’s Chicken and Stuffing Casserole, a dish that’s as delightful as it is satisfying!
Step‑by‑Step Instructions for Dolly’s Chicken and Stuffing Casserole
Step 1: Preheat the Oven
Begin by preheating your oven to 350°F (175°C). This step is crucial as a properly heated oven ensures your casserole cooks evenly, allowing the flavors to meld beautifully. Once the oven reaches the desired temperature, you’re ready to move on to preparing the creamy base of Dolly’s Chicken and Stuffing Casserole.
Step 2: Prepare the Creamy Chicken Mixture
In a large mixing bowl, combine shredded cooked chicken, cream of chicken soup, sour cream, and half of the chicken broth. Stir everything together until well blended, creating a creamy and rich mixture. This forms the comforting foundation of your casserole. The creamy base should have a smooth consistency and beautifully incorporate the flavors as you prepare to layer your dish.
Step 3: Assemble the Casserole
Spoon the creamy chicken mixture into a greased baking dish, spreading it evenly across the bottom. This will be the first layer of your casserole. Ensure that the mixture covers the entire base of the dish to allow for even cooking and flavor distribution. A greased dish helps in releasing the casserole easily once it’s done baking.
Step 4: Prepare the Stuffing Layer
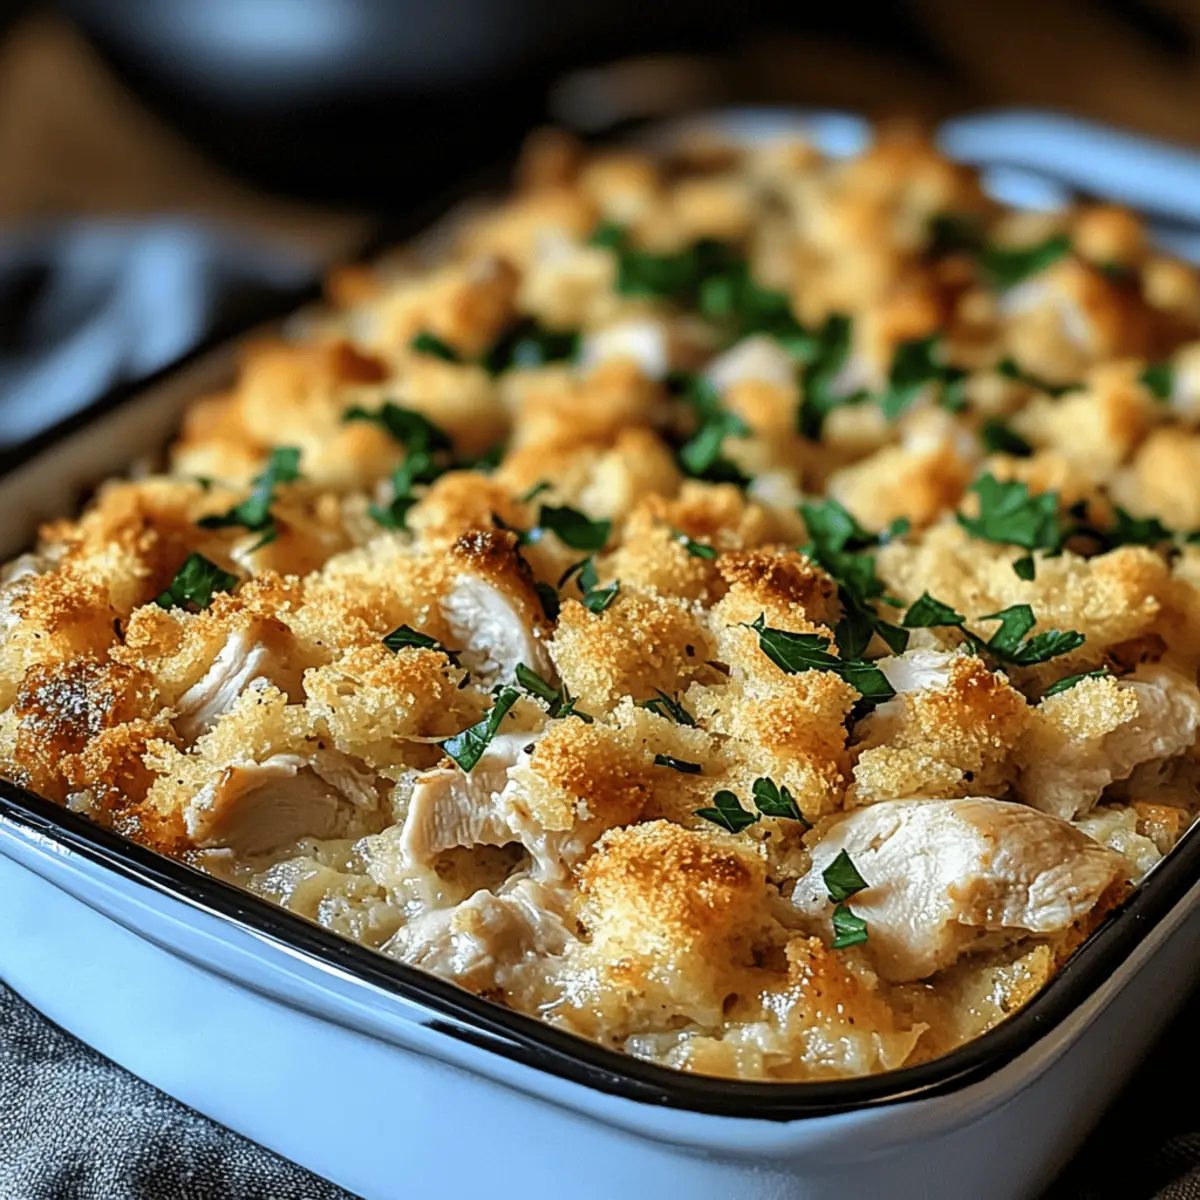
Follow the package instructions to prepare the stuffing mix. Once ready, sprinkle the stuffing evenly over the creamy chicken layer in your baking dish. This layer forms a delightful texture contrast to the creamy base, promising a satisfying crunch once baked. Make sure to cover the chicken mixture entirely with the stuffing for the best results.
Step 5: Add the Finishing Touch
Drizzle melted butter over the top of the stuffing layer. This step is optional but recommended, as it promotes browning and enhances the flavor of the stuffing. The butter will help create a beautifully golden crispy layer that’s simply irresistible. Let the flavors soak in as you prepare to bake your casserole.
Step 6: Bake the Casserole
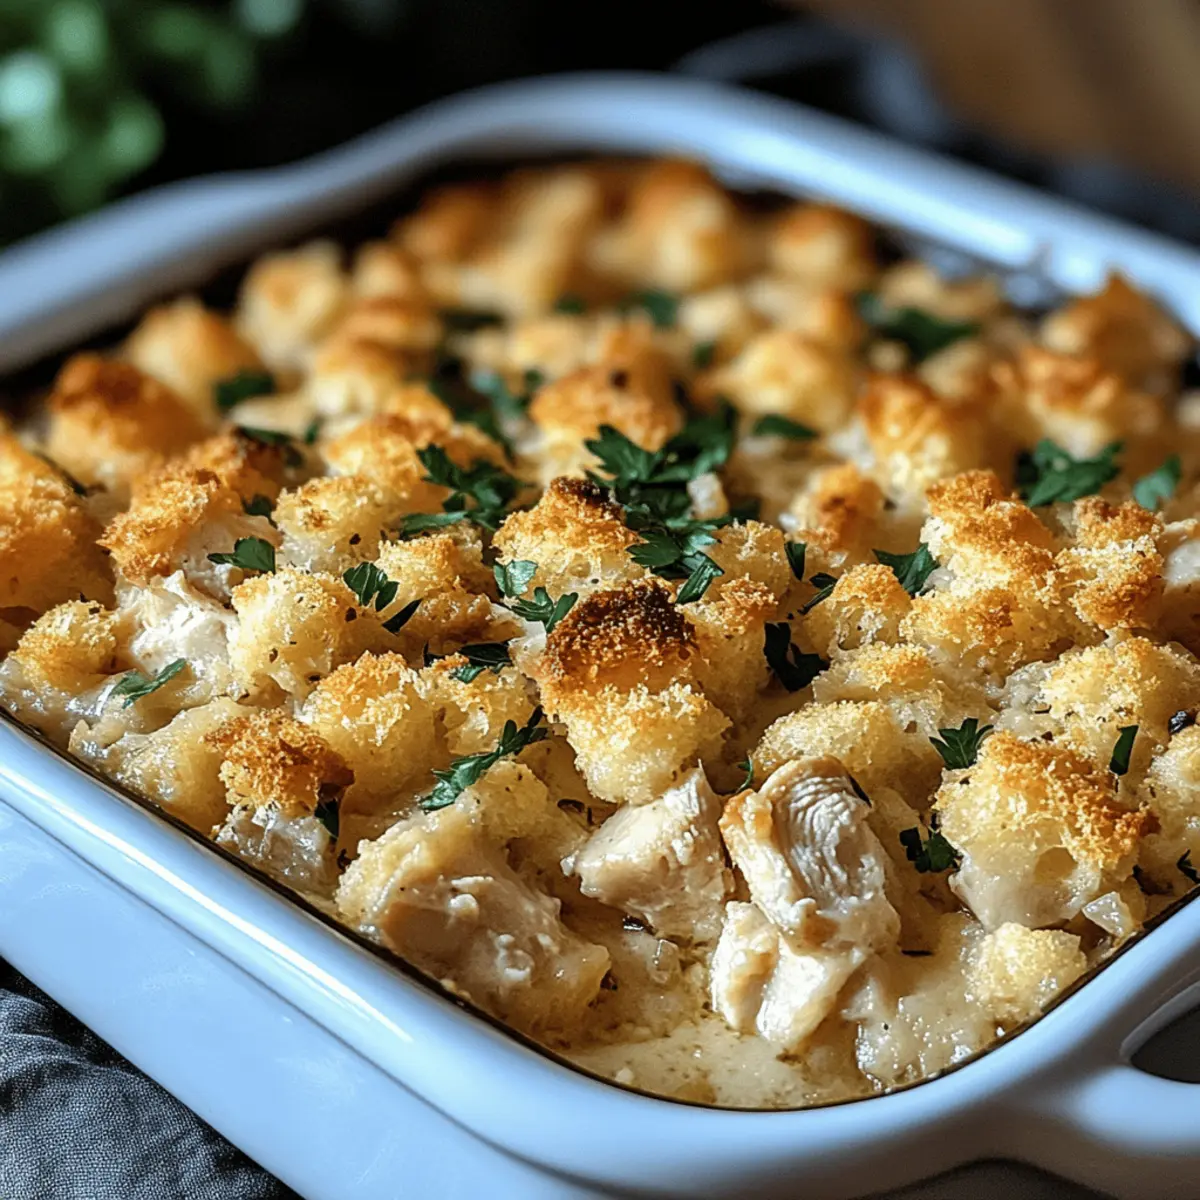
Place the assembled Dolly’s Chicken and Stuffing Casserole into your preheated oven and bake uncovered for 35 to 40 minutes. You’ll know it’s ready when the top is golden brown and the filling is bubbling at the edges. The aroma wafting through your kitchen will be a delicious indicator that comfort food is on its way!
Step 7: Check for Doneness
After baking, check for doneness by ensuring the casserole is bubbling around the edges and the center feels firm to the touch. If it’s not quite ready, return it to the oven for an additional 5–10 minutes. Patience here ensures that every bite of Dolly’s Chicken and Stuffing Casserole is perfectly cooked and satisfying.
Step 8: Cool and Serve
Once baked, let the casserole cool for a few minutes before slicing. This resting period allows the layers to set, making it easier to serve. Scoop out servings and feel the warmth of homemade cooking fill your home, ready to bring comfort to your dining experience!
How to Store and Freeze Dolly’s Chicken and Stuffing Casserole
Fridge: Store any leftovers in an airtight container for up to 3 days. To reheat, simply place the desired portion in the microwave or oven, adding a splash of broth to keep it moist.
Freezer: For longer storage, freeze the casserole tightly wrapped in plastic wrap and aluminum foil for up to 2 months. When ready to enjoy, thaw overnight in the refrigerator before reheating.
Make-Ahead: Prepare Dolly’s Chicken and Stuffing Casserole up to 24 hours in advance and refrigerate it before baking. It can save time on busy weeknights!
Reheating: To ensure the best texture, reheat in a preheated oven at 350°F (175°C) until heated through, about 20-25 minutes or until bubbly at the edges.
Dolly’s Chicken and Stuffing Casserole Variations
Let your creativity shine by customizing Dolly’s Chicken and Stuffing Casserole for your tastes and dietary needs!
-
Turkey Twist: Substitute turkey for chicken to utilize those holiday leftovers, bringing a festive twist to a classic dish. It’s a delightful way to keep those flavors alive and enjoy the season’s bounty!
-
Gluten-Free Option: Swap regular stuffing mix and chicken broth for gluten-free alternatives. This ensures everyone at the table can savor the comforting goodness without worry.
-
Low-Sodium Delight: Use low-sodium chicken broth and omit added salt to create a heart-healthier version, allowing you to indulge without the extra sodium. Your taste buds won’t even miss it!
-
Dairy-Free Delight: Keep it creamy by using a dairy-free cream of chicken soup and substitute sour cream with almond or coconut yogurt. Now, everyone can enjoy this warm, comforting casserole!
-
Veggie-Loaded: Add steamed vegetables like broccoli or carrots into the chicken mixture for a nutritious boost. This variation not only enhances flavor but also amps up the nutrition packed into each serving.
-
Cornbread Stuffing: For a sweeter touch, opt for cornbread stuffing instead of the traditional mix, creating a delightful contrast with the savory chicken base. It’ll have everyone asking for seconds!
-
Spicy Kick: Add crushed red pepper flakes or your favorite hot sauce to the chicken mixture for those who love a little heat. It’s an exciting way to elevate the comfort of this dish into something bold!
-
Herb Infusion: Toss in fresh herbs such as thyme or rosemary into the creamy mixture for a fragrant twist. This simple addition elevates the flavors and gives it that homemade touch that everyone loves.
With options like these, you’ll always find the perfect take on this heartwarming dish. And if you’re looking for more savory selections, check out these Savory Chicken Cheesy or Tropical Chicken Pineapple recipes!
Make Ahead Options
Dolly’s Chicken and Stuffing Casserole is perfect for busy home cooks looking to save time on hectic weeknights! You can prepare the casserole up to 24 hours in advance by assembling it completely and then covering it tightly with plastic wrap or aluminum foil. This method allows the flavors to meld beautifully while keeping the stuffing’s texture intact. When you’re ready to bake, simply remove it from the refrigerator and allow it to sit at room temperature for about 30 minutes before placing it in the preheated oven. For long-term storage, consider freezing it—this casserole keeps well for up to two months! Just remember to add a splash of broth before reheating to maintain moisture, ensuring every bite remains just as delicious as the first.
Expert Tips for Dolly’s Chicken and Stuffing Casserole
-
Avoid Sogginess: Use the recommended amount of broth to prevent a mushy stuffing layer. Too much liquid can lead to disappointment!
-
Cool Before Serving: Allow the casserole to rest for a few minutes after baking. This helps the layers set, making serving much easier and more appealing.
-
Use Leftovers Wisely: This dish is perfect for repurposing leftover turkey from holidays. Simply substitute turkey for chicken in Dolly’s Chicken and Stuffing Casserole for a delicious twist.
-
Right Baking Dish: Choose a suitable size baking dish to ensure even cooking. Overcrowding can hinder crispy surfaces while underfilling may lead to uneven layers.
-
Fresh Herb Boost: Add fresh herbs like thyme or parsley to the mixture for an aromatic lift. This enhances the comfort food experience while also adding freshness.
What to Serve with Dolly’s Chicken and Stuffing Casserole
Nothing complements a comforting casserole better than a selection of delightful side dishes that enhance its warmth and flavor.
-
Crispy Green Salad: A refreshing mix of greens with a tangy vinaigrette offers a perfect contrast to the rich casserole.
-
Steamed Broccoli: Bright green broccoli adds a nutritious crunch and a pop of color to your plate, harmonizing flavors beautifully.
-
Garlic Bread: Warm, crusty garlic bread is a wonderful way to soak up any delicious creamy sauce, making each bite even more satisfying.
-
Roasted Vegetables: A medley of seasonal roasted vegetables adds depth with gentle sweetness and textures that balance the casserole’s richness.
-
Apple Crisp: For dessert, a warm apple crisp drizzled with caramel brings a delightful end to your meal, echoing the comforting vibes of Southern cooking.
-
Sweet Tea or Iced Lemonade: Serve with classic Southern drinks to keep the vibe going strong and refresh your palate between bites.
No matter which options you choose, these pairings will create a delightful dining experience centered around Dolly’s Chicken and Stuffing Casserole!

Dolly’s Chicken and Stuffing Casserole Recipe FAQs
What type of chicken is best for this recipe?
Absolutely! Using cooked rotisserie chicken is a fantastic option for convenience, providing incredible flavor without any hassle. Alternatively, if you’re feeling adventurous, you can use leftover turkey to give the dish a delightful twist, particularly after the holidays.
How long can I store leftovers?
You can store any leftover Dolly’s Chicken and Stuffing Casserole in an airtight container in the refrigerator for up to 3 days. When you’re ready to savor those comforting flavors again, simply reheat in the microwave or oven, adding a splash of broth to maintain moisture.
What’s the best way to freeze the casserole?
Very easy! To freeze your casserole, tightly wrap it in plastic wrap followed by aluminum foil, ensuring no air can escape, which helps prevent freezer burn. It can be stored for up to 2 months. When you’re ready to enjoy it again, thaw overnight in the refrigerator before reheating, ensuring it returns to its delicious form.
How do I prevent soggy stuffing?
To prevent a soggy stuffing layer, be mindful of the amount of chicken broth you add. Stick to the recipe’s recommendations, and remember to leave the casserole uncovered while baking. The crisp surface and flavor concentration will bring joy to every bite!
Can I make this dish dairy-free?
Absolutely! For a dairy-free version of Dolly’s Chicken and Stuffing Casserole, replace the cream of chicken soup and sour cream with a non-dairy alternative, such as cashew cream or a dairy-free Greek yogurt. Also, using dairy-free butter will ensure you’re sticking to your dietary preferences without sacrificing that creamy deliciousness!
Can I make this casserole a day ahead of time?
Yes! You can prepare Dolly’s Chicken and Stuffing Casserole up to 24 hours in advance. Simply assemble everything in a greased baking dish, cover it, and refrigerate until you’re ready to bake. This pre-planning option is such a lifesaver on busy weeknights!
Dolly’s Chicken and Stuffing Casserole for Heartwarming Nights
Ingredients
Equipment
Method
- Preheat the oven to 350°F (175°C).
- In a large mixing bowl, combine shredded cooked chicken, cream of chicken soup, sour cream, and half of the chicken broth. Stir until well blended.
- Spoon the creamy chicken mixture into a greased baking dish, spreading it evenly across the bottom.
- Prepare the stuffing mix according to package instructions and sprinkle it evenly over the creamy chicken layer.
- Drizzle melted butter over the top of the stuffing layer.
- Bake uncovered for 35 to 40 minutes, until the top is golden brown and the filling is bubbling at the edges.
- Check for doneness and return to the oven for an additional 5–10 minutes if necessary.
- Let the casserole cool for a few minutes before slicing and serving.