A whiff of sizzling bologna takes me back to childhood kitchens filled with laughter and love. The Fried Bologna Sandwich is a beautiful reminder of comfort food at its finest, where crispy, golden-brown bologna meets the satisfying crunch of toasted bread. This timeless classic isn’t just a budget-friendly meal; it’s a canvas for creativity, inviting you to customize it with your favorite toppings. Whether you dress it with creamy mayonnaise, fresh tomato slices, or experiment with a variety of bread, this simple yet hearty dish can brighten any day. Plus, it’s perfect for a quick lunch or a nostalgic dinner that won’t break the bank. What will you add to your fried bologna masterpiece?

Why are Fried Bologna Sandwiches so beloved?
Nostalgic Comfort: There’s something special about this sandwich that evokes memories of childhood. Budget-Friendly: Perfect for any wallet, it doesn’t compromise on flavor. Versatile Options: Customize it to your liking with different toppings, like tangy mustard or fresh greens. Quick & Easy: Whip this up in no time, making it ideal for busy days. Pair it with a side salad or a serving of crispy chips for a complete meal! Don’t forget to check out our delicious Refreshing Avocado Sandwiches for more creative lunch ideas.
Fried Bologna Sandwich Ingredients
For the Sandwich
- Bologna – Essential for the classic flavor; try turkey bologna for a lighter option.
- Bread – The building block of your sandwich; choose white for tradition, or switch it up with sourdough or whole wheat for added texture.
- Mayonnaise – Adds a creamy touch; feel free to substitute with mustard for a zesty kick.
- Tomato – Brings freshness; thick slices enhance texture and balance the richness.
- Cheddar Cheese – Provides a sharp, creamy flavor; experiment with American or pepper jack for variations.
For Cooking
- Cooking Spray – Prevents sticking while frying; oil or butter can be used as a substitute for flavor.
Optional Toppings
- Fried Egg – Elevates the sandwich with rich protein; a tasty addition for breakfast lovers.
- Barbecue Sauce or Caramelized Onions – Perfect for unique flavor twists, adding sweetness and depth.
Step‑by‑Step Instructions for Fried Bologna Sandwiches
Step 1: Prepare the Bread
Start by spreading 1 tablespoon of mayonnaise on one side of two slices of your chosen bread. On the unspread side, layer thick slices of fresh tomato and a generous piece of cheddar cheese. This rich base will create a delightful blend of flavors in your Fried Bologna Sandwich, setting the stage for delicious bites.
Step 2: Fry the Bologna
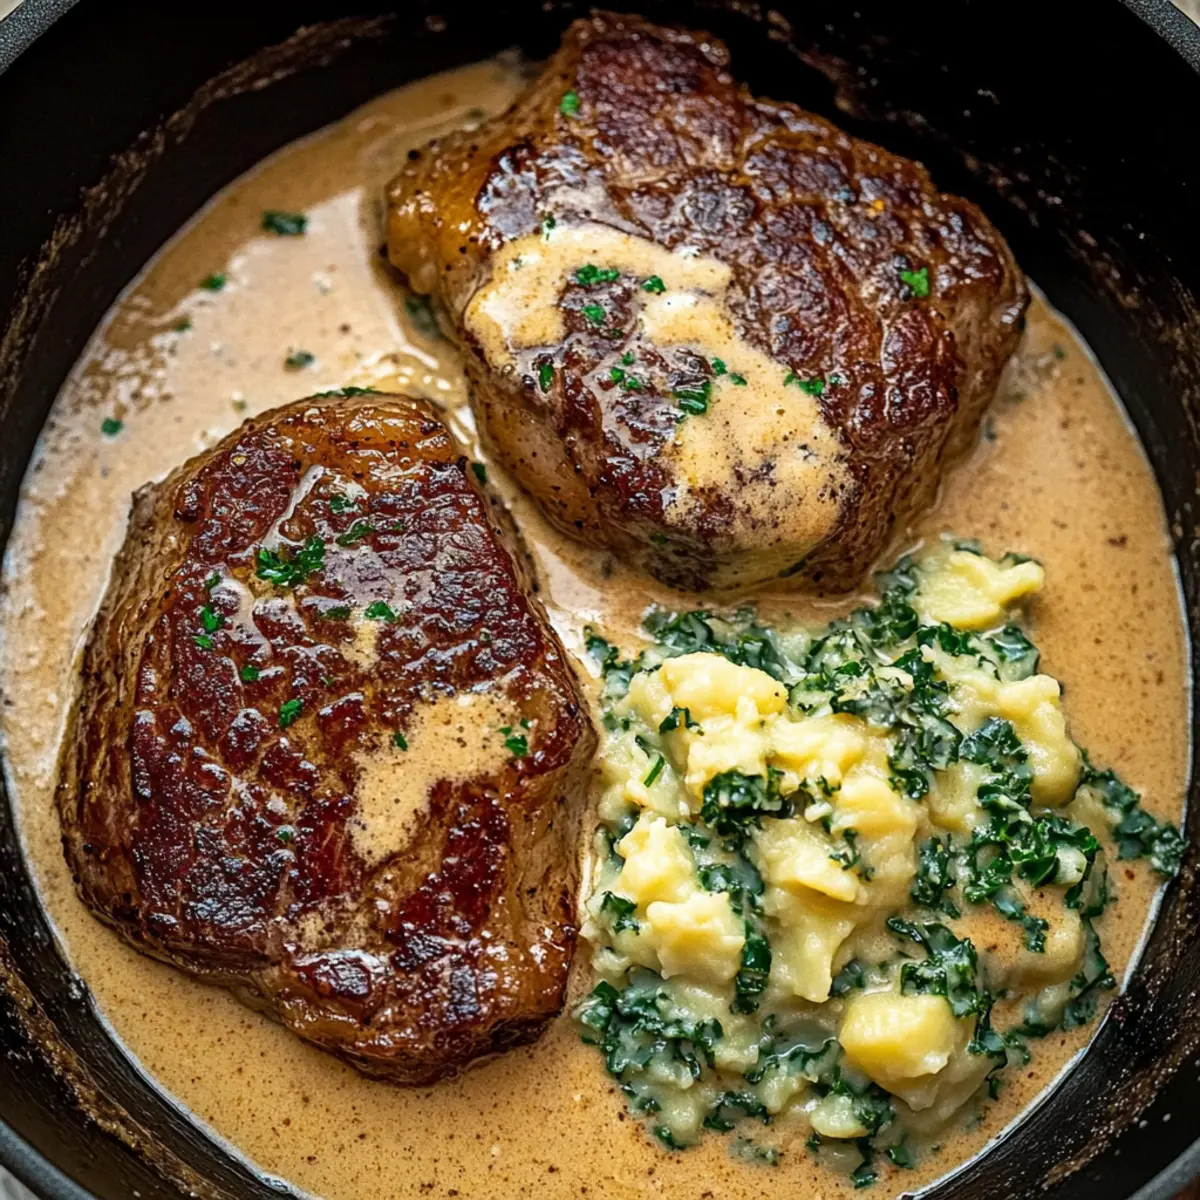
Heat a non-stick skillet over medium-high heat and spray lightly with cooking spray to prevent sticking. While the skillet warms, cut a small “X” in the center of each bologna slice to keep them flat while cooking. Place the bologna in the skillet and fry for 3–4 minutes on each side until they turn a crisp, golden brown, enticingly caramelized.
Step 3: Assemble the Sandwich
Once your bologna is perfectly fried, remove it from the skillet and place three slices on top of the cheese-covered side of each prepared bread slice. The hot bologna will melt the cheese slightly, infusing the flavor through the layers of your Fried Bologna Sandwich.
Step 4: Toast the Sandwich
Place the second bread slice mayonnaise-side down on top of the bologna. Return the sandwich to the skillet and toast for about 2–3 minutes on each side, or until both sides achieve a beautiful golden-brown color. Press down gently with a spatula for even toasting and to meld the ingredients together.
Step 5: Serve
After toasting, carefully remove the sandwich from the skillet and let it cool for a brief moment. Slice it in half if you desire, revealing the warm, melty goodness inside. Serve hot, paired with crispy potato chips or a light salad to complete your Fried Bologna Sandwich meal.

How to Store and Freeze Fried Bologna Sandwiches
- Room Temperature: Fried bologna sandwiches are best enjoyed fresh. If left out, consume within 2 hours to ensure food safety.
- Fridge: Store any leftovers in an airtight container in the refrigerator for up to 2 days. This keeps the flavors intact and prevents drying out.
- Freezer: If you want to freeze, wrap the assembled sandwich tightly in plastic wrap and aluminum foil. It can be frozen for up to 3 months; just thaw before reheating.
- Reheating: To revive your fried bologna sandwiches, reheat in a skillet over medium heat for about 5 minutes on each side until warmed through and crispy, ensuring a delightful second bite!
What to Serve with Fried Bologna Sandwiches?
Cozy up to the simple elegance of classic comforts, and make your meal nearly unforgettable.
- Crispy Potato Chips: Their crunch adds a satisfying contrast to the soft sandwich, making every bite exciting.
- Coleslaw: A creamy side full of tangy goodness, it balances the richness of the fried bologna perfectly.
- Fresh Salad: Toss together greens, cherry tomatoes, and cucumbers for a crisp and light counterpoint to your hearty sandwich.
- Pickles: Their tangy bite cuts through the richness, refreshing your palate between indulgent mouthfuls.
- Sweet Tea: This refreshing drink brings a taste of Southern charm, marrying delightfully with your nostalgic meal.
- Chocolate Chip Cookies: End your meal on a sweet note; the gooeyness of the cookies complements the savory bologna beautifully.
- Egg Salad: The creamy texture and flavor contrast with your sandwich, offering a delicious variation on classic comfort foods.
Make Ahead Options
These Fried Bologna Sandwiches are perfect for meal prep enthusiasts! You can slice the bologna and store it in an airtight container in the refrigerator for up to 3 days. Additionally, you can prepare the bread with mayonnaise and layer the tomato and cheese in advance; simply wrap the sandwich tightly and refrigerate for up to 24 hours. When you’re ready to enjoy your sandwich, just fry the prepped bologna slices for 3-4 minutes on each side until caramelized, then assemble and toast the sandwich as instructed. This way, you’ll have a delicious, nostalgic meal ready at a moment’s notice, making those busy weeknights feel a little easier!
Fried Bologna Sandwich Variations
Feel free to let your creativity shine as you explore these delicious options for your Fried Bologna Sandwich!
-
Spicy Twist: Add jalapeños or hot sauce for an extra kick of flavor. The heat complements the bologna beautifully!
-
Cheesy Goodness: Layer in extra cheese, like pepper jack or Swiss, for a melty surprise. This addition elevates the creaminess to a whole new level.
-
Herb Boost: Sprinkle fresh herbs, like basil or dill, inside the sandwich for a refreshing touch. Freshness can transform this nostalgic classic into something vibrant!
-
Green Goodness: Toss in some fresh spinach or arugula for a peppery crunch. This simple addition brings a lovely contrast to the richness of the bologna.
-
Breakfast Style: Top your sandwich with a fried egg for an ultimate brunch treat. The runny yolk enhances the richness, making each bite indulgent.
-
Sweet and Savory: Slather on some apricot jam or fig spread before adding the bologna for a delightful sweet contrast. This unexpected twist is sure to surprise and delight!
-
Alternative Breads: Swap classic bread for a bagel or croissant to change up the texture. The buttery flakes of a croissant add decadence, while bagels deliver a satisfying chew!
-
Regional Styles: Add barbecue sauce and coleslaw for a Southern twist, transforming your sandwich into a Southern BBQ classic. This mix of flavors creates a delightful harmony that celebrates comfort food traditions.
Remember to check out our tasty Refreshing Avocado Sandwiches for another fun spin on sandwiches—all about bringing comfort and joy to your table!
Expert Tips for Fried Bologna Sandwiches
- Prevent Curling: Always cut an “X” in each bologna slice to avoid curling while cooking, ensuring even frying.
- Bread Variations: Don’t hesitate to switch up your bread choice! Sourdough or whole wheat can enhance the texture and flavor of your Fried Bologna Sandwich.
- Layer Wisely: For maximum flavor, layer your ingredients strategically; start with mayonnaise, then add cheese and tomato before the bologna.
- Add Crunch: Consider adding crispy lettuce or pickles for a refreshing crunch that complements the rich bologna.
- Heat Control: Medium-high heat is key; too hot, and the bologna may burn before it crisps up perfectly. Enjoy experimenting with your recipes!

Fried Bologna Sandwich Recipe FAQs
What should I look for when selecting bologna?
Absolutely! When choosing bologna, look for slices that are even in thickness and have a vibrant color without dark spots. Fresh bologna should have a slight sheen and a meaty aroma. If you prefer a leaner option, turkey bologna is a great substitute and offers a similar flavor!
How should I store leftover Fried Bologna Sandwiches?
I recommend storing any leftover Fried Bologna Sandwiches in an airtight container in the refrigerator. They can last for up to 2 days, maintaining their flavor and preventing drying out. Just ensure they’re completely cooled before sealing the container to avoid condensation.
Can I freeze Fried Bologna Sandwiches?
Certainly! If you want to freeze your Fried Bologna Sandwiches, wrap each assembled sandwich tightly in plastic wrap, then in aluminum foil to prevent freezer burn. They can be stored for up to 3 months. To reheat, simply thaw in the fridge overnight and warm in a skillet for about 5 minutes on each side until crispy and heated through.
What if my bologna curls while frying?
Don’t worry! This is a common issue but easily fixable. Before frying, cut an “X” in the center of each bologna slice. This prevents curling and ensures even cooking. Make sure your skillet is at a medium-high heat to achieve that perfect golden-brown finish!
Are there any dietary considerations for this recipe?
Very much so! For those with dietary restrictions, you may use gluten-free bread and a dairy-free mayonnaise alternative to accommodate sensitivities. If you’re mindful of sodium intake, turkey bologna is a lower-sodium option. Always check labels for allergens if serving to others, especially since bologna can contain various preservatives.
Can I customize the ingredients?
The more the merrier! Feel free to add your favorite toppings, like avocado or spicy mustard, to create a Fried Bologna Sandwich that’s uniquely yours. Experimenting with different types of bread, like sourdough or whole wheat, can give you a delightful twist on this classic comfort food!

Curious Comfort: Savory Fried Bologna Sandwiches at Home
Ingredients
Equipment
Method
- Spread 1 tablespoon of mayonnaise on one side of two slices of your chosen bread. Layer thick slices of fresh tomato and a piece of cheddar cheese on the unspread side.
- Heat a non-stick skillet over medium-high heat and spray lightly with cooking spray. Cut a small “X” in the center of each bologna slice to keep them flat. Fry bologna for 3-4 minutes on each side until golden brown.
- Place three bologna slices on top of the cheese-covered side of each bread slice. The hot bologna will melt the cheese slightly.
- Cover with the second slice of bread, mayonnaise-side down. Toast in the skillet for about 2-3 minutes on each side until golden-brown. Press down gently with a spatula.
- Remove from the skillet, let cool briefly, slice if desired, and serve hot with potato chips or a salad.