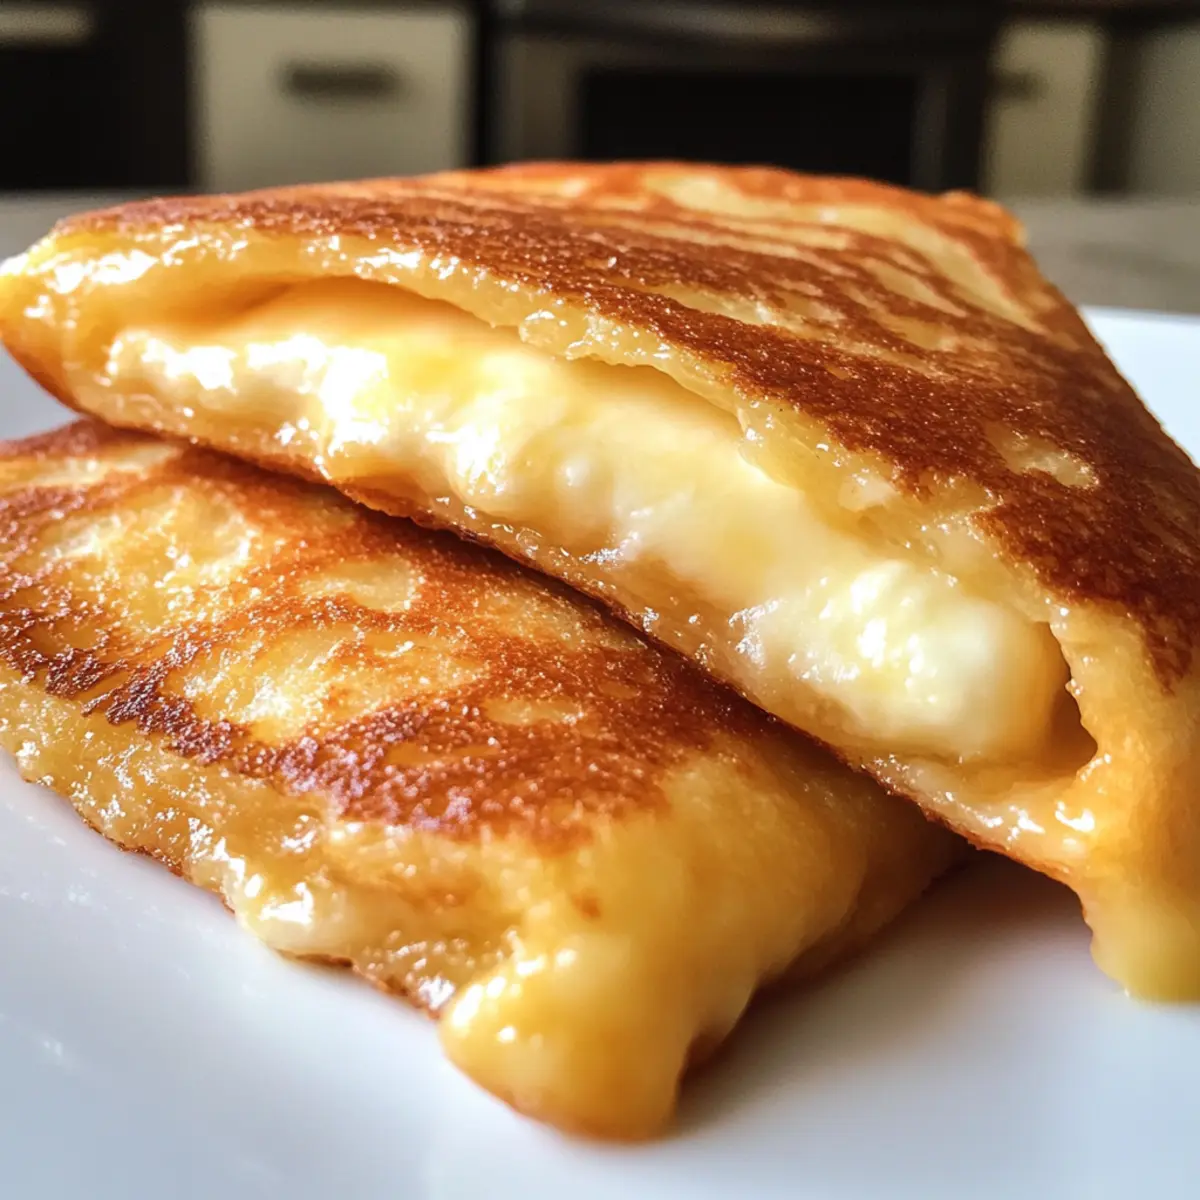
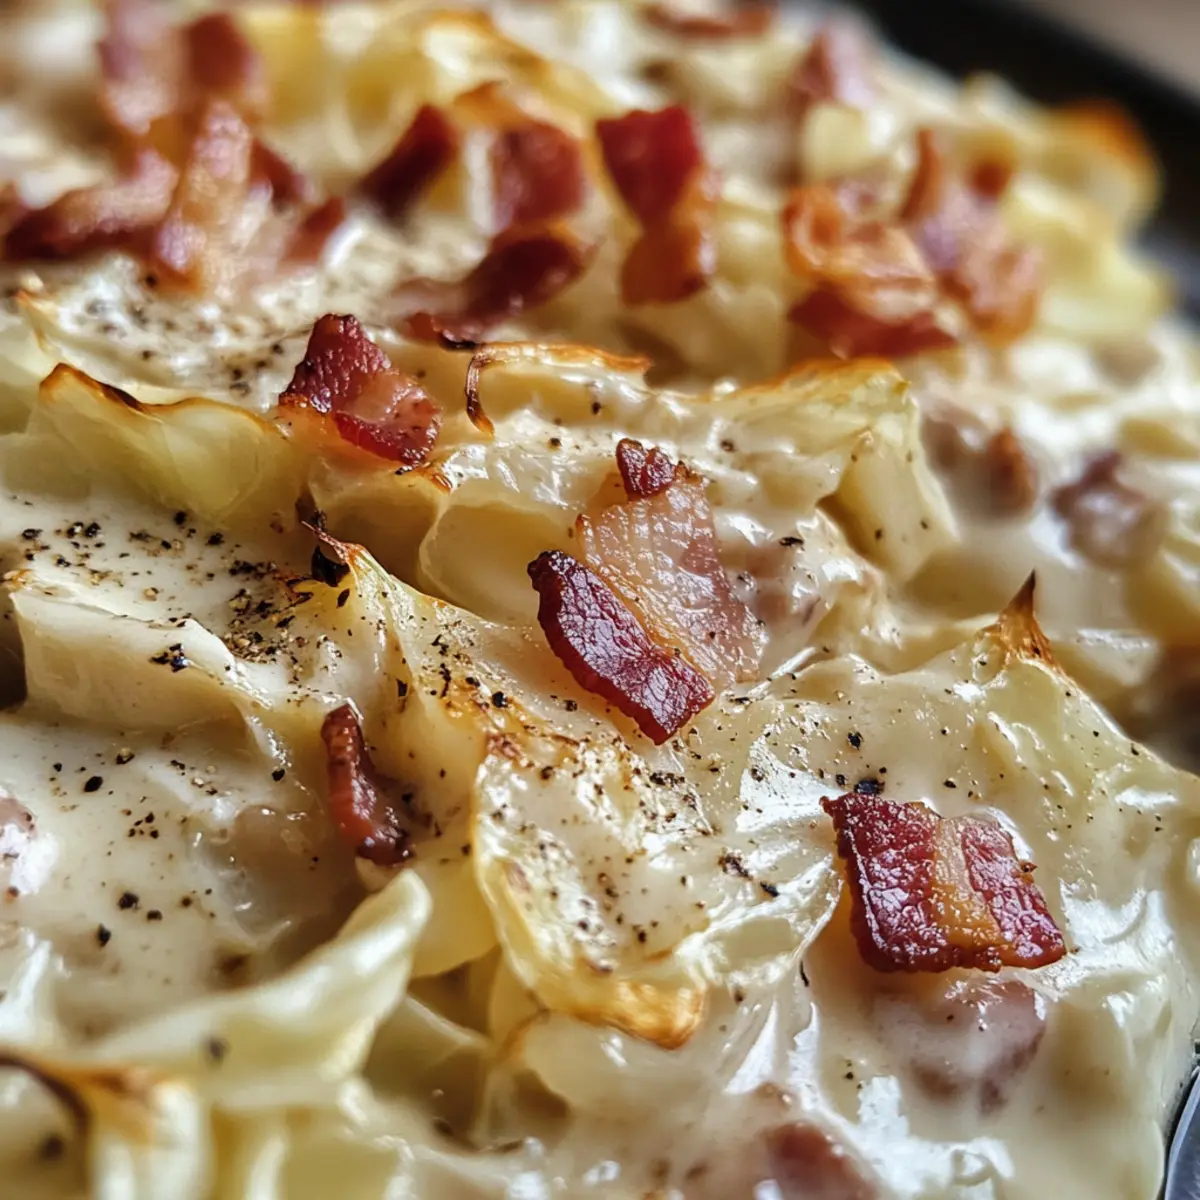
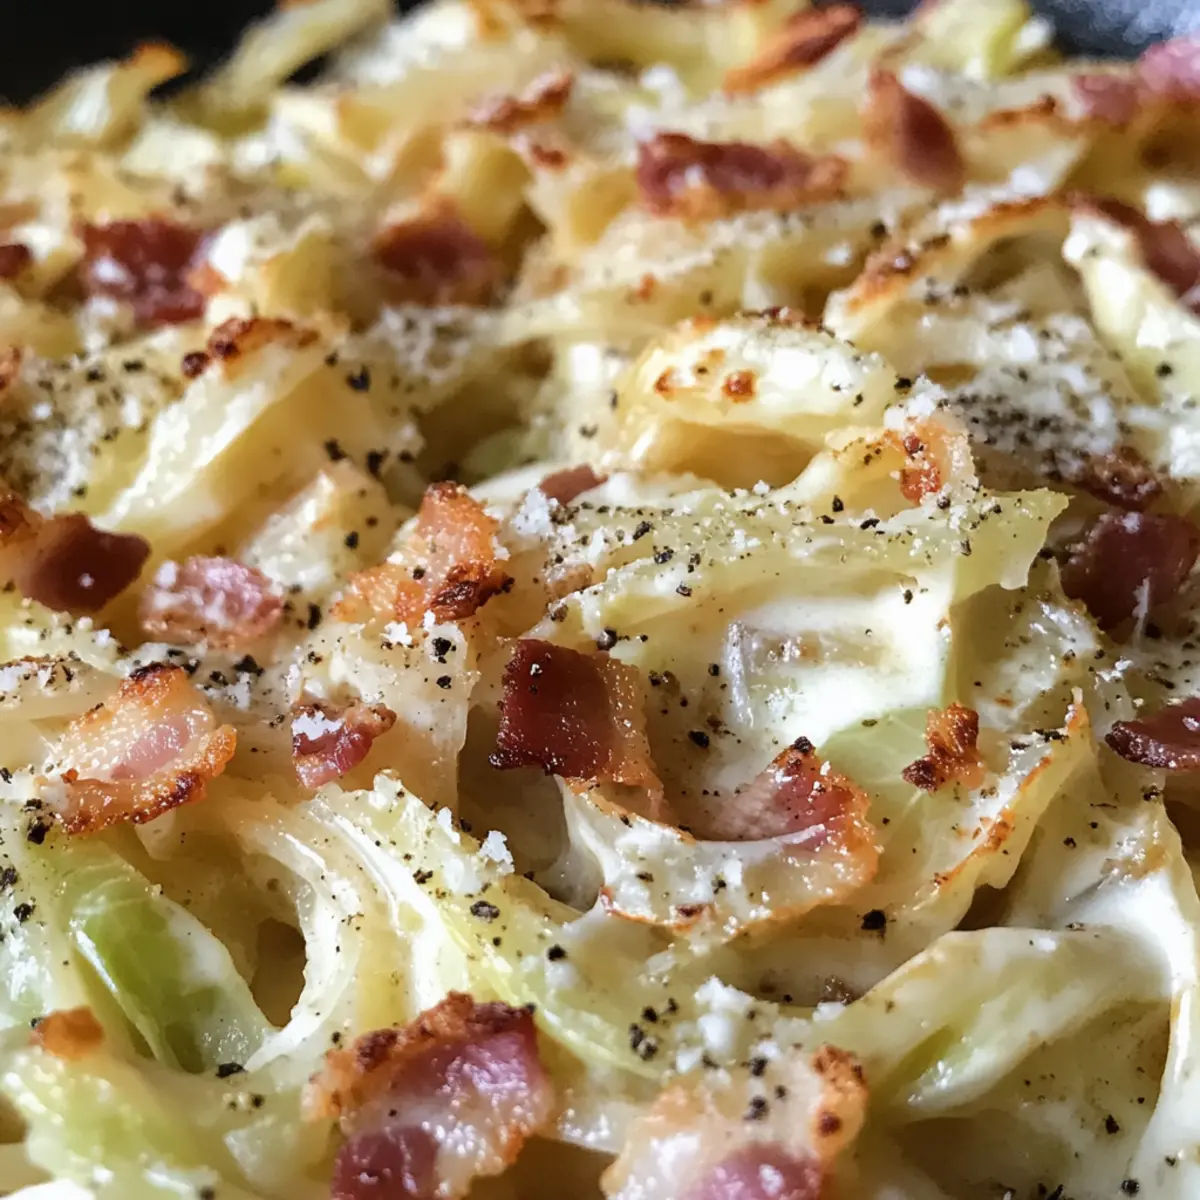
Roasting cabbage might not be on your culinary radar, but this humble vegetable transforms beautifully in my Creamy Cabbage Carbonara. As a delightful low-carb pasta replacement, it’s both budget-friendly and quick to whip up—a perfect option for those busy weeknight dinners. The roasted cabbage takes on a pleasantly chewy texture that echoes traditional carbonara, while the rich sauce of bacon, cream, and Parmesan adds a touch of comfort that’s hard to resist. Plus, you can easily switch things up with variations like turkey bacon or extra veggies for an exciting twist. Are you ready to give this dish a try and redefine your pasta night?
Why is Cabbage Your New Favorite?
Simplicity at Its Best: This recipe is not only straightforward but also requires minimal kitchen skills, making it perfect for everyone.
Deliciously Rich Flavor: The combination of smoky bacon, creamy sauce, and Parmesan cheese creates a flavor explosion that will have you coming back for seconds.
Versatile and Adaptable: Whether you prefer turkey bacon or want to add your favorite veggies, this dish allows for easy customization to suit any palate.
Low-Carb Satisfaction: Enjoy all the comfort of traditional carbonara without the guilt—each serving is a mere 253 calories with just 7g net carbs!
Crowd-Pleasing Option: Perfect for family dinners or impressing guests, this unique twist on a classic will leave everyone raving. Pair it with a side of Crisp Cabbage Cucumber salad for an added crunch!
Cabbage Carbonara Ingredients
For the Cabbage Base
- Cabbage – A medium head serves as the main low-carb pasta substitute, providing a deliciously chewy texture.
- Olive Oil – Essential for roasting, it intensifies the cabbage’s natural sweetness and prevents sticking.
For the Sauce
- Bacon – Adds smoky richness; consider turkey bacon for a lighter alternative.
- Onion – Provides a sweet and aromatic base; swap with shallots for a different flavor profile.
- Garlic – Fresh minced garlic deepens the aroma; using fresh is key for authenticity.
- Heavy Cream – Creates a luscious, creamy sauce; light cream can be substituted but may alter consistency.
- Parmesan Cheese – Essential for umami and thickness; freshly grated delivers a smoother texture.
- Black Pepper – Adds just the right amount of spice; adjust based on your taste preference.
- Salt – Enhances overall flavors; use to taste during the cooking process.
Optional Garnish
- Extra Parmesan – Sprinkle on top for added cheesy goodness.
- Cracked Black Pepper – A final burst of flavor for a perfect finish.
Transforming ordinary cabbage into a delightful Cabbage Carbonara brings comfort food to new heights without the carbs!
Step‑by‑Step Instructions for Cabbage Carbonara
Step 1: Preheat the Oven
Start by preheating your oven to 400°F (200°C). This temperature is perfect for roasting the cabbage, ensuring it becomes tender and delightful without losing its structure. While the oven heats, you can prepare the cabbage for roasting, setting the stage for a delicious Cabbage Carbonara.
Step 2: Prepare the Cabbage
Slice a medium head of cabbage into long, thin strips, yielding about 5-6 cups total. This shape mimics traditional pasta, giving your Cabbage Carbonara a satisfying bite. Once sliced, it’s ready to be transformed into a cozy alternative to pasta, enhancing your comfort food experience.
Step 3: Toss and Spread
In a large bowl, toss the sliced cabbage with olive oil and a sprinkle of salt until well coated. This step allows the natural sweetness of the cabbage to shine through. Spread the cabbage evenly on a baking sheet in a single layer, ensuring that each piece has room to roast beautifully.
Step 4: Roast the Cabbage
Roast the cabbage in the preheated oven for 10-15 minutes, or until it becomes tender with lightly browned edges. Keep an eye on it during the last few minutes for that perfect golden color, which will enhance the flavor of your Cabbage Carbonara.
Step 5: Cook the Bacon
While the cabbage roasts, heat a pan over medium heat and add chopped bacon. Cook for about 2-3 minutes until the bacon is crispy and fragrant, releasing its smoky aroma. This step adds richness to your Cabbage Carbonara, setting a flavorful foundation for the creamy sauce.
Step 6: Sauté the Aromatics
Add chopped onion to the pan with the bacon and cook until they become translucent, about 2-3 minutes. Then, stir in minced garlic and cook for an additional 30 seconds. The combination of these aromatics will create a fragrant base that elevates the depth of your Cabbage Carbonara.
Step 7: Make the Creamy Sauce
In the same pan, incorporate heavy cream, freshly grated Parmesan cheese, and freshly cracked black pepper. Let the mixture simmer for 2-3 minutes until thickened and bubbly. This creamy sauce is the heart of Cabbage Carbonara, providing a luscious coat for the roasted cabbage.
Step 8: Combine and Coat
Once the cabbage is perfectly roasted, toss it into the creamy sauce in the pan. Stir well for 1-2 minutes to ensure that each piece of cabbage is evenly coated with the rich carbonara sauce. This blending step merges all the flavors beautifully, making your dish irresistible.
Step 9: Serve and Garnish
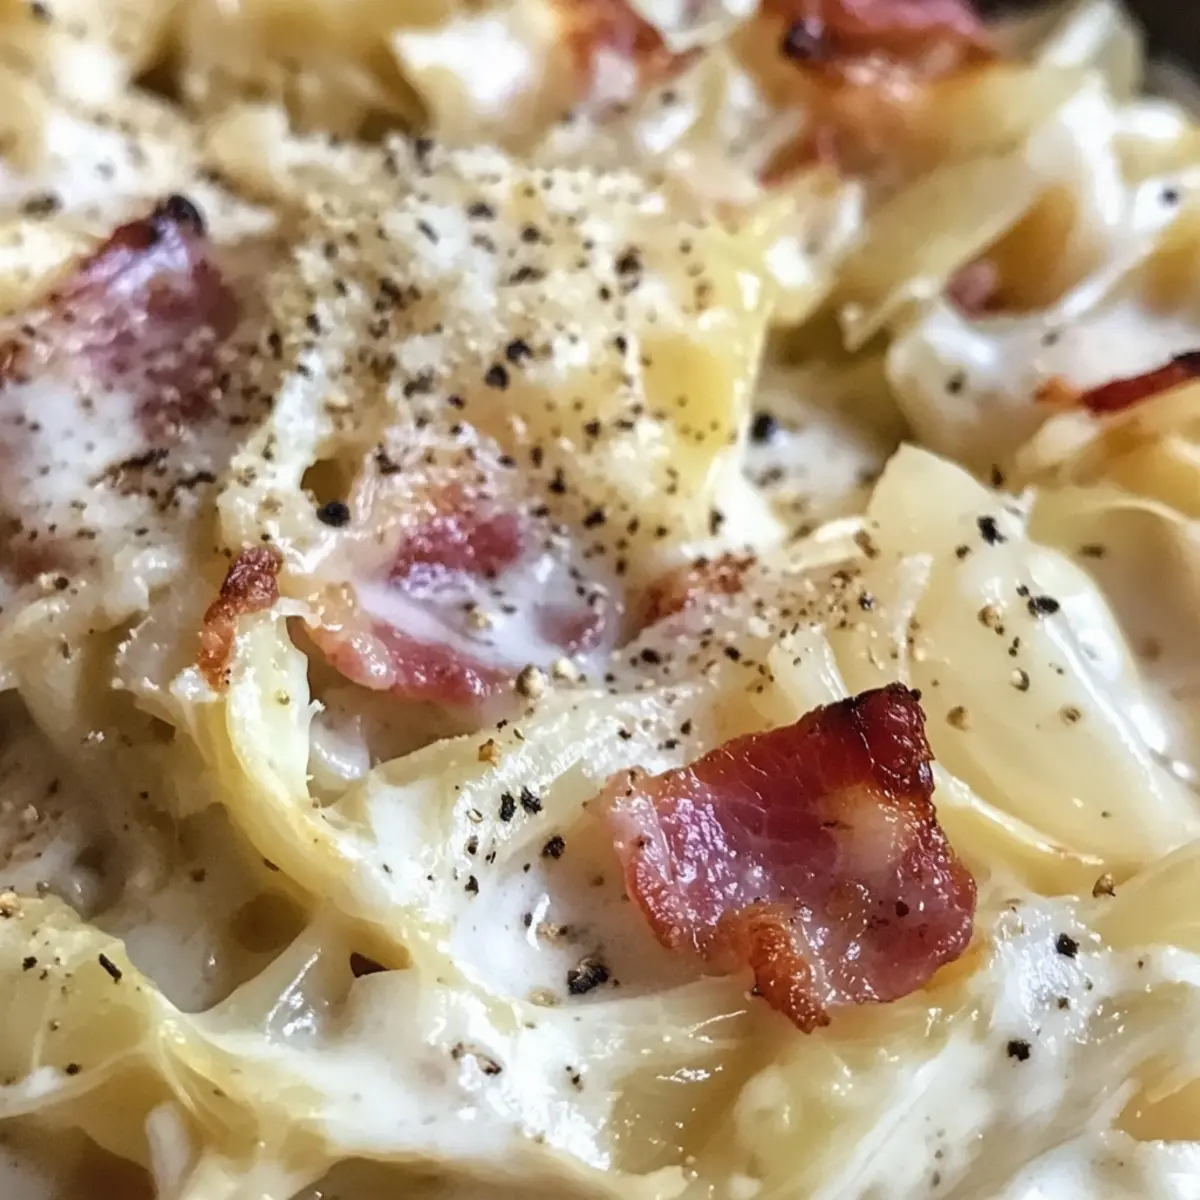
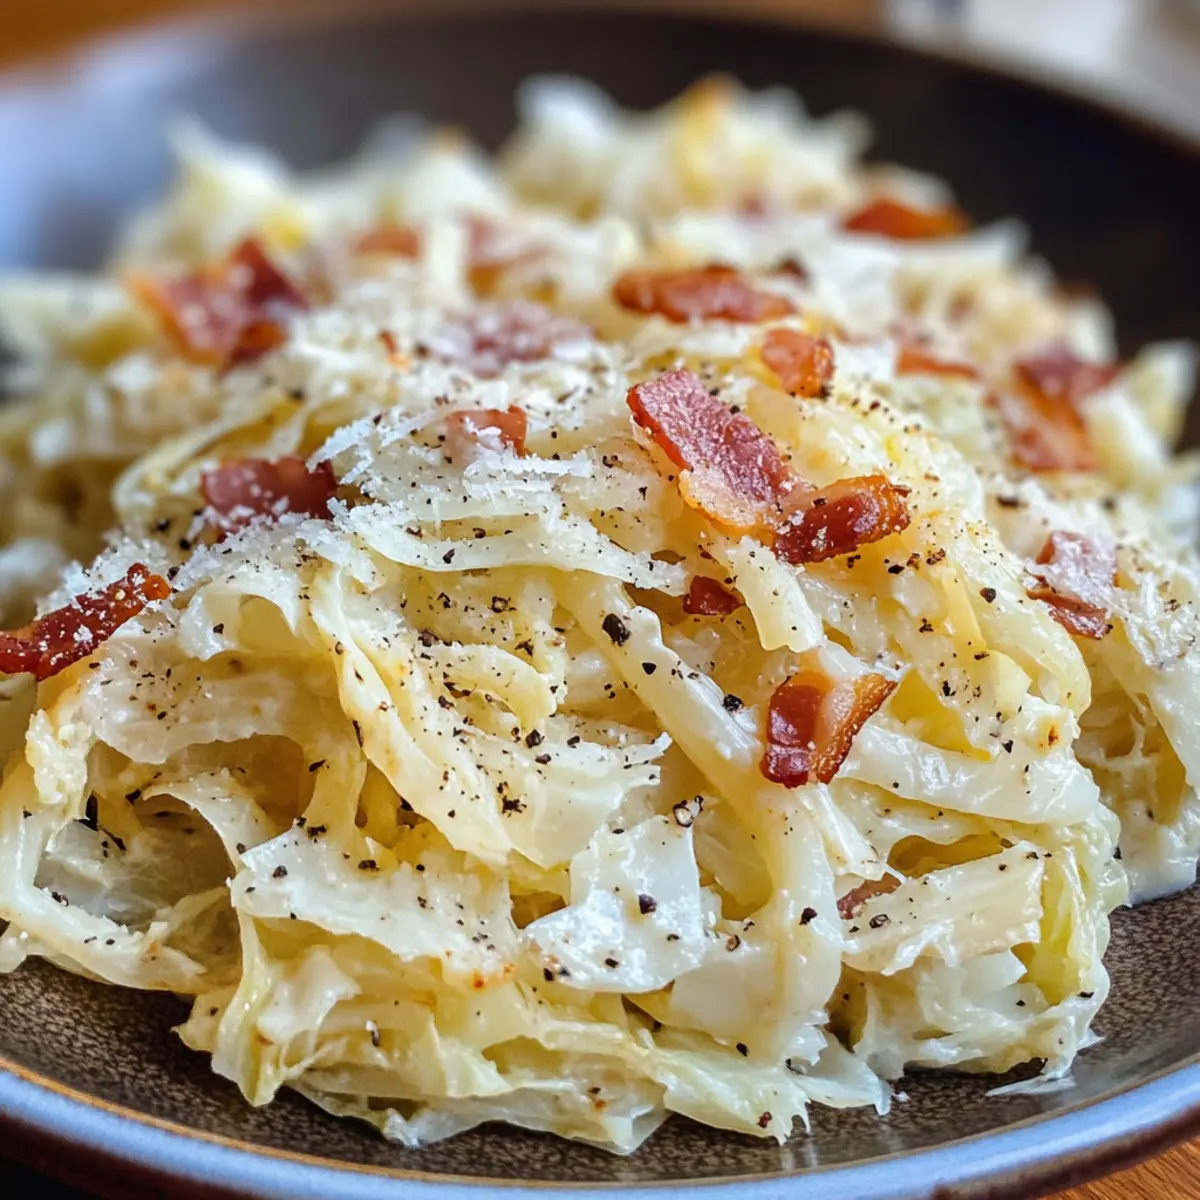
Plate your Cabbage Carbonara hot, garnished with extra Parmesan cheese, crispy bacon bits, and a sprinkle of cracked black pepper for that finishing touch. Presenting the dish while it’s warm enhances the flavors and ensures a memorable dining experience for you and your guests.
Storage Tips for Cabbage Carbonara
Fridge: Store leftovers in an airtight container in the fridge for up to 3 days to maintain freshness. Always allow the dish to cool slightly before covering to prevent condensation.
Freezer: For longer storage, seal Cabbage Carbonara in freezer-safe bags or containers and freeze for up to 3 months. Thaw in the fridge overnight before reheating.
Reheating: Reheat gently in a skillet over low heat or in the microwave at 50% power to avoid overcooking the cabbage. Add a splash of cream or broth to restore moisture if needed.
Texture Reminder: When reheating, remember that the cabbage should retain its slight chewiness to mimic the experience of traditional carbonara.
What to Serve with Cabbage Carbonara?
To complete your meal, consider delightful sides that elevate the comforting essence of this low-carb dish.
-
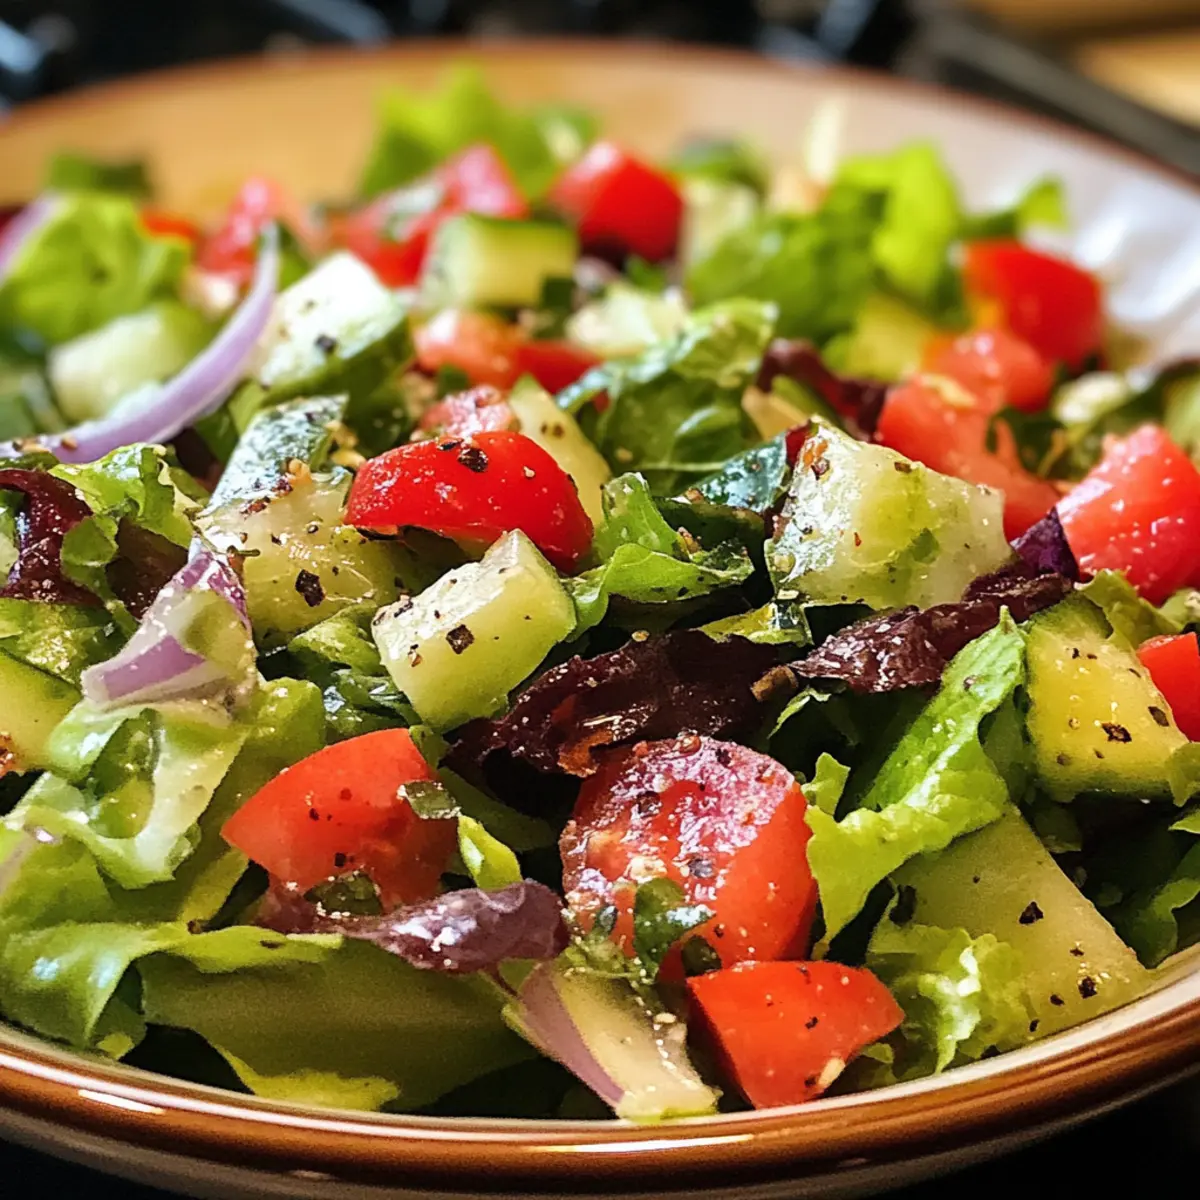
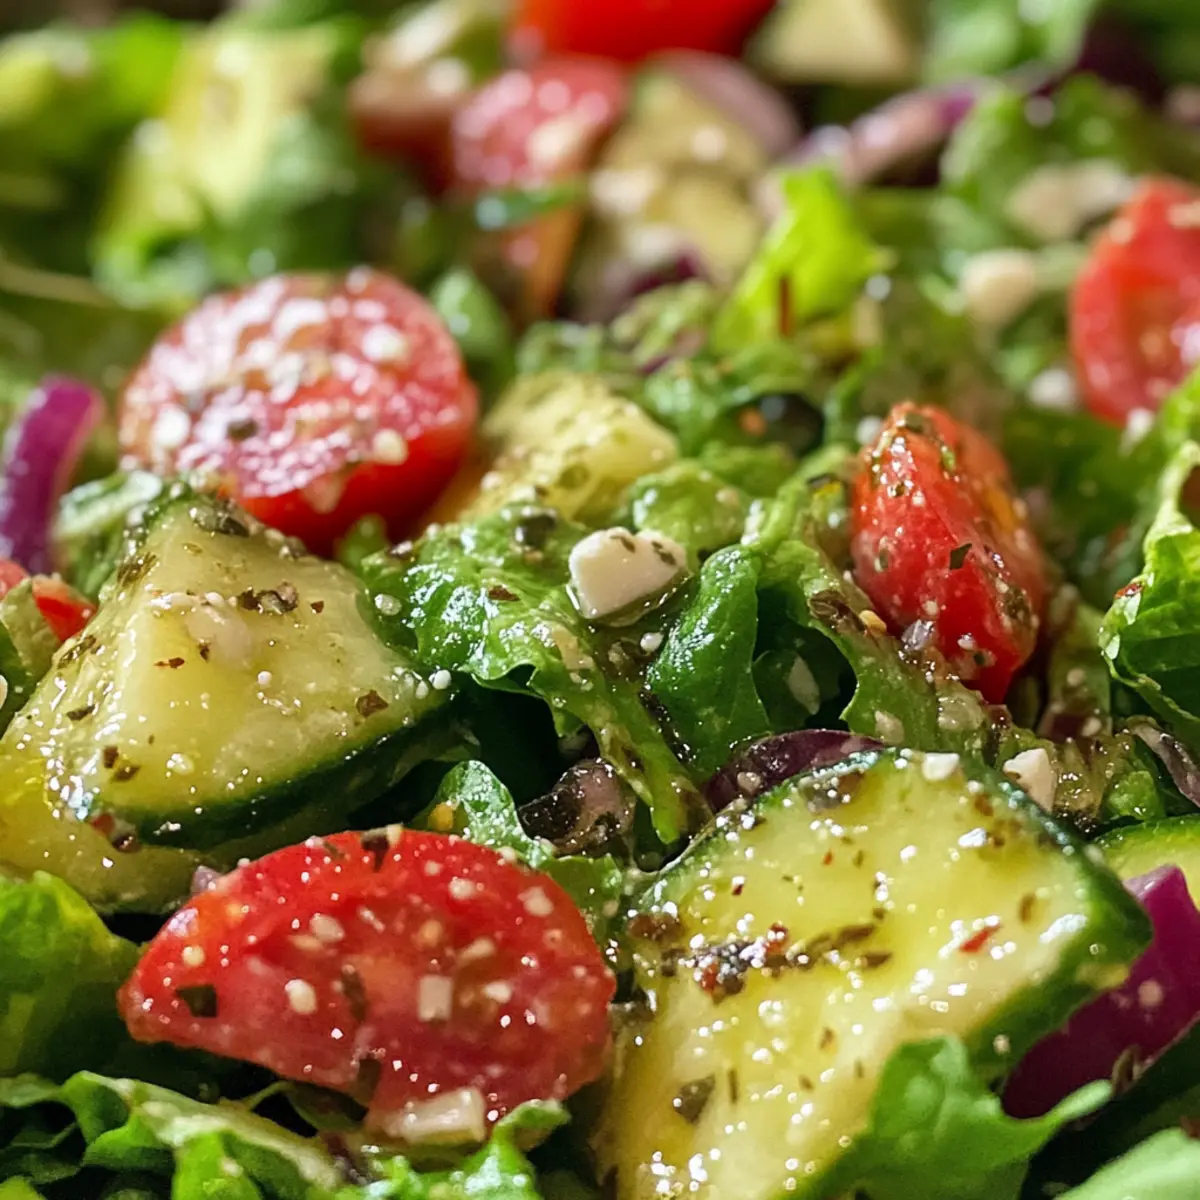
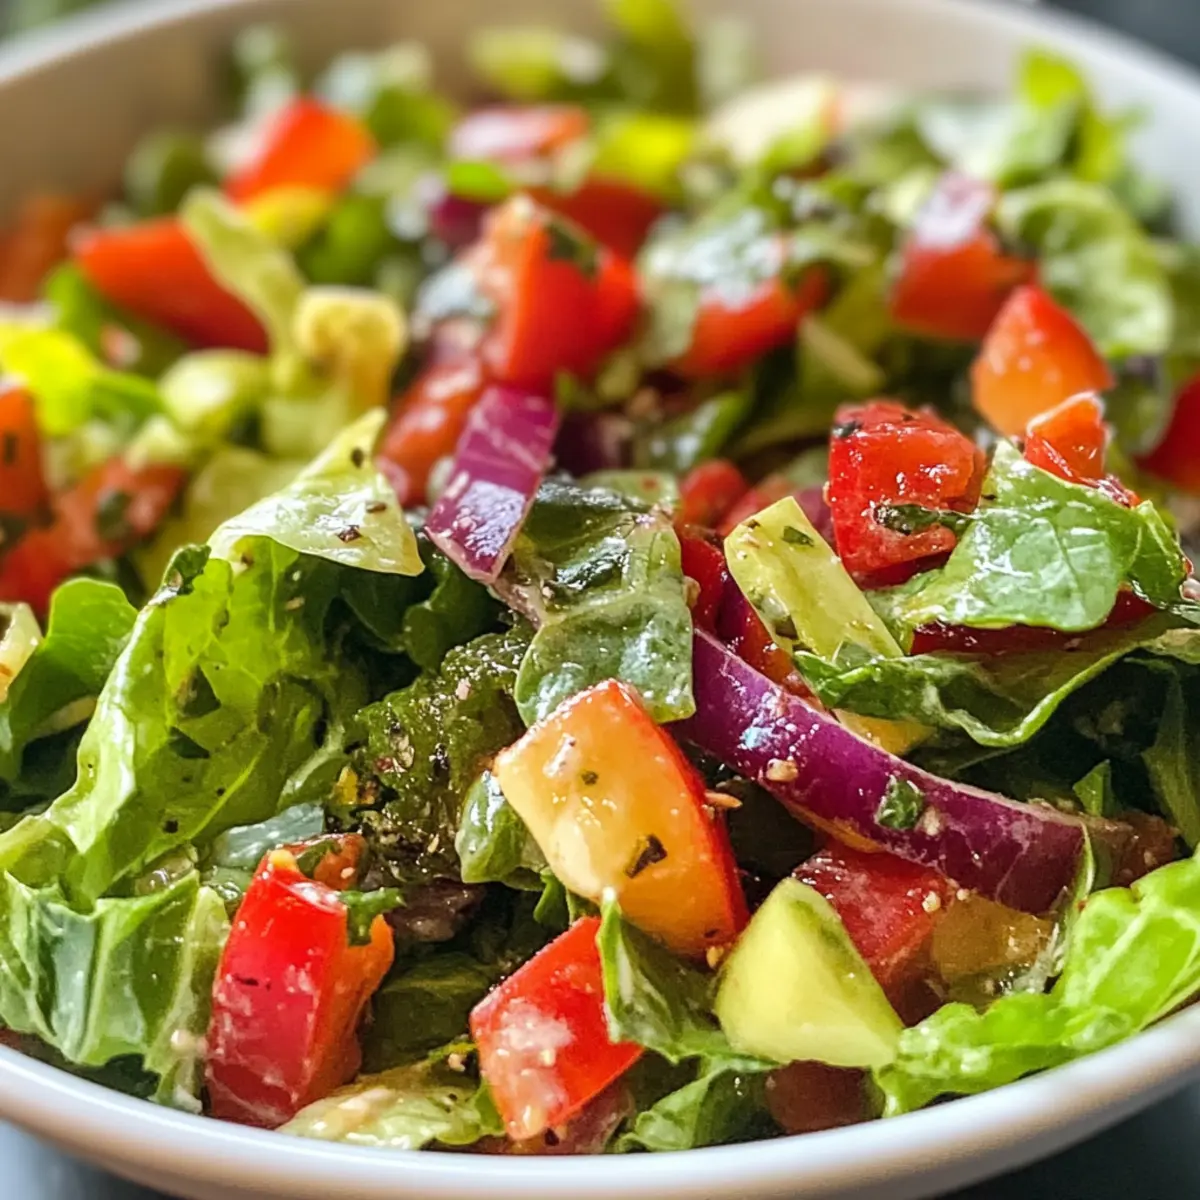
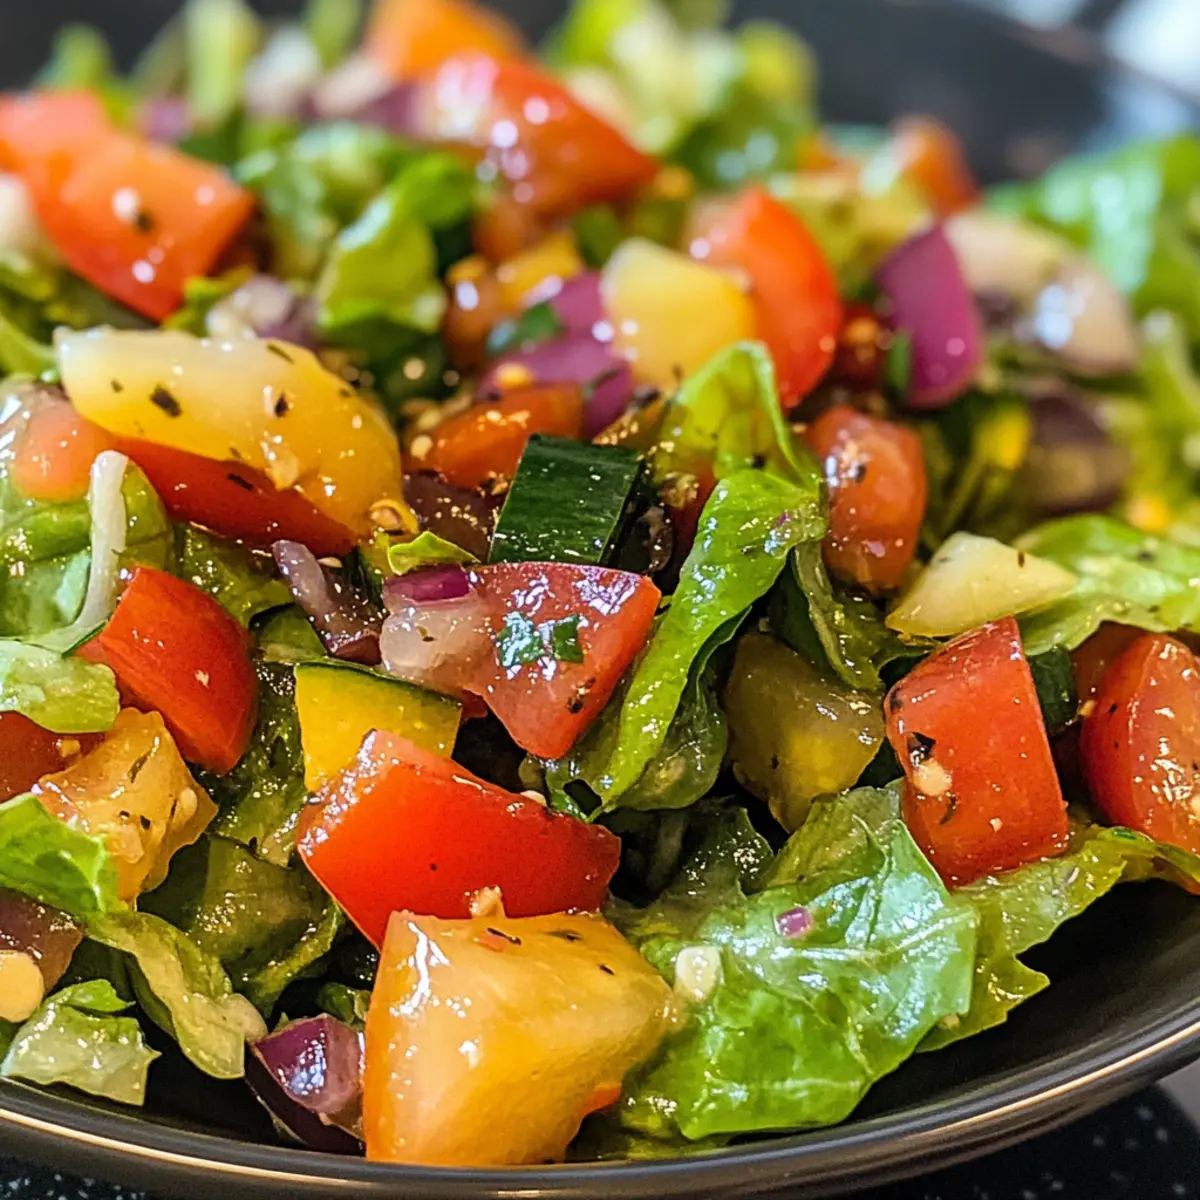
Crisp Side Salad: A refreshing salad with mixed greens, cherry tomatoes, and a light vinaigrette perfectly balances the creamy richness of the Cabbage Carbonara.
-
Garlic Breadsticks: Soft breadsticks brushed with garlic butter provide a delightful, chewy side that complements the creamy sauce. They are perfect for soaking up every bit of that delicious carbonara sauce.
-
Roasted Vegetables: A medley of seasonal roasted veggies, such as zucchini and bell peppers, adds a colorful and nutritious contrast, enhancing the dish’s overall appeal.
-
Steamed Broccoli: Tender, vibrant broccoli adds a fresh and crunchy element, balancing the richness of the carbonara while contributing nutritional benefits.
-
Cauliflower Rice: For another low-carb option, serve the Cabbage Carbonara over cauliflower rice for an added serve of veggies that keeps the dish light and satisfying.
-
Red Wine: A glass of light red wine enhances the flavors beautifully, providing a sophisticated touch that pairs wonderfully with the smokiness of the bacon and richness of the cream.
Transform your dining experience with these perfect pairings that complement the creamy, indulgent taste of your Cabbage Carbonara!
Make Ahead Options
These Cabbage Carbonara are perfect for busy home cooks looking to save time during the week! You can roast the cabbage up to 24 hours in advance; simply slice it, toss with olive oil and salt, and store it in an airtight container in the refrigerator. The creamy sauce can also be prepared ahead and refrigerated for up to 3 days—just make sure to let it cool before sealing. When ready to serve, gently reheat the sauce over low heat until warmed through, and combine it with the roasted cabbage for a dish that tastes just as delicious as when fresh. This way, you’ll enjoy a comforting, satisfying meal with minimal effort!
Cabbage Carbonara Variations & Substitutions
Feel free to personalize your Cabbage Carbonara with these creative tweaks to enhance your culinary experience!
-
Dairy-Free: Use coconut milk or cashew cream as a replacement for heavy cream to create a plant-based sauce. This swap will add a subtle sweetness that balances the savory elements beautifully.
-
Gluten-Free: For a completely gluten-free dish, make sure to choose gluten-free soy sauce if adding any Asian-inspired flavors, or simply savor the dish as is for a deliciously simple meal.
-
Smoky Flavor: Incorporate smoked paprika or liquid smoke in place of bacon for a vegan twist that delivers that irresistible smoky aroma, while still keeping everything comforting.
-
Extra Veggies: Add sautéed spinach or kale to boost nutrition and flavor. These leafy greens complement the creamy sauce wonderfully, allowing you to enjoy some vibrant color and texture.
-
Protein-Packed: Mix in grilled chicken or seasoned shrimp for an extra protein boost. Their juicy texture pairs perfectly with roasted cabbage, making your dish even more satisfying!
-
Herb Infusion: Feel free to add fresh herbs like thyme or basil to elevate the flavor profile. A sprinkle of herbs right before serving adds freshness and color that will impress your guests.
-
Heat it Up: For those who crave a little spice, toss in some crushed red pepper flakes or diced jalapeños. This will give your dish a warm kick that complements the creamy goodness.
-
Classic Italian: Swap cabbage with zucchini noodles for a traditional pasta feel while still keeping it low-carb. This adaptation allows you to enjoy a more familiar texture without sacrificing your dietary goals.
If you’re looking for more delicious cabbage recipes, check out the vibrant Crisp Cabbage Cucumber salad or the exciting Asian Inspired Cabbage dish, both of which celebrate this humble vegetable in delightful ways!
Expert Tips for Cabbage Carbonara
Keep Cabbage Chewy: Avoid overcooking the cabbage; it should maintain a pleasant chewiness that mimics traditional pasta for the best Cabbage Carbonara.
Use Fresh Ingredients: Opt for fresh minced garlic and freshly grated Parmesan cheese to elevate the sauce’s flavor and texture, ensuring a rich result.
Adjust Consistency: If the sauce is too thick, gradually add a splash of cream or water until you reach your desired consistency, giving the dish the perfect coat.
Mix and Match: Don’t hesitate to customize your Cabbage Carbonara by swapping bacon with pancetta or turkey bacon, and adding in your favorite sautéed veggies.
Watch the Roasting Time: Keep an eye on your roasted cabbage; you want it tender and slightly golden, as this develops depth in flavor without losing its character.
Serve Hot: Serve your Cabbage Carbonara immediately after plating, garnished generously with extra Parmesan and cracked black pepper for a delightful finish.
Cabbage Carbonara Recipe FAQs
What is the best cabbage for Cabbage Carbonara?
Absolutely! I recommend using a medium head of green cabbage for this recipe. Look for heads that are firm and heavy for their size, ideally free from dark spots or blemishes. This ensures a satisfying chewiness reminiscent of pasta.
How can I store leftovers of Cabbage Carbonara?
Leftovers can be stored in an airtight container in the fridge for up to 3 days. Make sure to allow the dish to cool slightly before sealing, which helps avoid moisture buildup. Gently reheat on the stove or in the microwave to bring it back to life without losing its deliciousness!
Can I freeze Cabbage Carbonara?
Yes, you can absolutely freeze Cabbage Carbonara! Place it in a freezer-safe container or bag and keep it in the freezer for up to 3 months. Once you’re ready to enjoy again, thaw it in the refrigerator overnight and warm it up. For best results, add a splash of cream or broth during reheating to maintain that creamy texture.
What if I overcook the cabbage?
Very! If you accidentally overcook the cabbage, it may become mushy. To fix this, try not to cook it beyond the 10-15 minute roasting time. Keep an eye on it towards the end; you want it tender but still with a little bite. If it’s already done, consider adding sautéed vegetables or a sprinkle of fresh herbs to liven it up!
Is Cabbage Carbonara suitable for a low-carb diet?
Absolutely! Each serving of Cabbage Carbonara is around 253 calories and contains only about 7g of net carbs, making it an excellent choice for low-carb or keto diets. Just be sure to use ingredients that align with your dietary needs, such as checking the cream and cheese for hidden carbs.
Are there alternatives for bacon in Cabbage Carbonara?
Very much! You can substitute traditional bacon with turkey bacon or pancetta for a lighter option, but regardless of what you choose, the key is to enhance the flavor of the sauce. You could also consider using sautéed mushrooms for a vegetarian take, while still keeping that rich flavor.
Cabbage Carbonara: Creamy, Low-Carb Comfort Food Delight
Ingredients
Equipment
Method
- Preheat your oven to 400°F (200°C).
- Slice a medium head of cabbage into long, thin strips, yielding about 5-6 cups total.
- In a large bowl, toss the sliced cabbage with olive oil and a sprinkle of salt.
- Spread the cabbage evenly on a baking sheet in a single layer.
- Roast the cabbage for 10-15 minutes until tender and lightly browned.
- Cook chopped bacon in a pan over medium heat for 2-3 minutes until crispy.
- Add chopped onion to the pan and cook until translucent, about 2-3 minutes, then stir in minced garlic for 30 seconds.
- In the same pan, add heavy cream, freshly grated Parmesan cheese, and black pepper, simmering for 2-3 minutes.
- Toss the roasted cabbage into the creamy sauce, stirring for 1-2 minutes.
- Serve hot, garnished with extra Parmesan and cracked black pepper.